
Related Articles
AI Calendar Selection Booking Mode
Quick Reference Keywords: AI calendar selection · Dynamic calendar routing · Booking by contact attributes · Calendar scripts · AI booking mode
Overview
Use AI Calendar Selection mode when you need AI agents to book into different calendars (and optionally select specific users) based on attributes of the contact in the conversation. For example, routing electrical service requests to an electrical calendar and plumbing requests to a plumbing calendar - all automatically.
This works for both AI Text Agents and AI Voice Agents. For more in-depth booking configuration details, see the Text Agent Booking Configuration or Voice Agent Booking Configuration docs.
Estimated time to complete: 3-5 minutes
1. Open up the agent editing dialog for any AI agent. For text agents, click on the Booking/Goal tab. For voice agents, click on the Booking tab and select the calendar booking option.
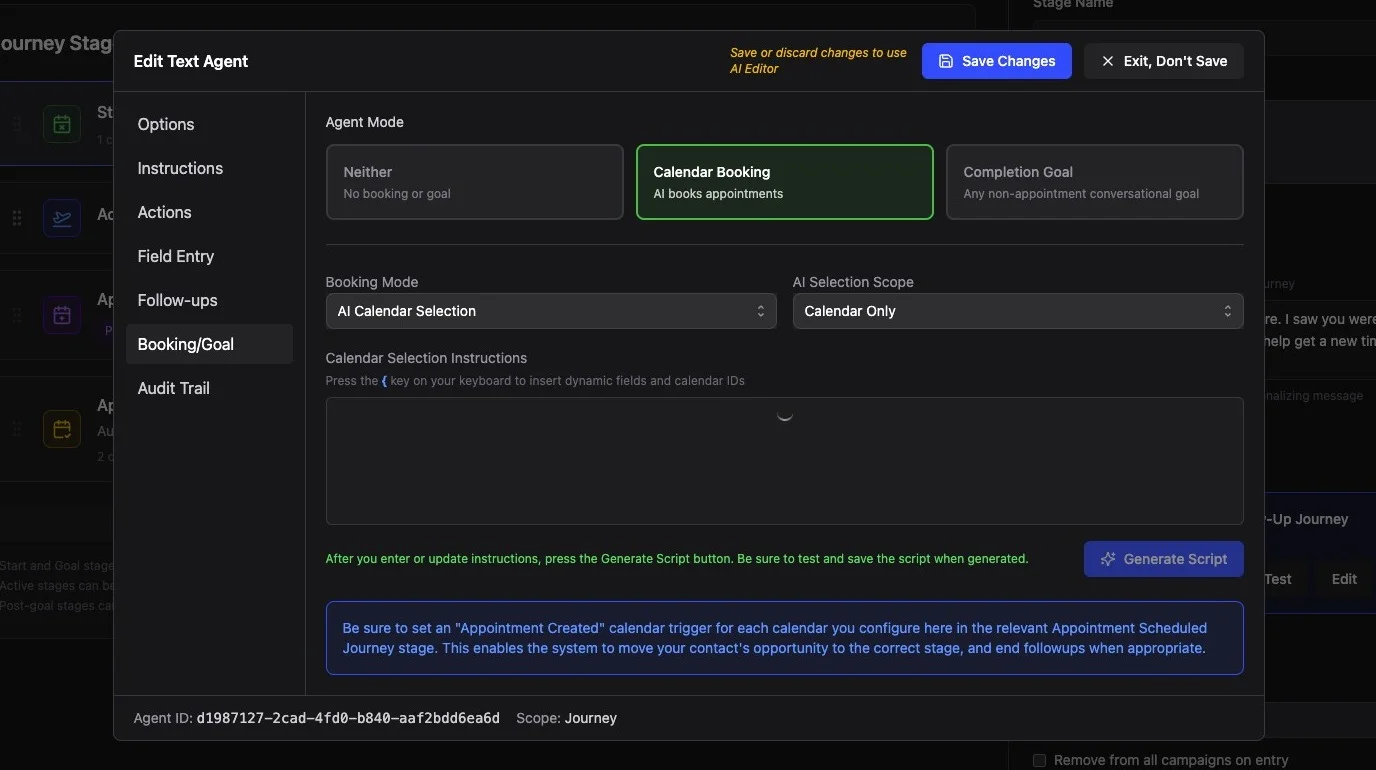
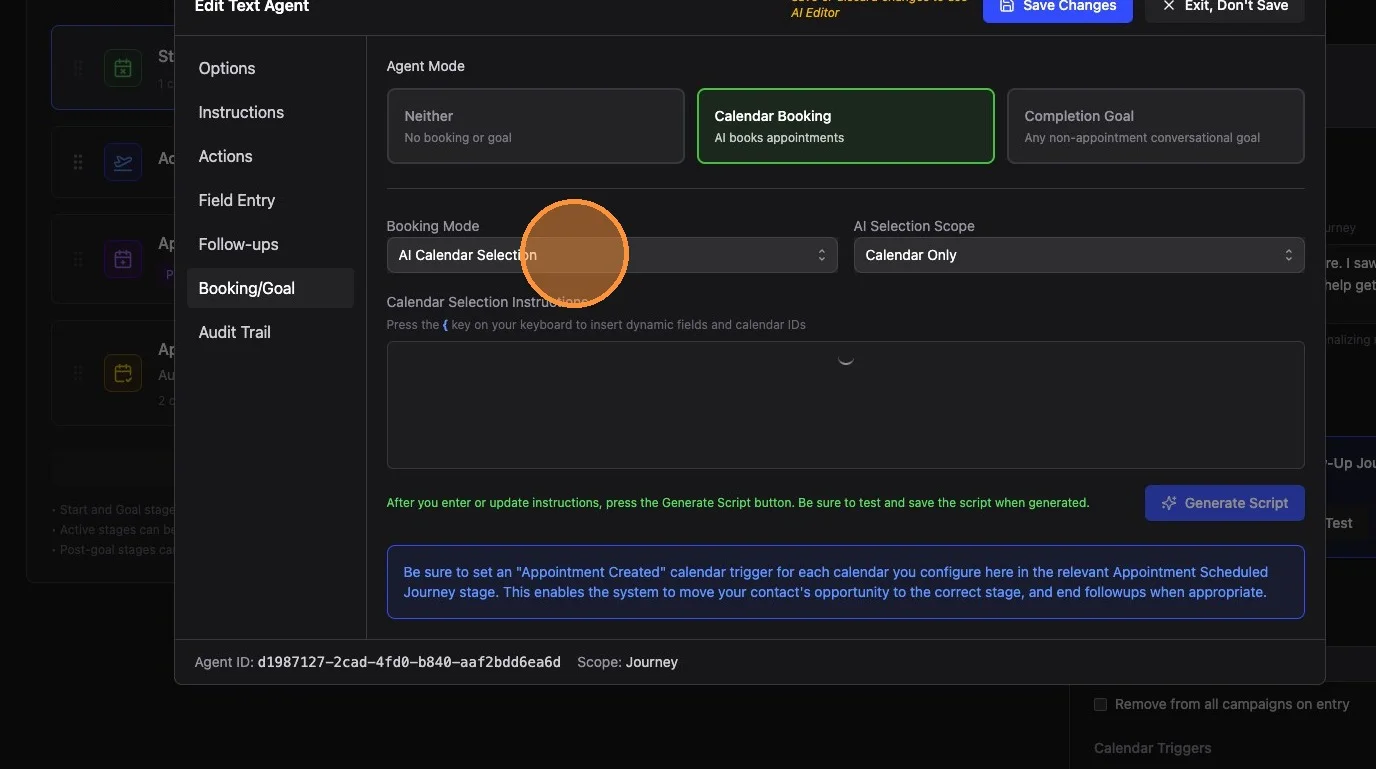
2. Under booking mode, select the "AI Calendar Selection" option.
If you only need to specify a calendar, keep the AI selection scope as calendar only. Your calendars can handle assigning to the appropriate user based on the selection strategy within each calendar.
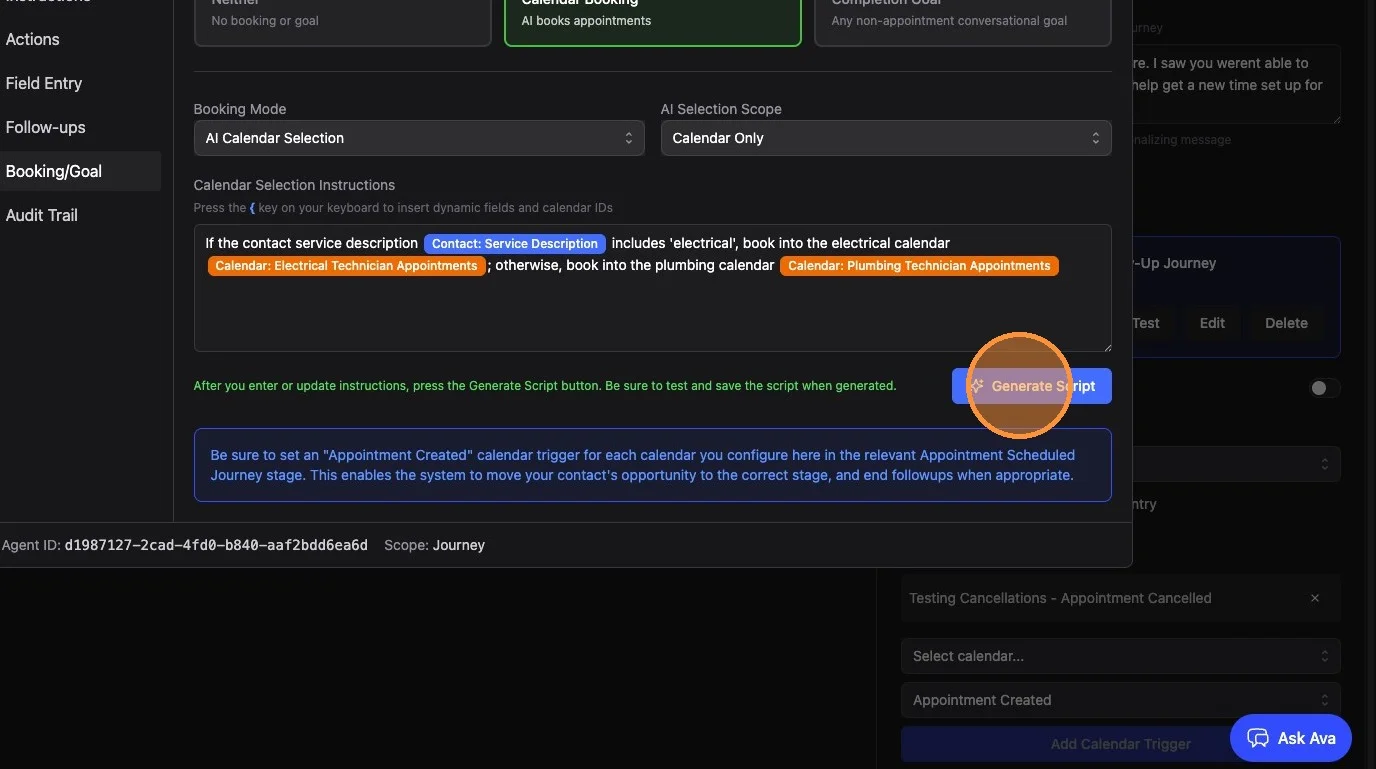
3. Describe how the AI should choose which calendar to book into based on things like contact service description, zip code, etc. Click "Generate Script"
Example: If the contact service description includes "electrical", book into the electrical calendar; otherwise, book into the plumbing calendar.
Important: Hit the curly bracket key
{on your keyboard to pull up a dropdown of available variables, specific calendars, and users. Use this to insert the actual variables and calendars.
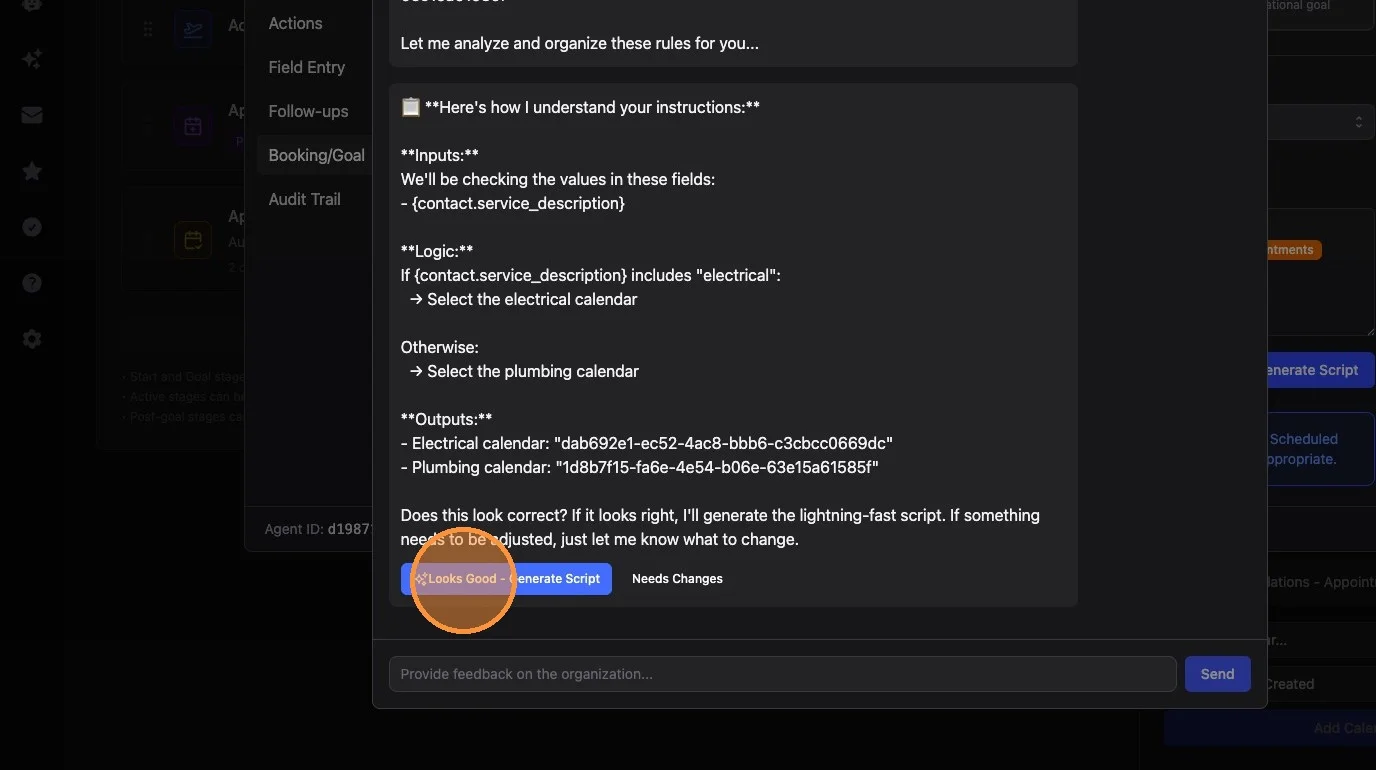
4. Ava will organize your instructions
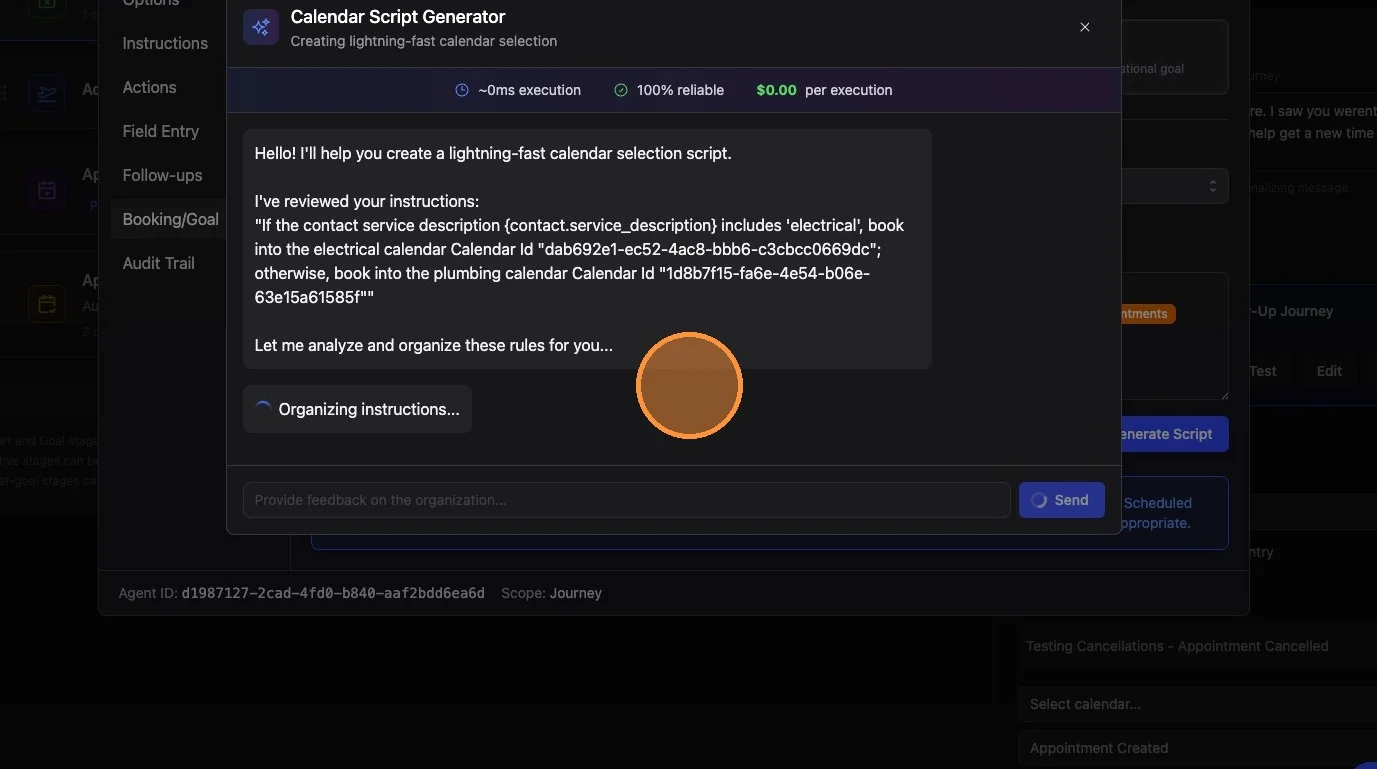
5. Click "Looks Good - Generate Script"
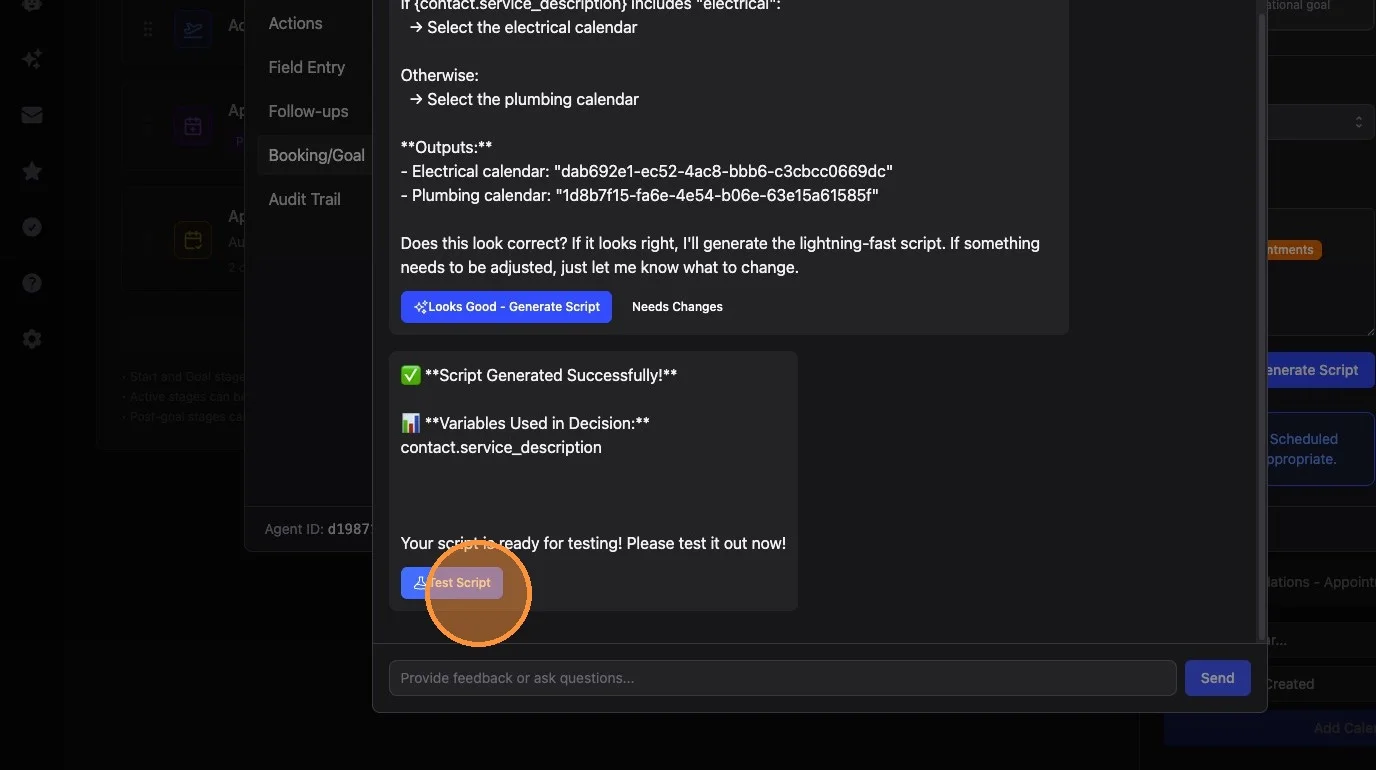
6. Once Ava finishes generating your script, click "Test Script"
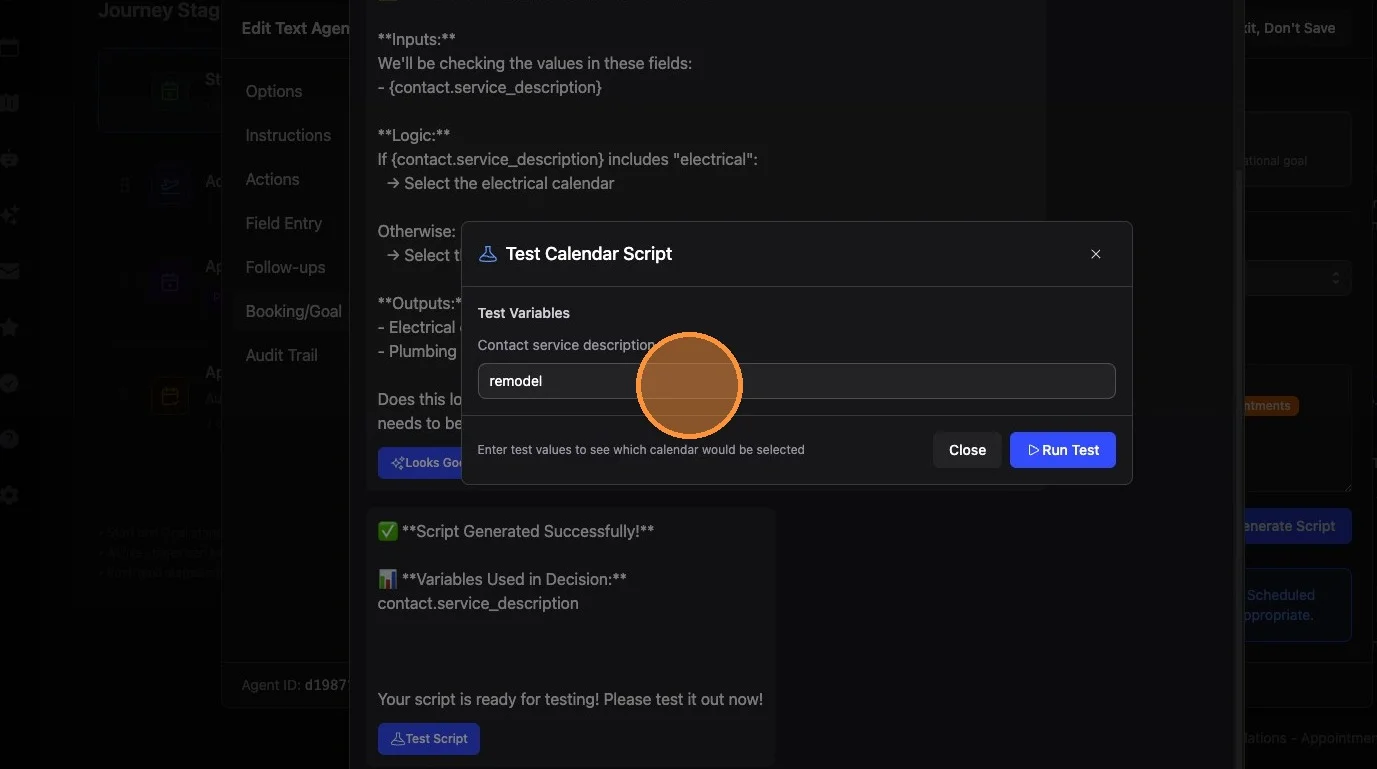
7. Enter an appropriate test value for the variables that are being checked in order to make this decision. Click "Run Test"
8. When satisfied, click "Close"
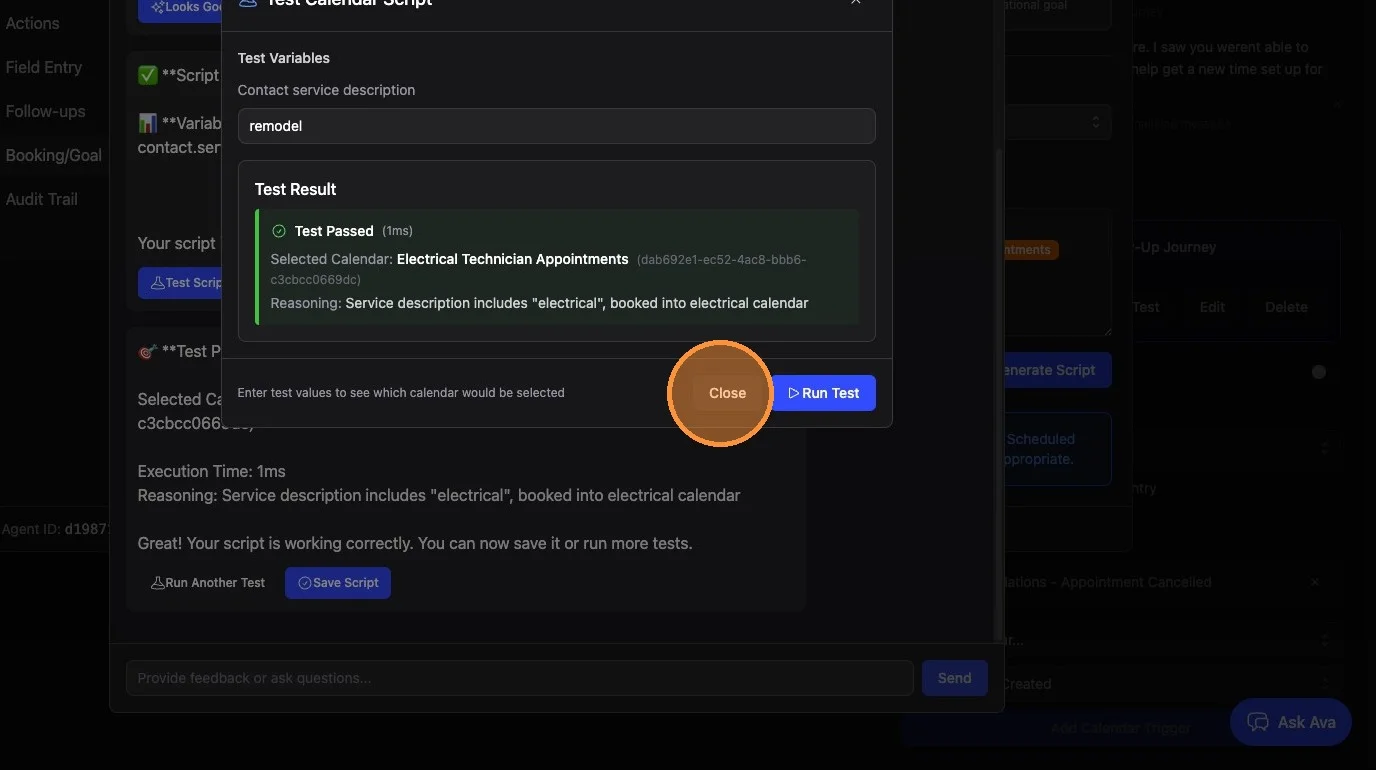
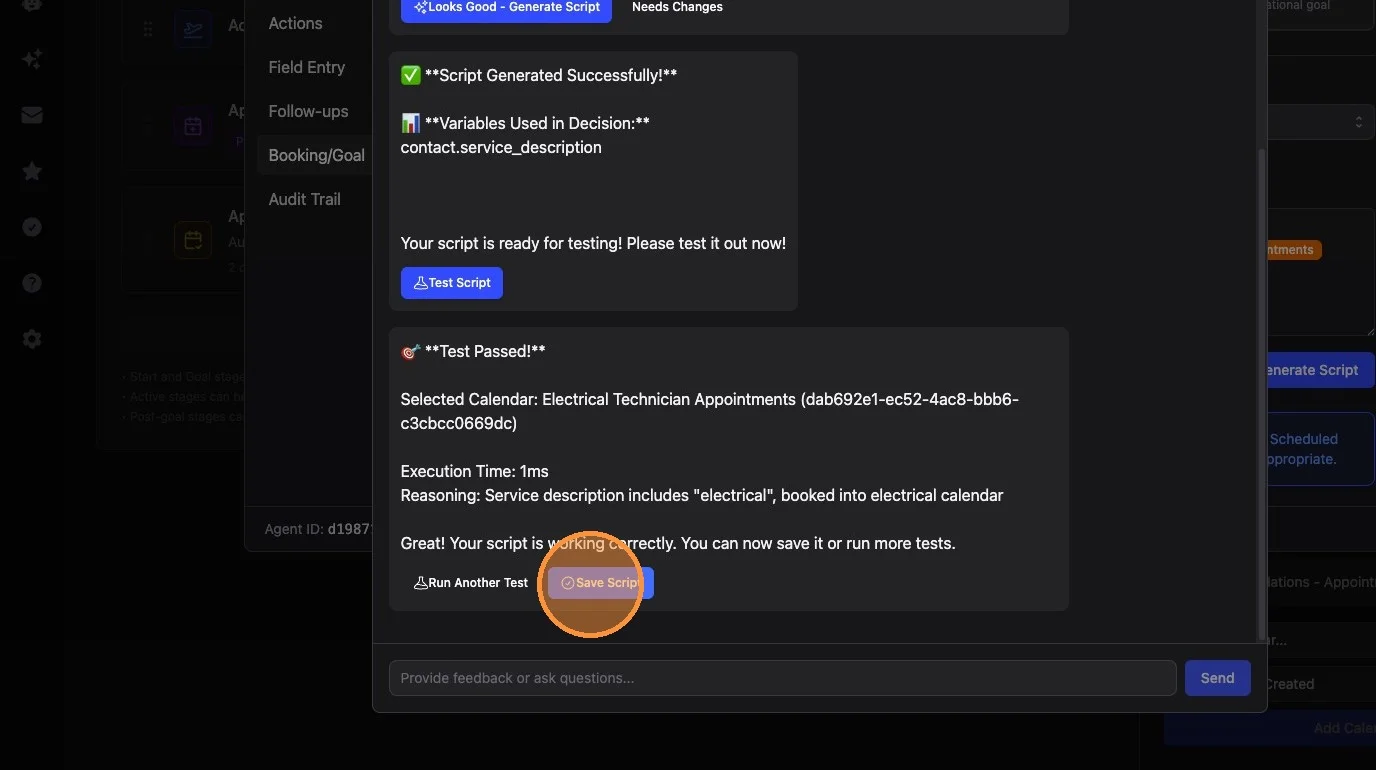
9. Click "Save Script"
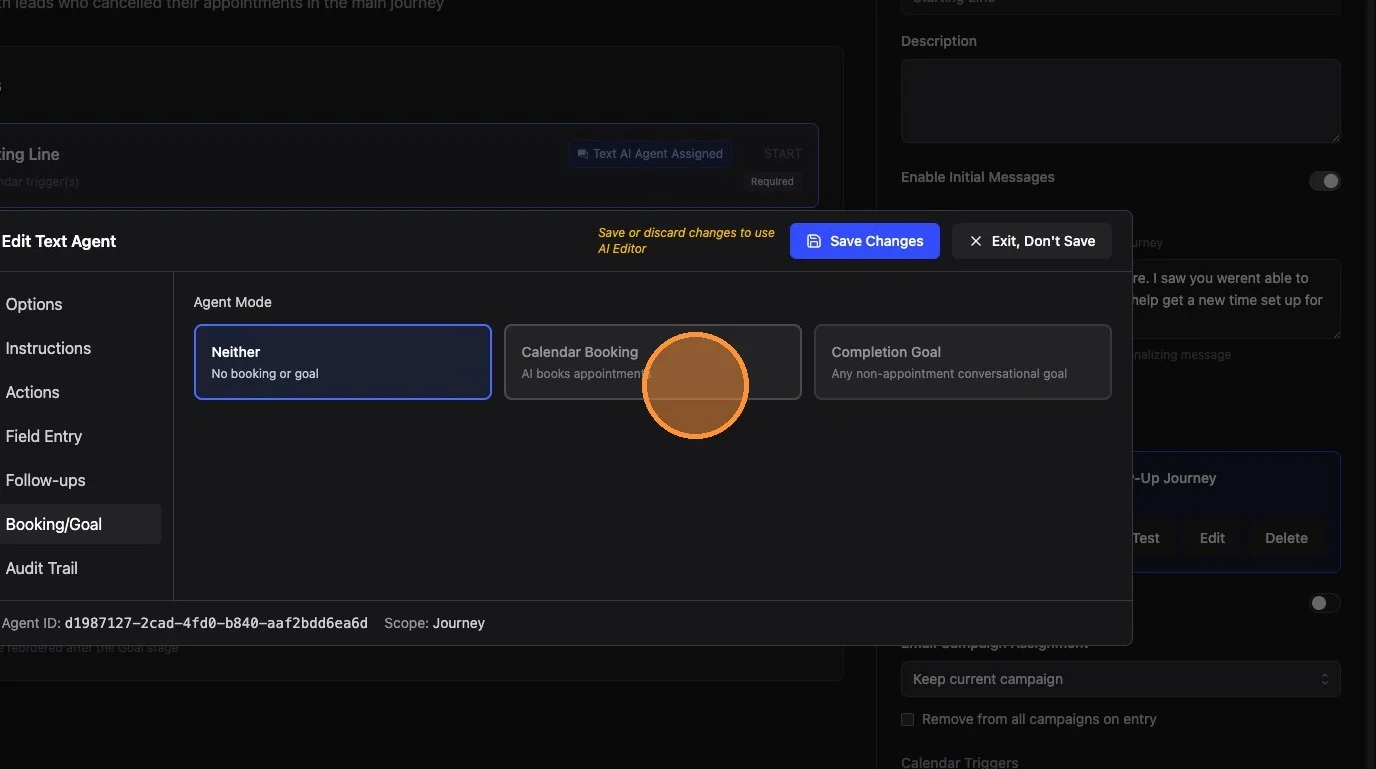
10. Ensure "Calendar Booking - AI books appointments" is still selected
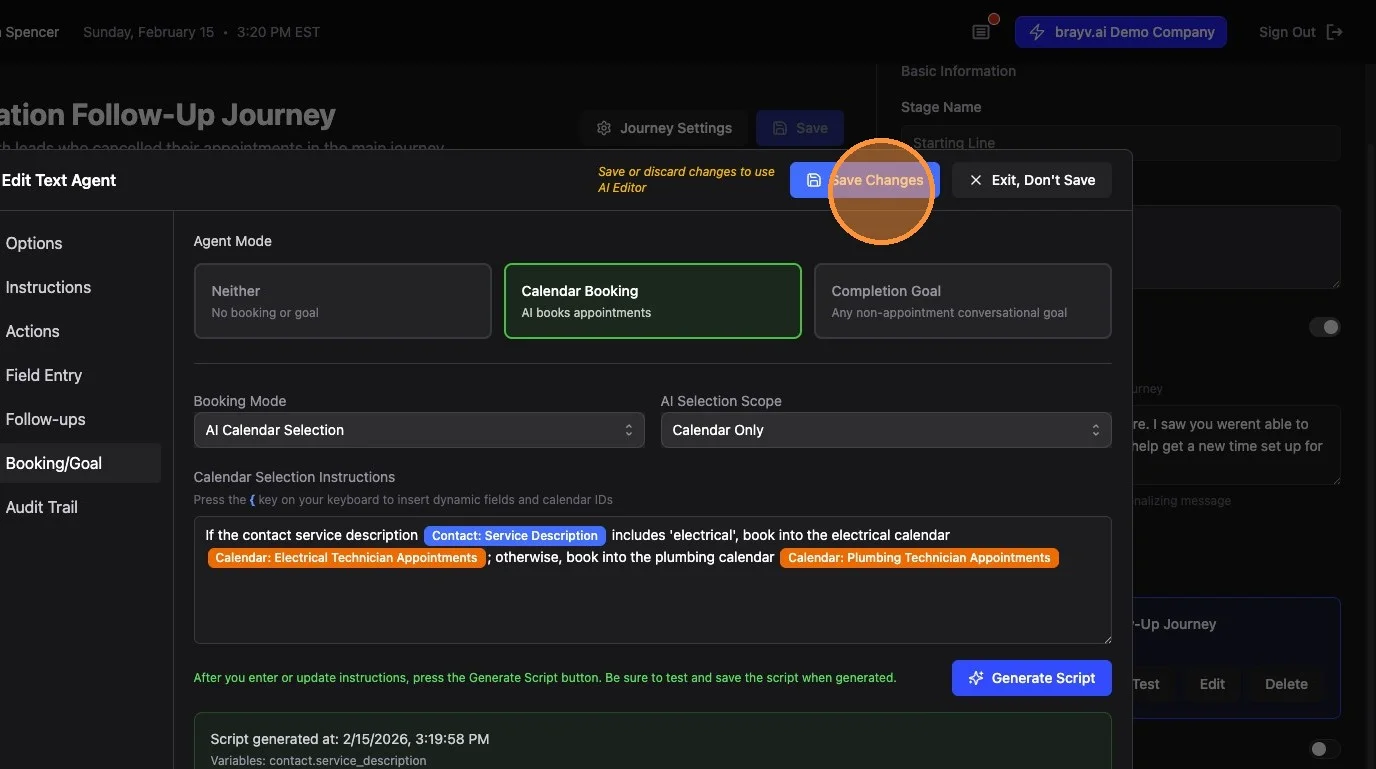
11. Click "Save Changes" at the top of the AI Agent Editor dialog
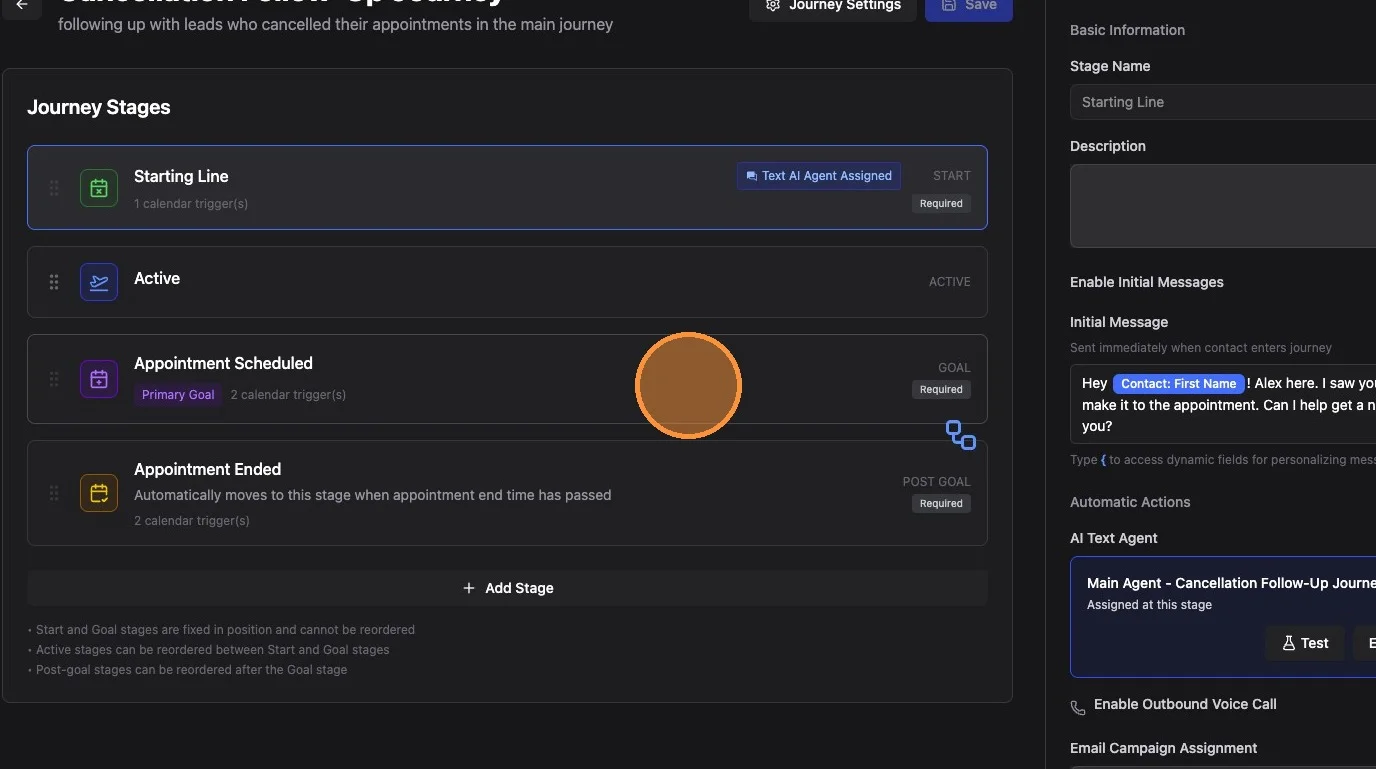
Journey Calendar Triggers (Important!)
If this agent is a Journey agent, you must also add calendar triggers for all the calendars the agent can potentially book into. This ensures that when an appointment is booked, the contact's opportunity moves to the appropriate stage.
12. Click on the next Goal stage (usually the primary goal) and add calendar triggers for all the calendars that the agent can potentially book into
13. Above the "Add calendar" trigger button on the right side of your screen, click on the "Select calendar" dropdown and select the appropriate calendar
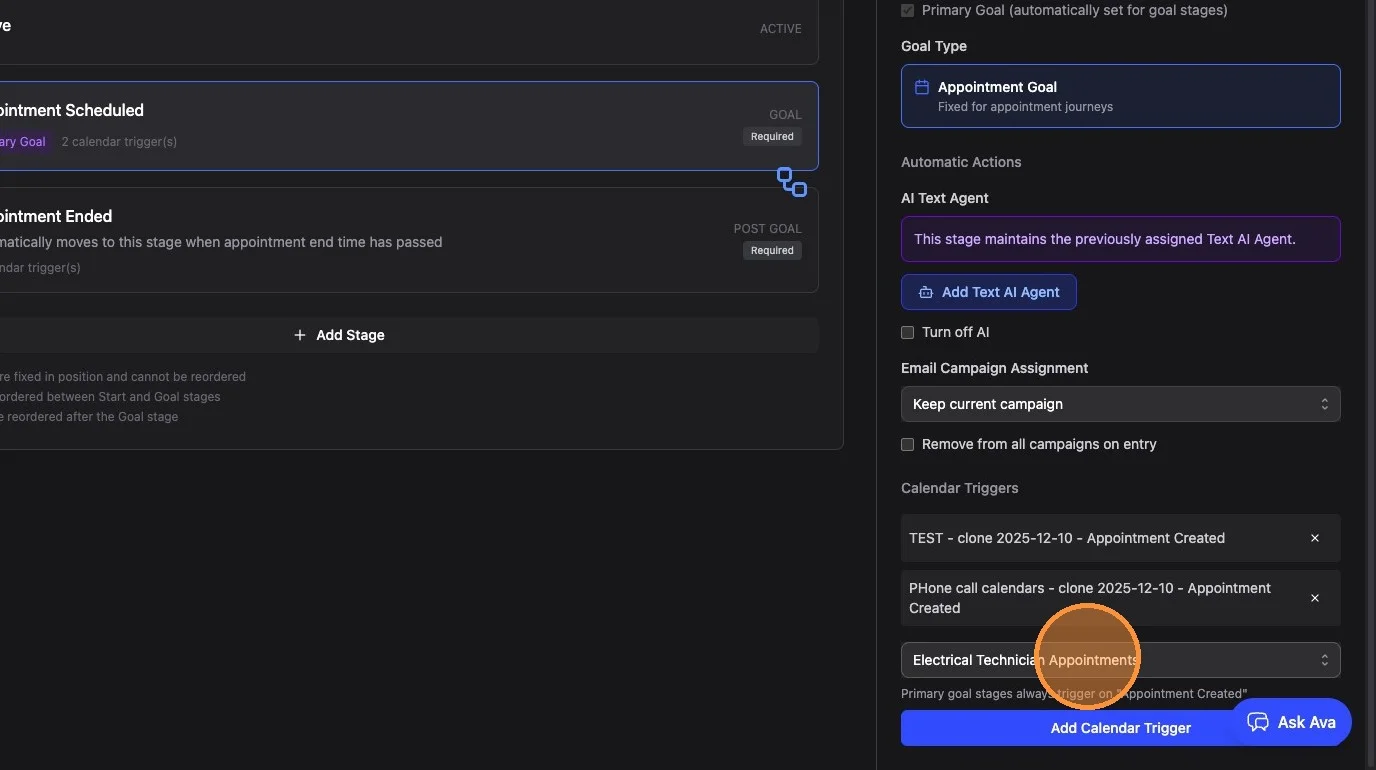
14. Click "Add Calendar Trigger" and repeat as needed for all calendars the agent can book into.
This ensures that when an appointment is booked, the contact's opportunity moves to the appropriate stage, the goal is achieved, the agent stops following up, and the appropriate new agent is assigned if applicable.
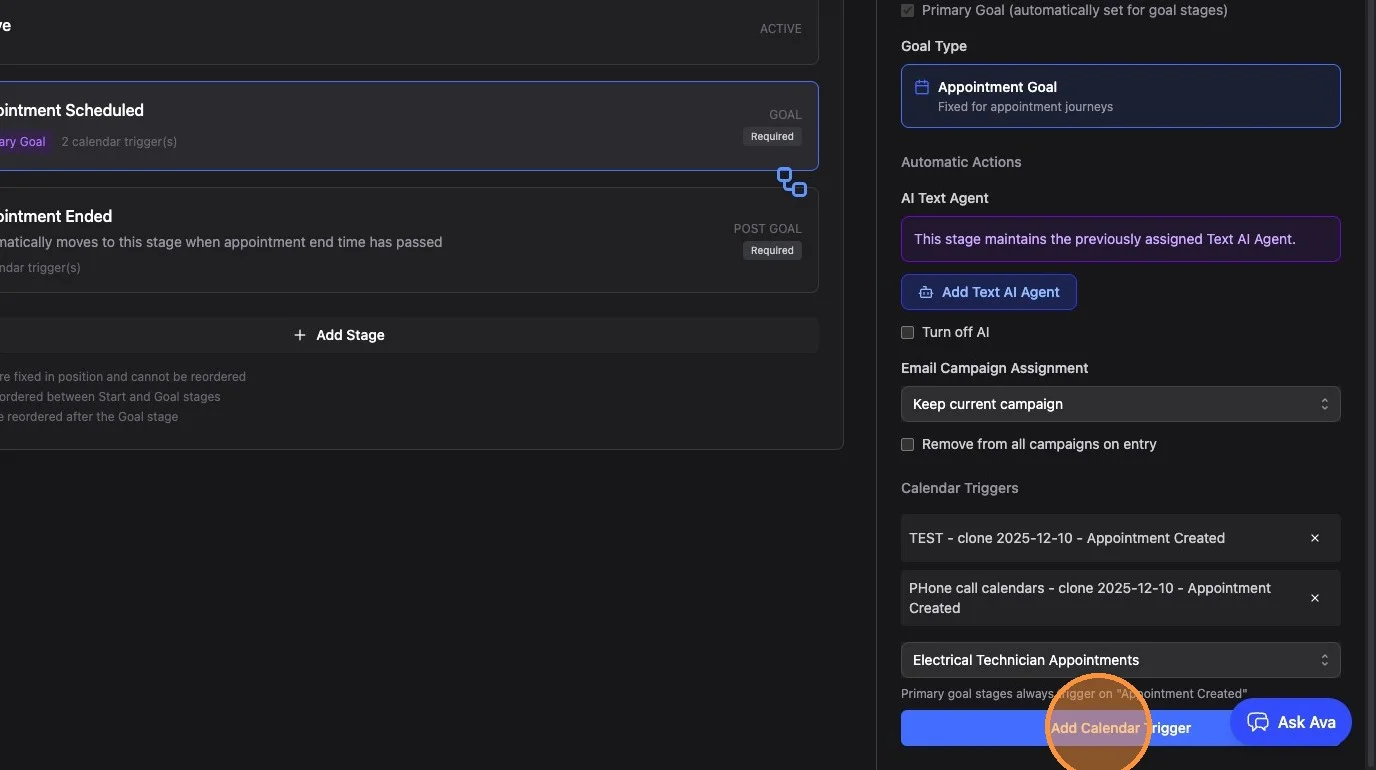
Tip: Be sure to save your journey at the top of the screen after making trigger changes to the goal stage.
Key Tips
Use the Variable Picker:
Always use the { key to insert variables and calendar/user references. This ensures you're using exact IDs rather than names that could be mismatched.
Calendar-Only vs Calendar + User: If your calendars already handle user selection internally (via round robin, etc.), keep the AI selection scope as "Calendar Only." Only expand to "Calendar + User" if the AI needs to explicitly pick both.
Journey Triggers Are Critical: If you skip adding calendar triggers to your journey goal stage, appointments will be booked but the opportunity won't advance - the AI will keep following up even after booking.
Related Features
- Calendars and Appointments - Complete calendar setup and configuration
- Text Agent Booking Configuration - In-depth booking setup for AI text agents
- Voice Agent Booking Configuration - In-depth booking setup for AI voice agents
- Customer Journeys - Journey stages and calendar triggers
Summary
AI Calendar Selection mode enables dynamic booking routing:
- Set booking mode to "AI Calendar Selection" on any agent
- Write routing instructions using contact attributes (service description, zip code, etc.)
- Generate and test the script with different variable values
- Save both the script and the agent settings
- Add calendar triggers to journey goal stages for all possible calendars
When to use this mode:
- Multiple service types booking into different calendars
- Territory-based routing to different teams
- Any scenario where the right calendar depends on contact information