
Related Articles
How to Configure Multiple Languages in Sequenced Follow-Ups
Quick Reference Keywords: How to send Spanish follow-ups · Multi-language follow-up sequences · Follow up in another language · Second language follow-ups · Language-based follow-up messages
Overview
Multi-language follow-ups let your agent send a different version of each sequenced follow-up based on a contact field (such as preferred language). The sequence keeps the exact same timing, order, and number of messages - only the message text changes per language. If a contact's field doesn't match any of your language rules, they simply receive your default messages, so nothing changes for contacts who don't need a translation.
This guide walks through the full setup: creating a field to store language preference, giving your agent a field extractor to fill it, and building the second-language follow-up messages.
Before you start, it helps to be familiar with:
- Follow-Up Sequences - you'll need a default (base) sequence built before generating a second-language version
- Field Extractors - how the agent captures and stores the language preference
Prerequisites (both covered in this guide):
- A custom field to store language preference on contact records
- A field extractor so your agent fills that field during conversations
Custom Field Creation
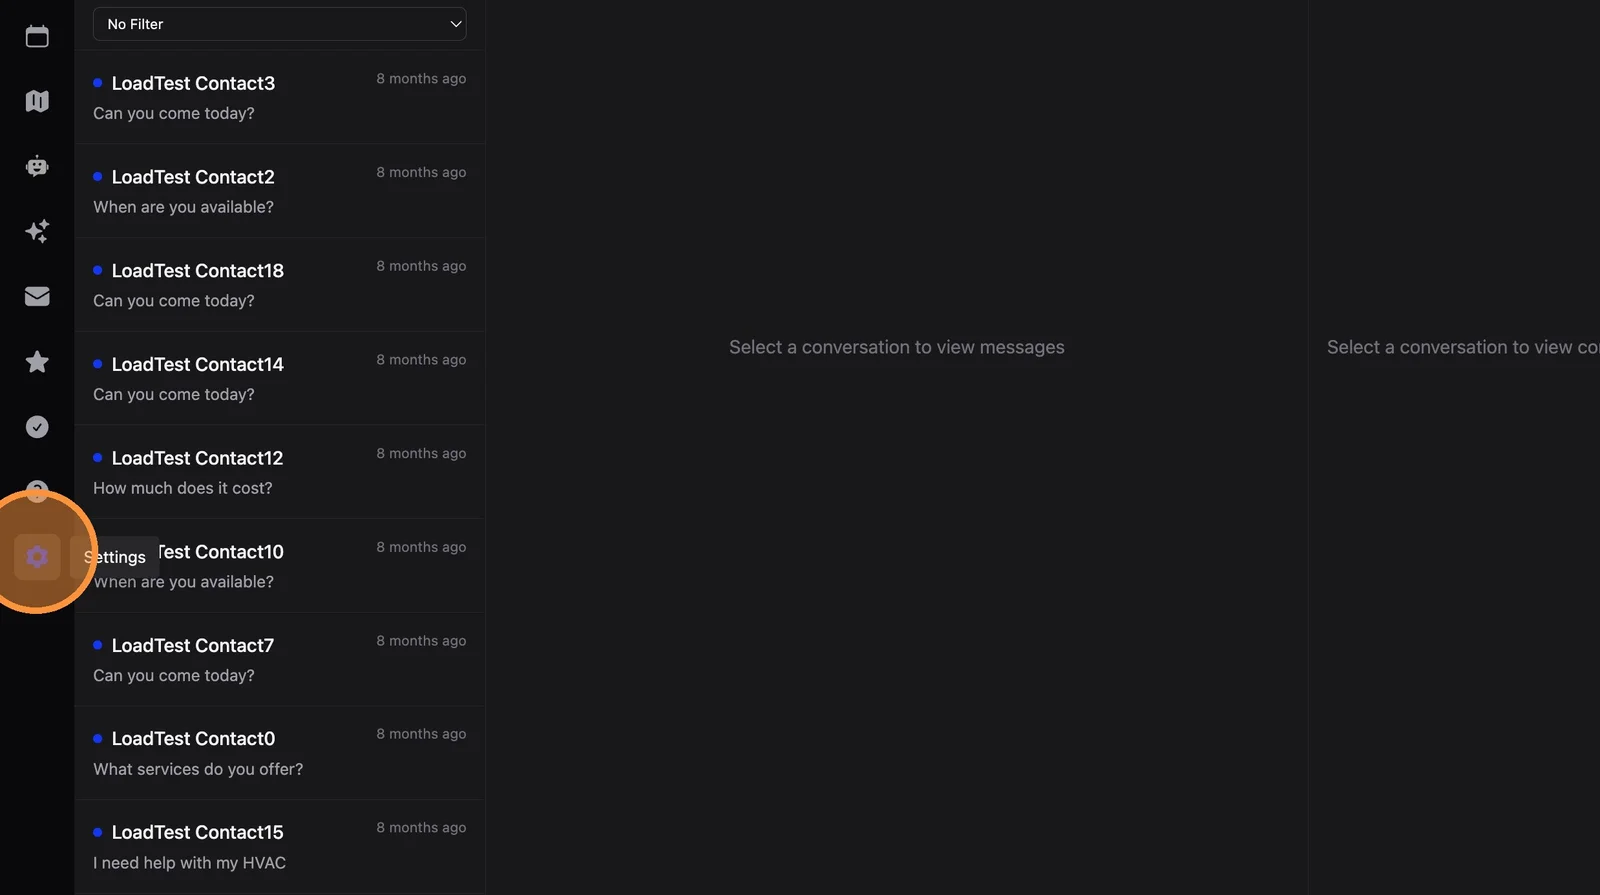
1. Click the Settings icon in the main left-side icon menu
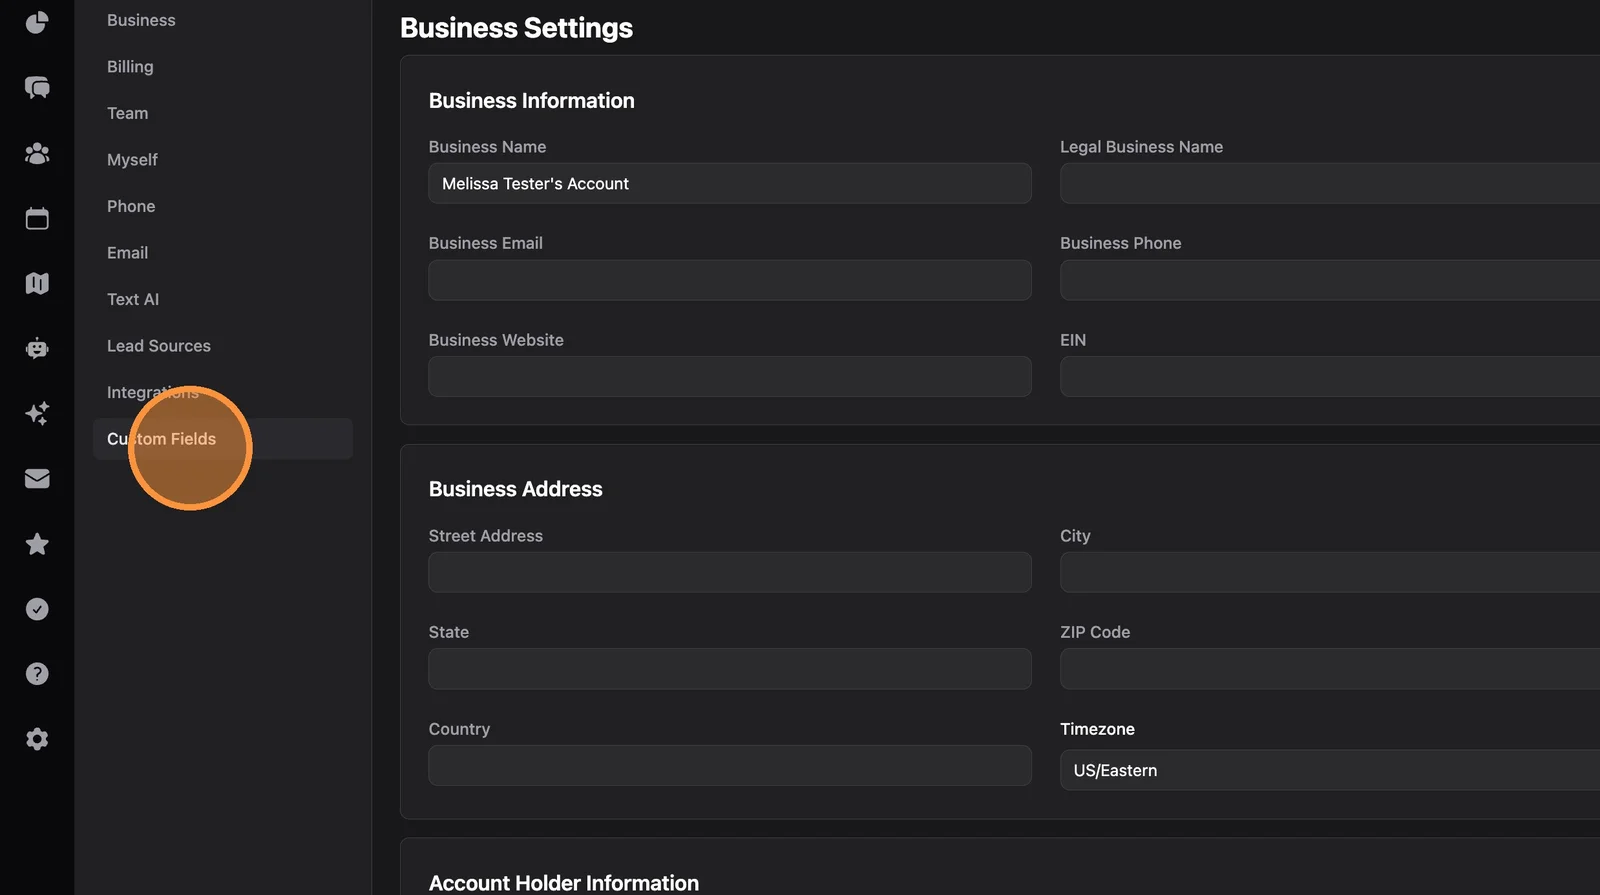
2. Click "Custom Fields"
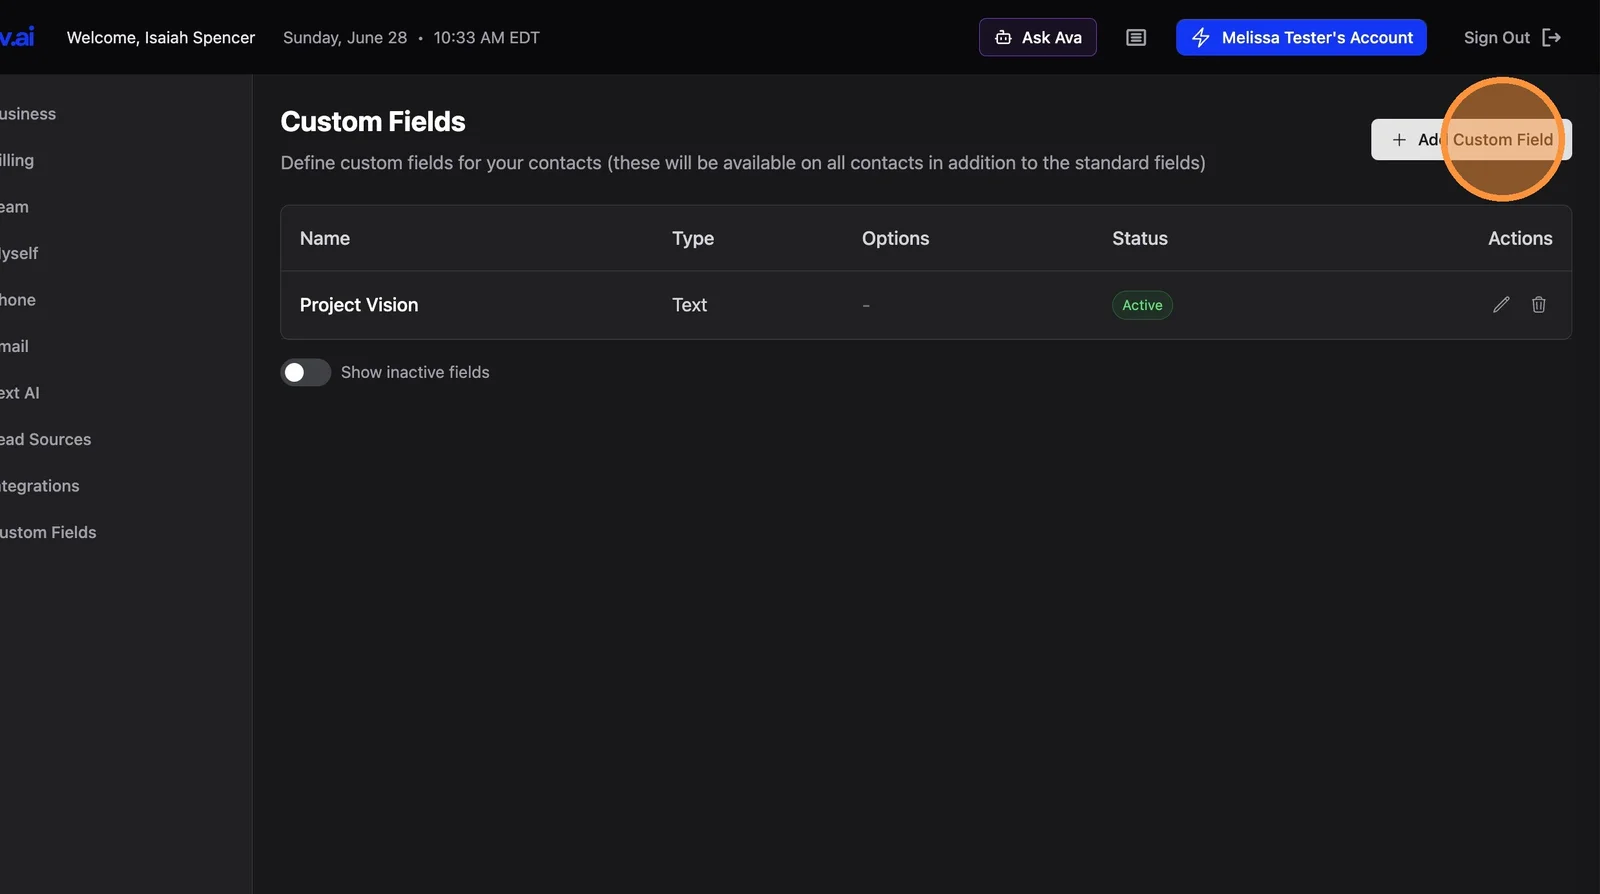
3. Click "Add Custom Field"
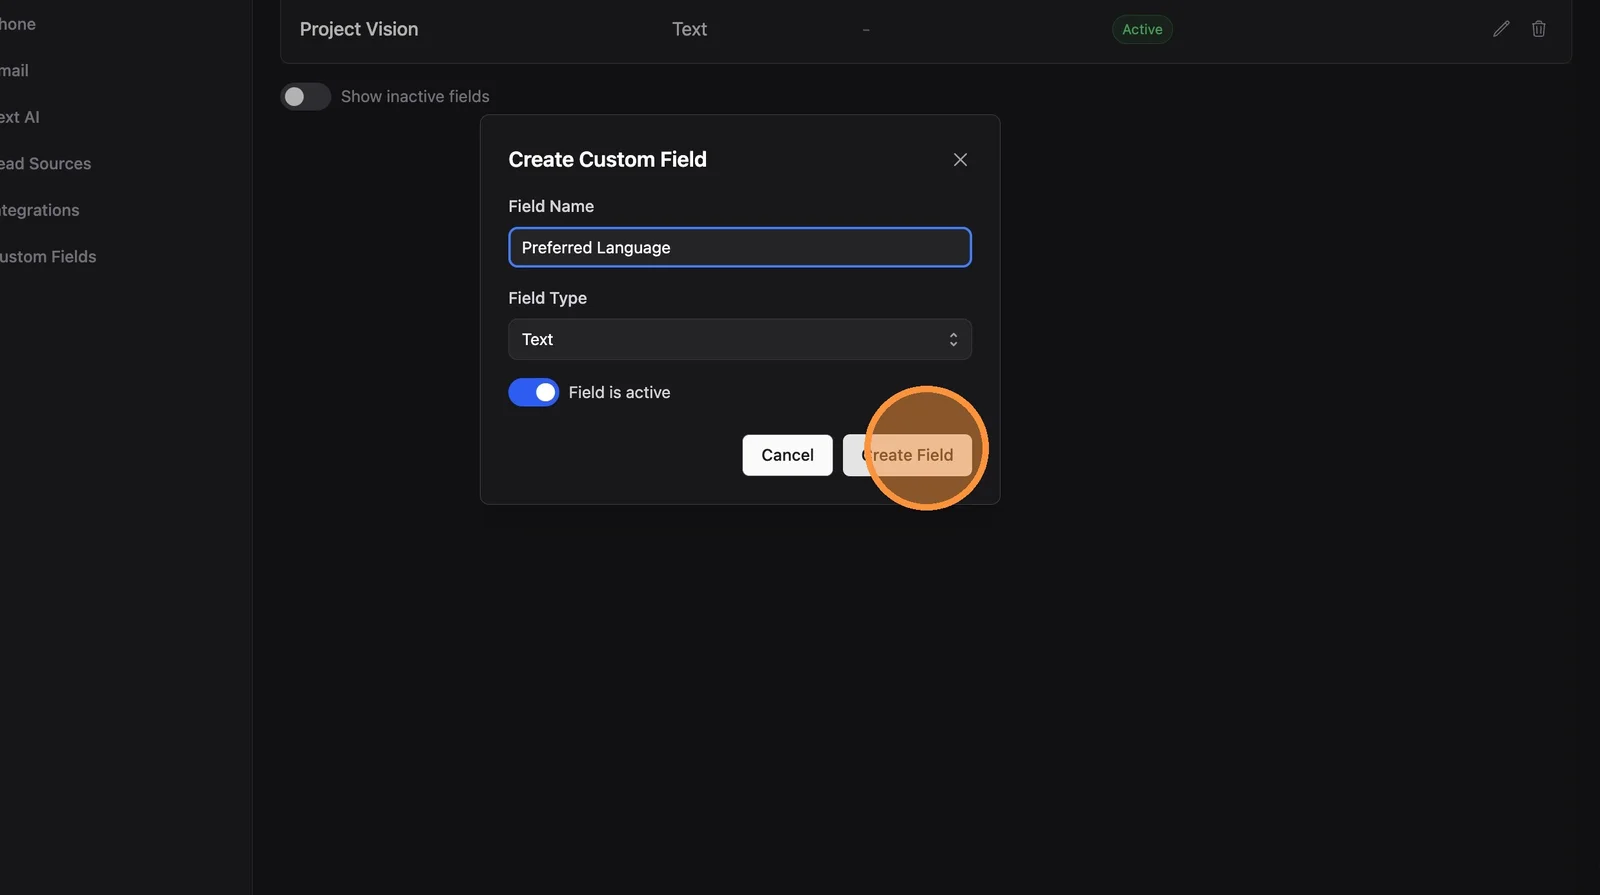
4. Create a custom field like "Preferred Language"
You can skip custom field creation entirely if you already store language preference in another field for other purposes (for example, booking rules that route to a Spanish-speaking rep).
Agent Configuration
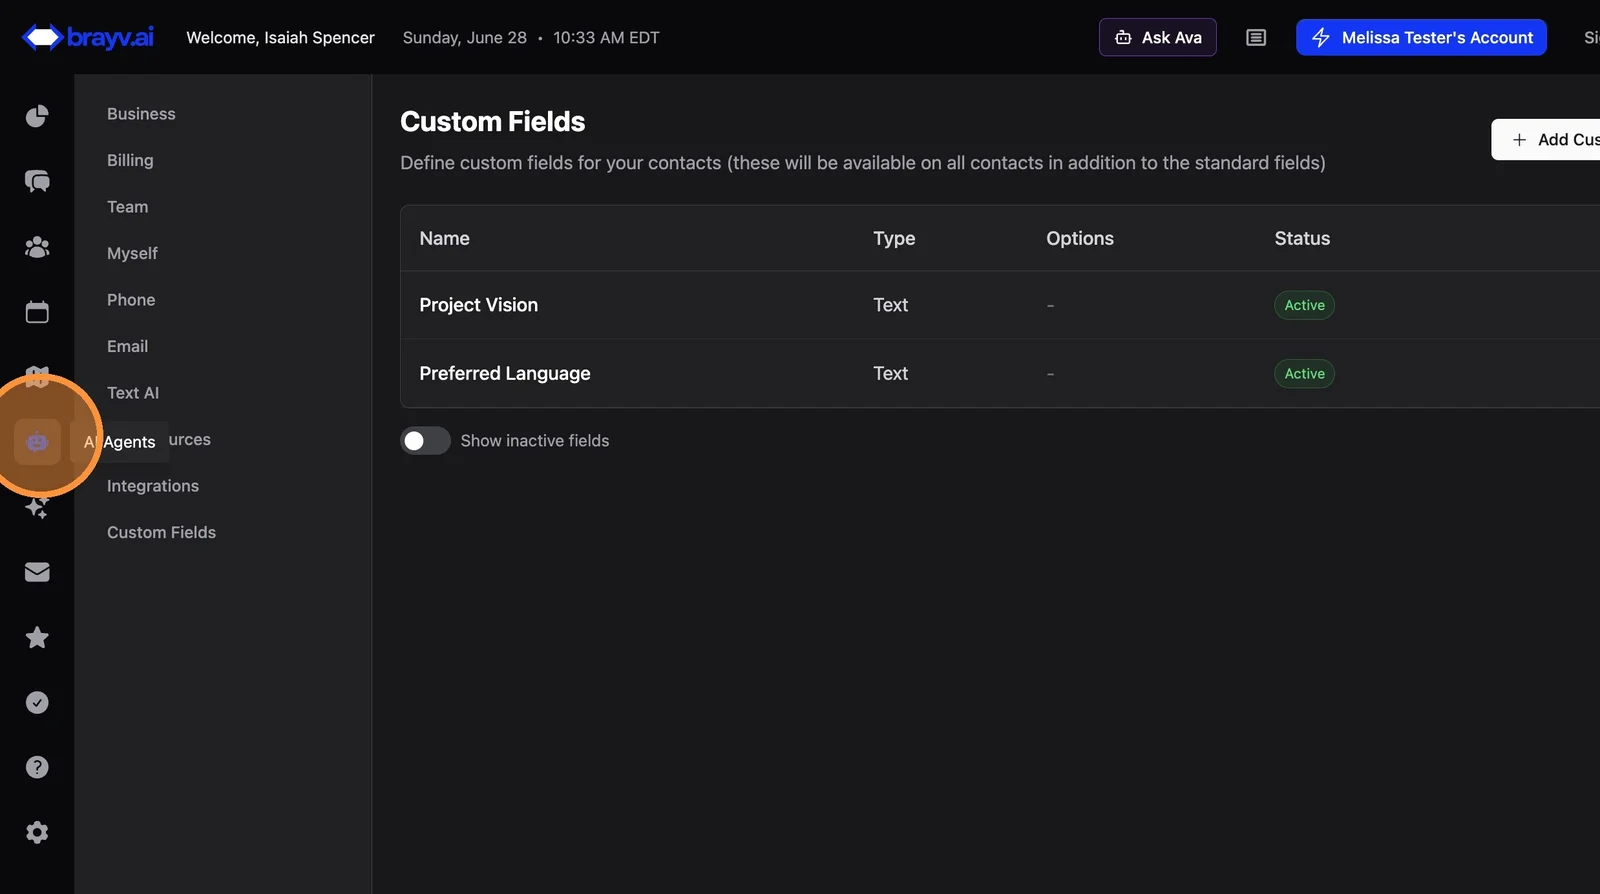
5. Click the AI Agents icon in the sidebar
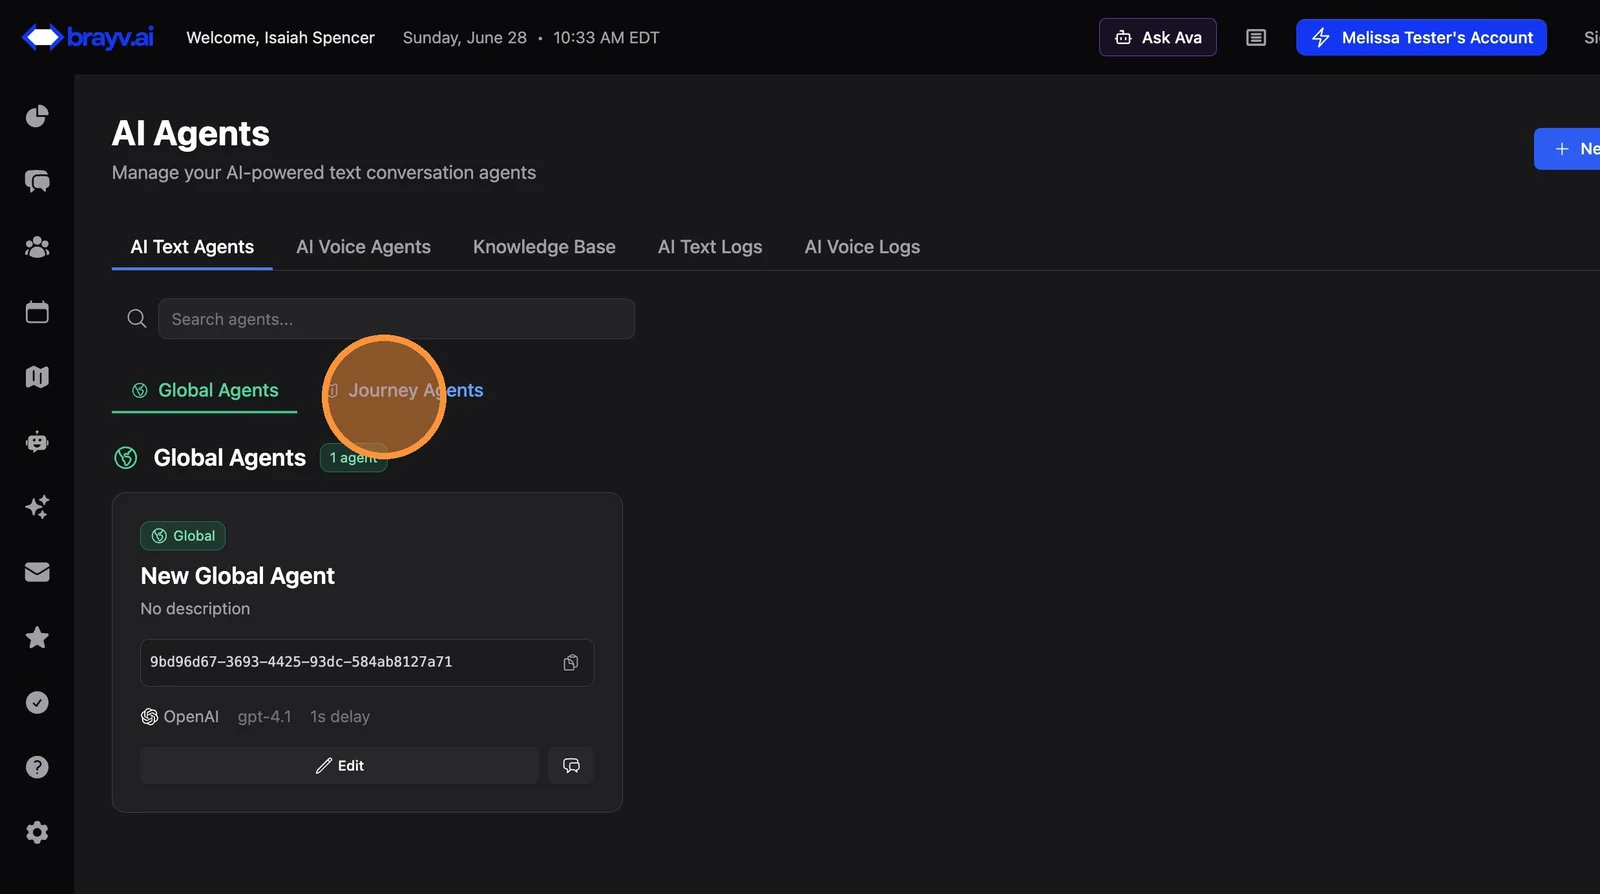
6. Click "Journey Agents"
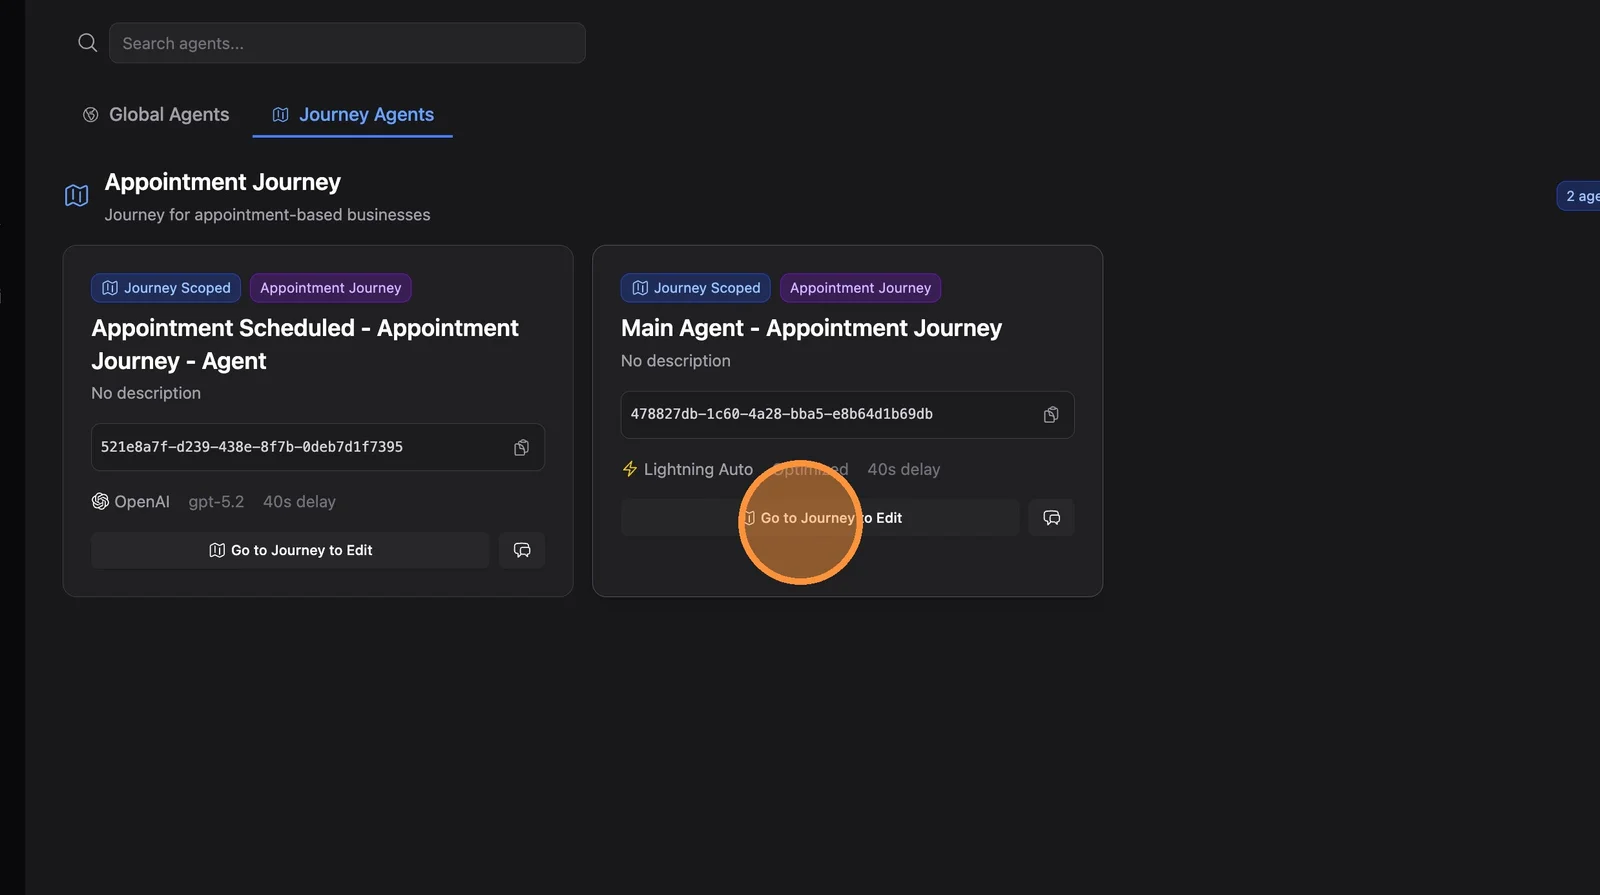
7. Find the main agent for the customer journey where you want the secondary language follow-ups, then click "Go to Journey to Edit"
Alternatively, go to the Journeys page and open the journey directly - you'll end up in the same place either way.
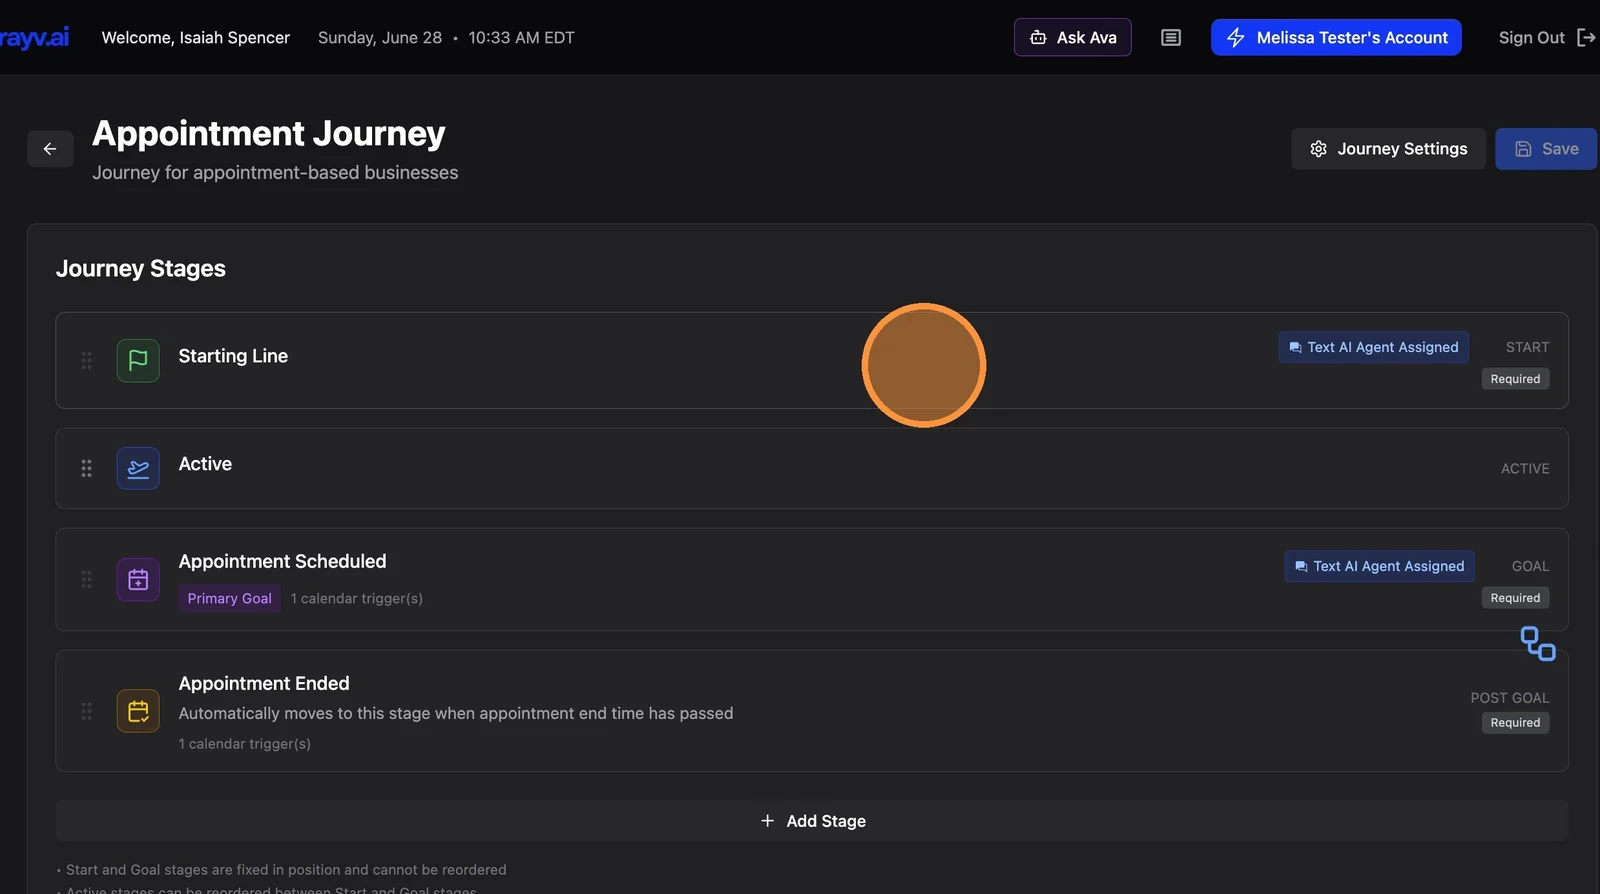
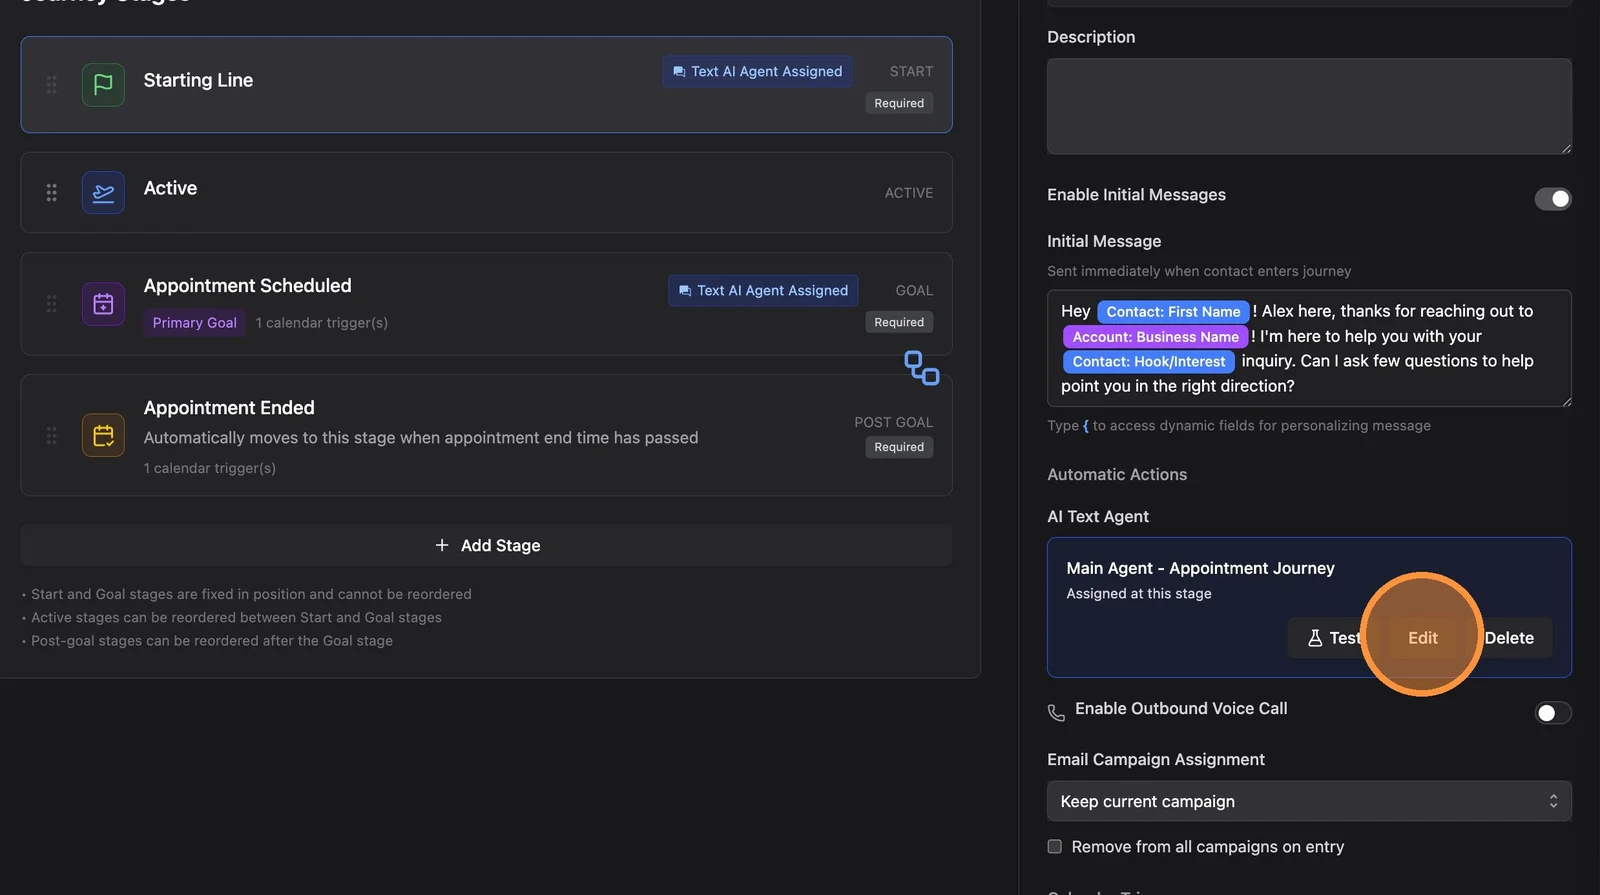
8. Select the "Starting Line" stage from the journey map
The Starting Line agent is the one that runs follow-up sequences for unresponsive new leads, so this is usually where you'll want multi-language follow-ups.
9. The stage configuration panel opens on the right. Find the AI Text Agent and click "Edit" to configure it
Field Extractor Setup
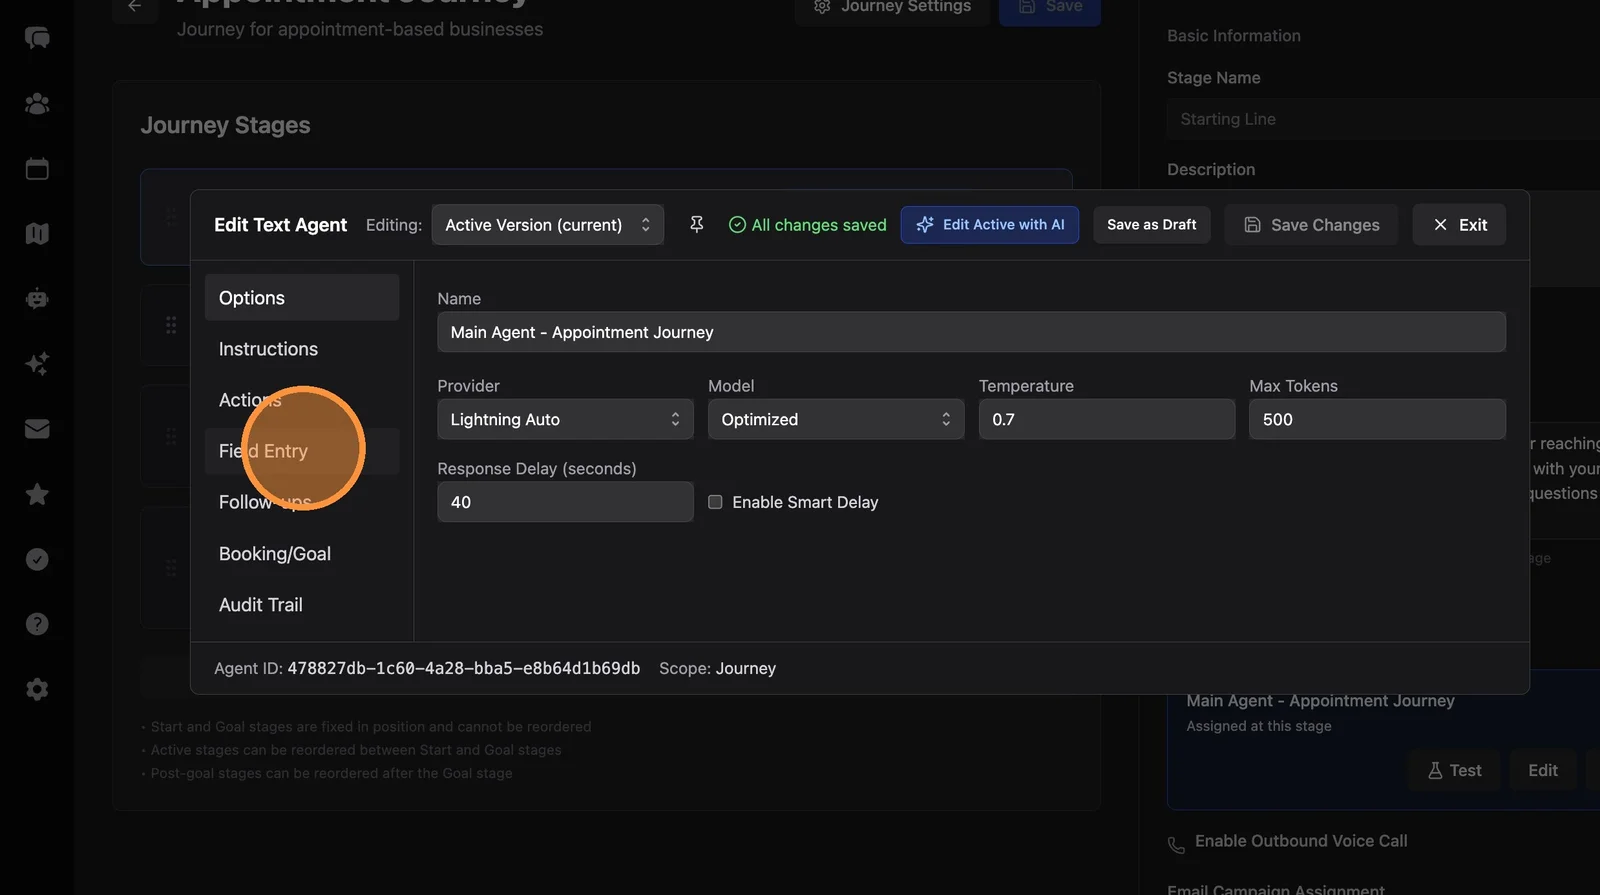
10. Navigate to the "Field Entry" tab
You can skip the field extractor setup if you already have an extractor recording language preference into a contact field.
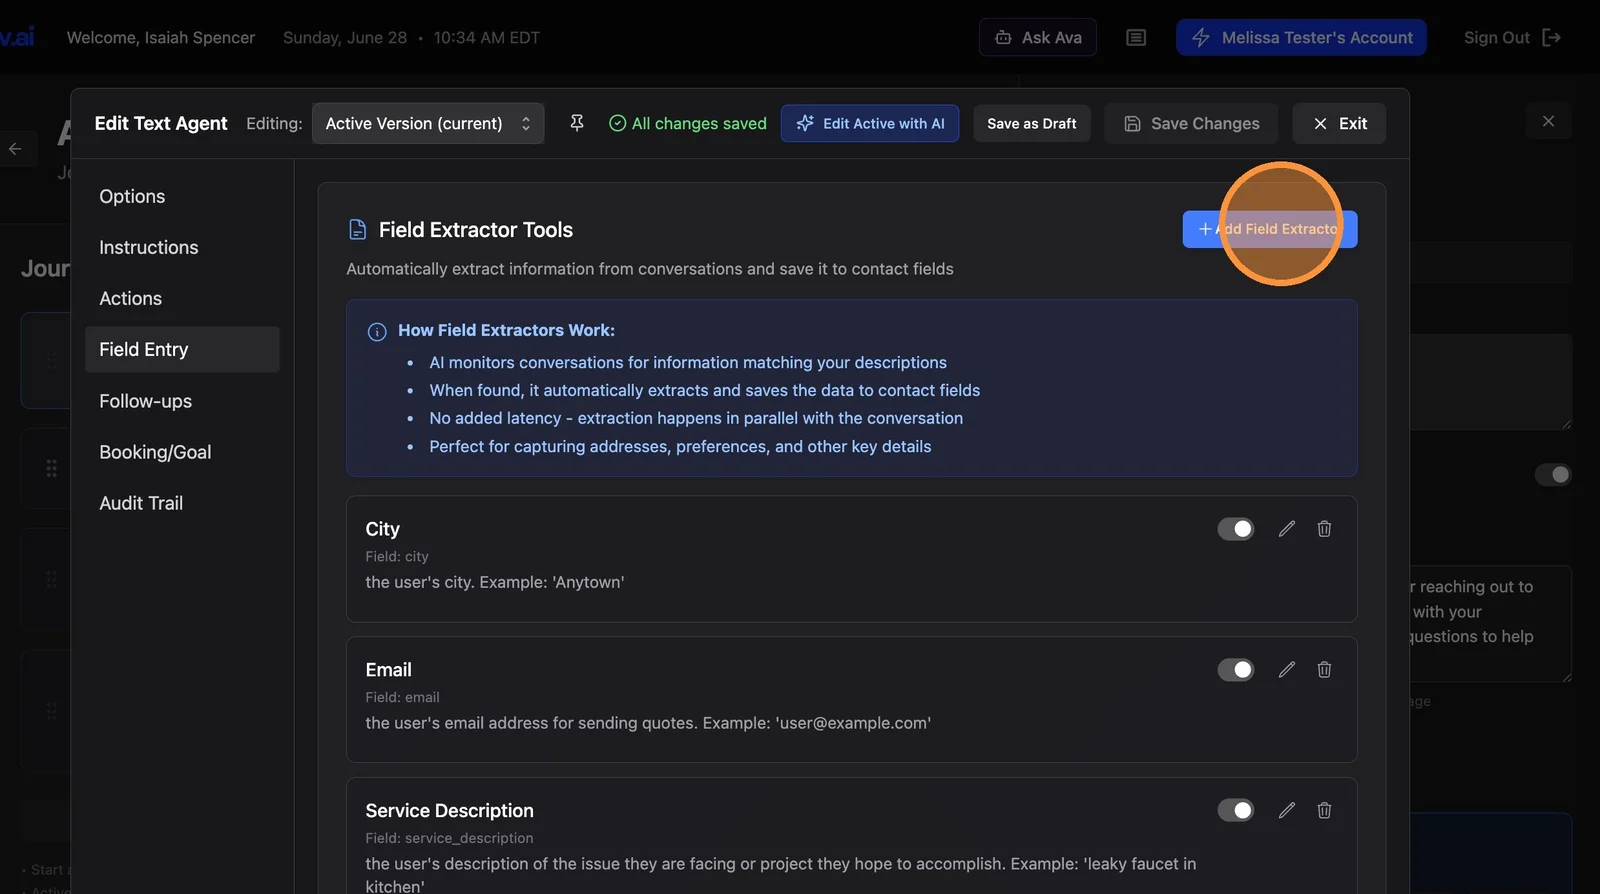
11. Click "Add Field Extractor"
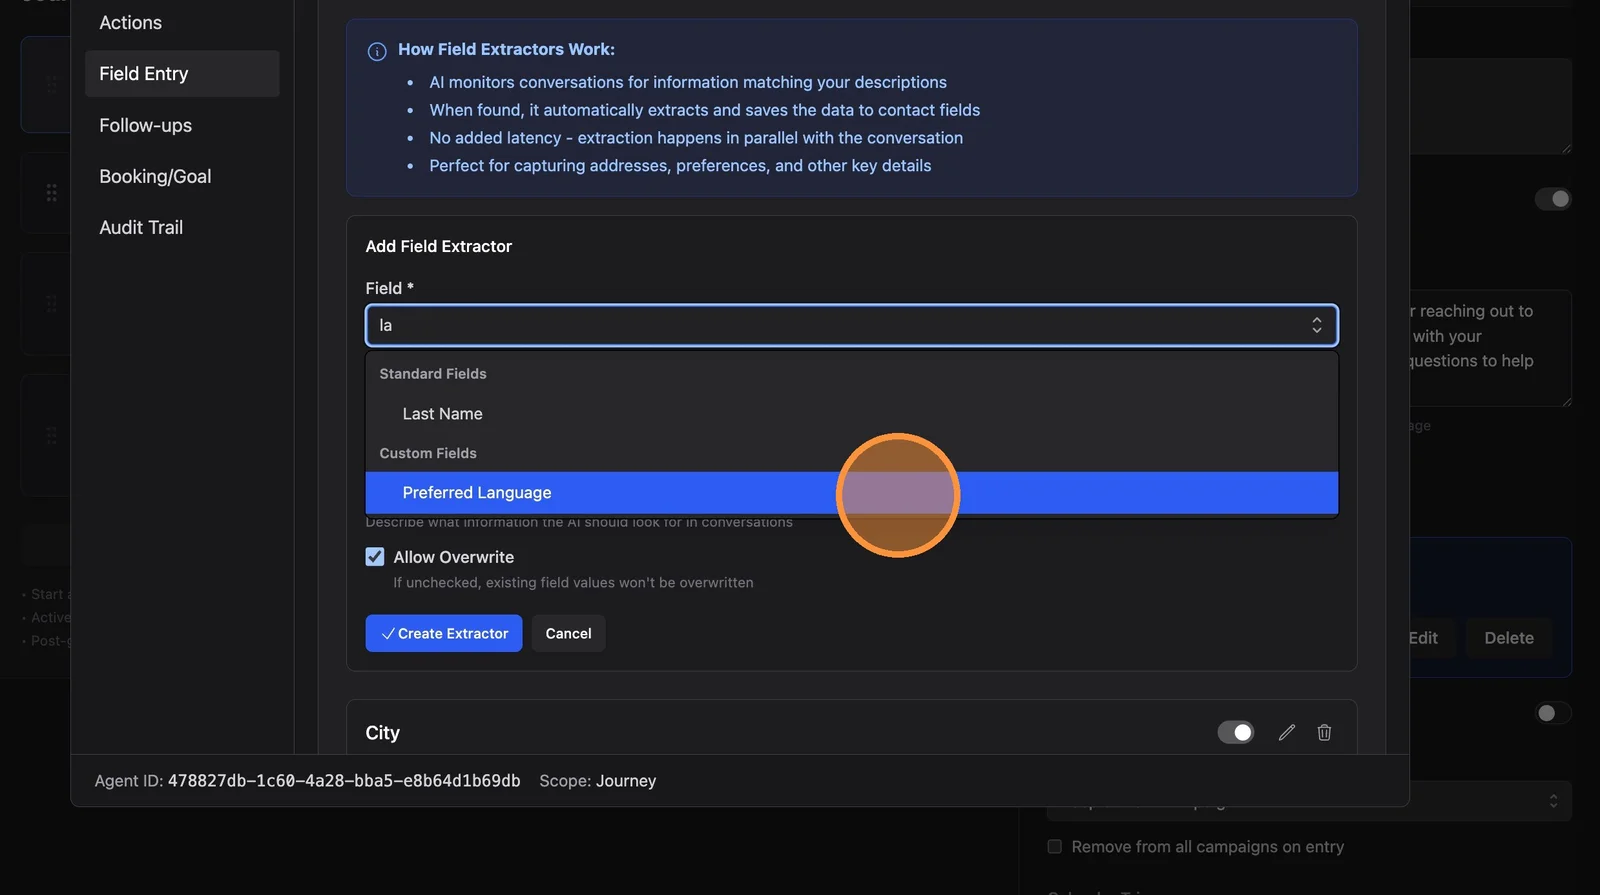
12. Search for the "Preferred Language" field (or whatever you named it) and select it
13. Describe the extraction logic in the "What to Extract" field
Be precise so the value is predictable and consistent. For example:
The user's preferred language. Fill EXACTLY with one of: 'english' or 'spanish' ONLY. If the user says they prefer Spanish or writes in Spanish, fill with 'spanish'; otherwise fill with 'english'.
Tip: the Multi-Language Messages section (later in this guide) shows a suggested description you can copy that already matches the languages you've configured.
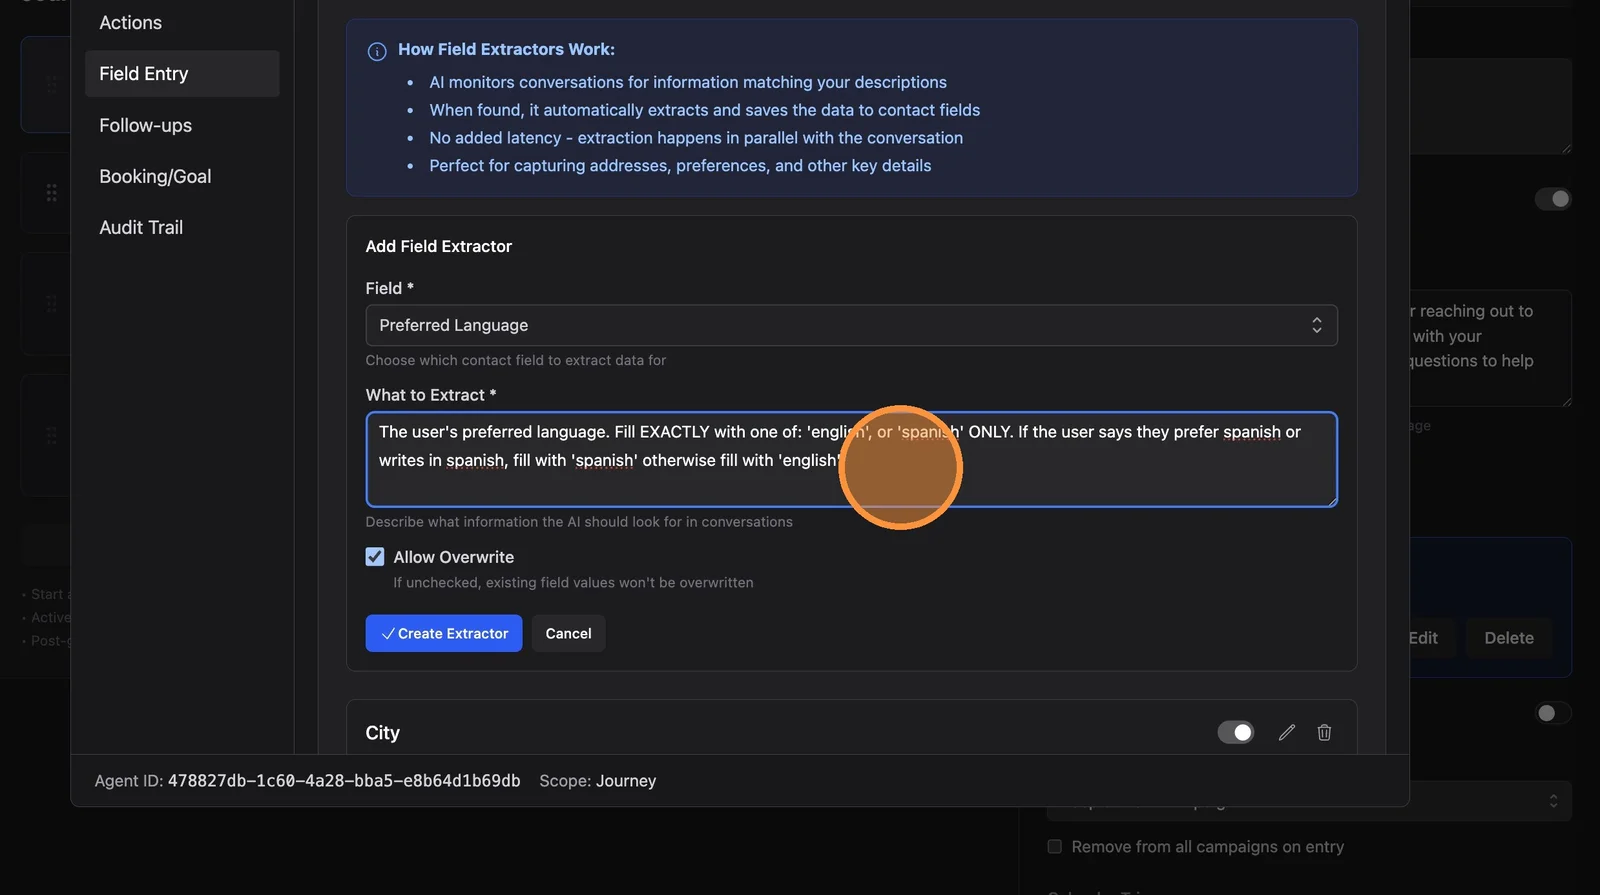
14. Click "Create Extractor"
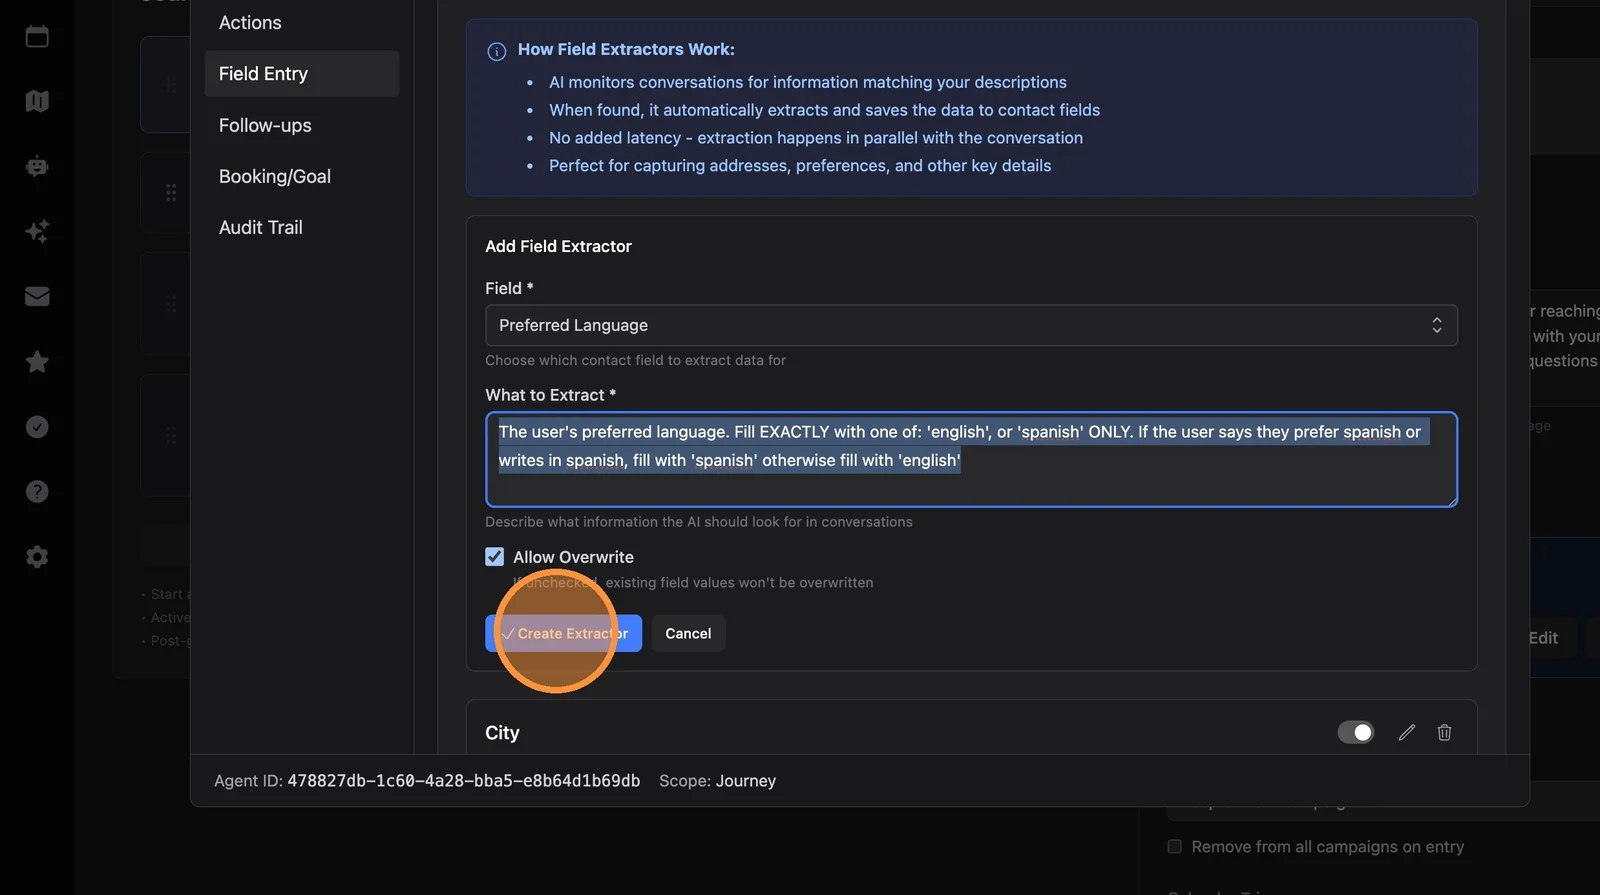
Build the Multi-Language Follow-Ups
15. Click "Follow-ups"
Make sure you already have your default follow-up sequence built here. The second-language version is generated from your default messages, so you need those in place first. See Follow-Up Sequences if you haven't set one up yet.
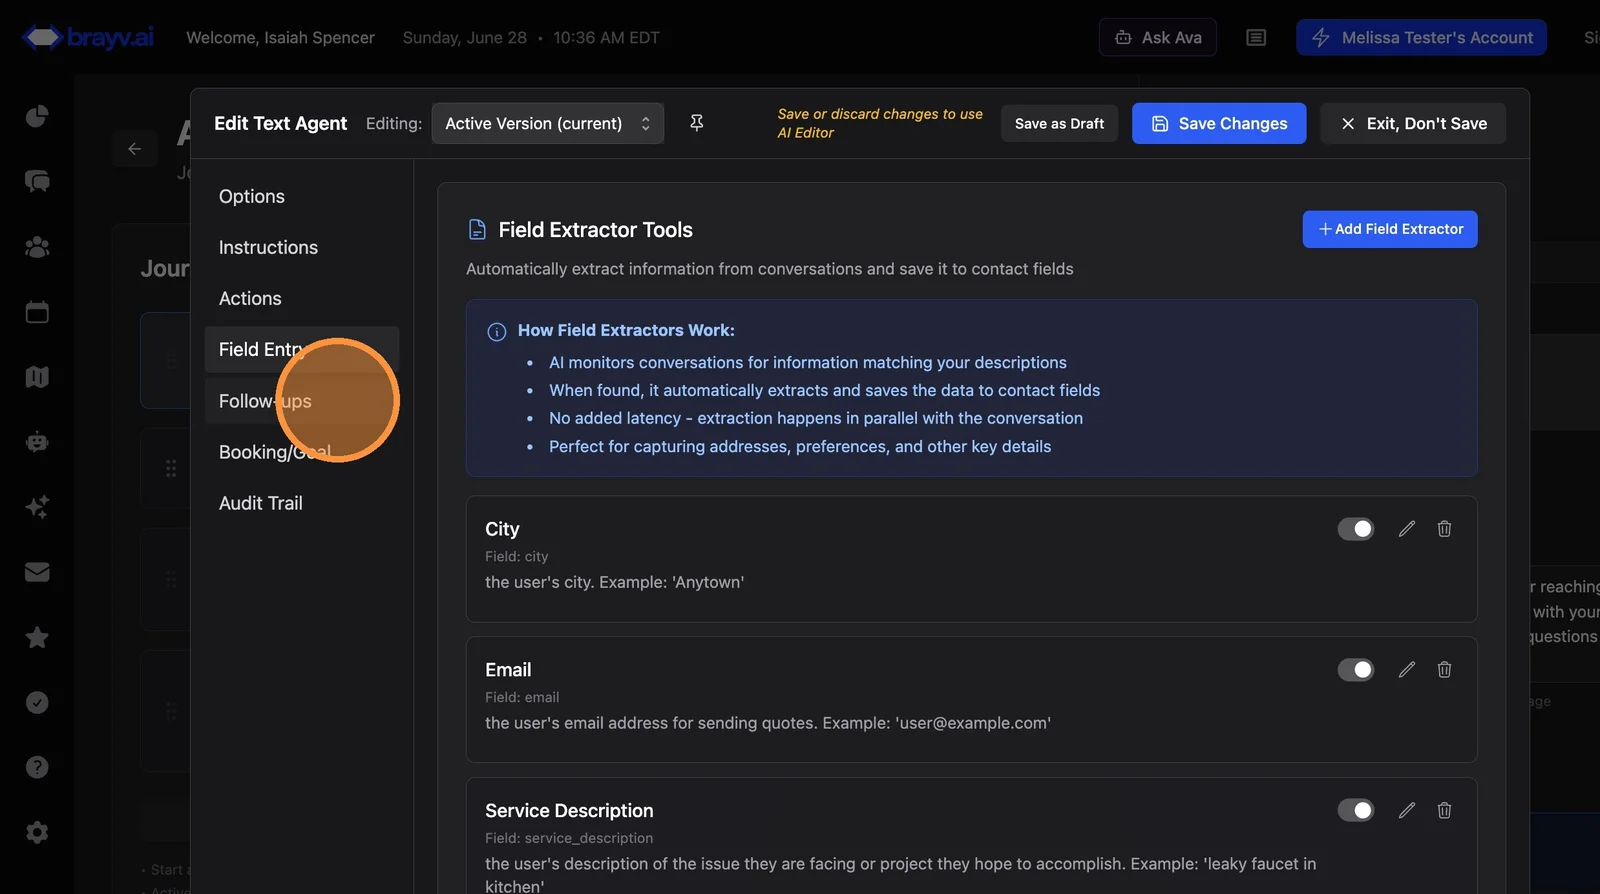
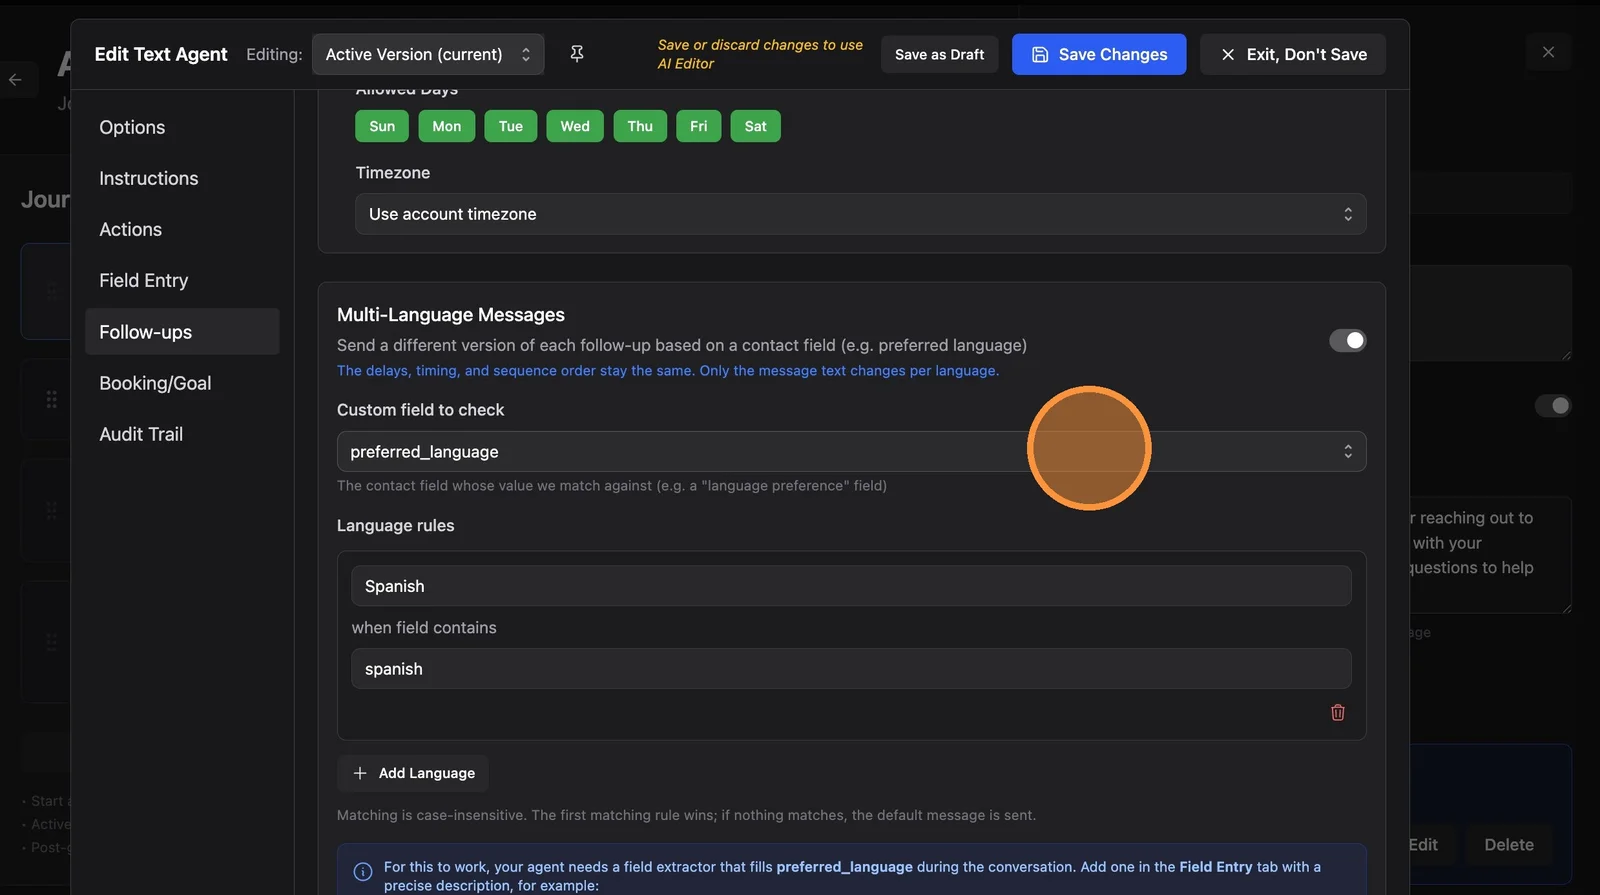
16. Enable the "Multi-Language Messages" toggle (switch it to the right)
Turning this on adds a starter "Spanish" rule (when the field contains "spanish"). You can rename the language, change the matching word, or add more languages with "Add Language".
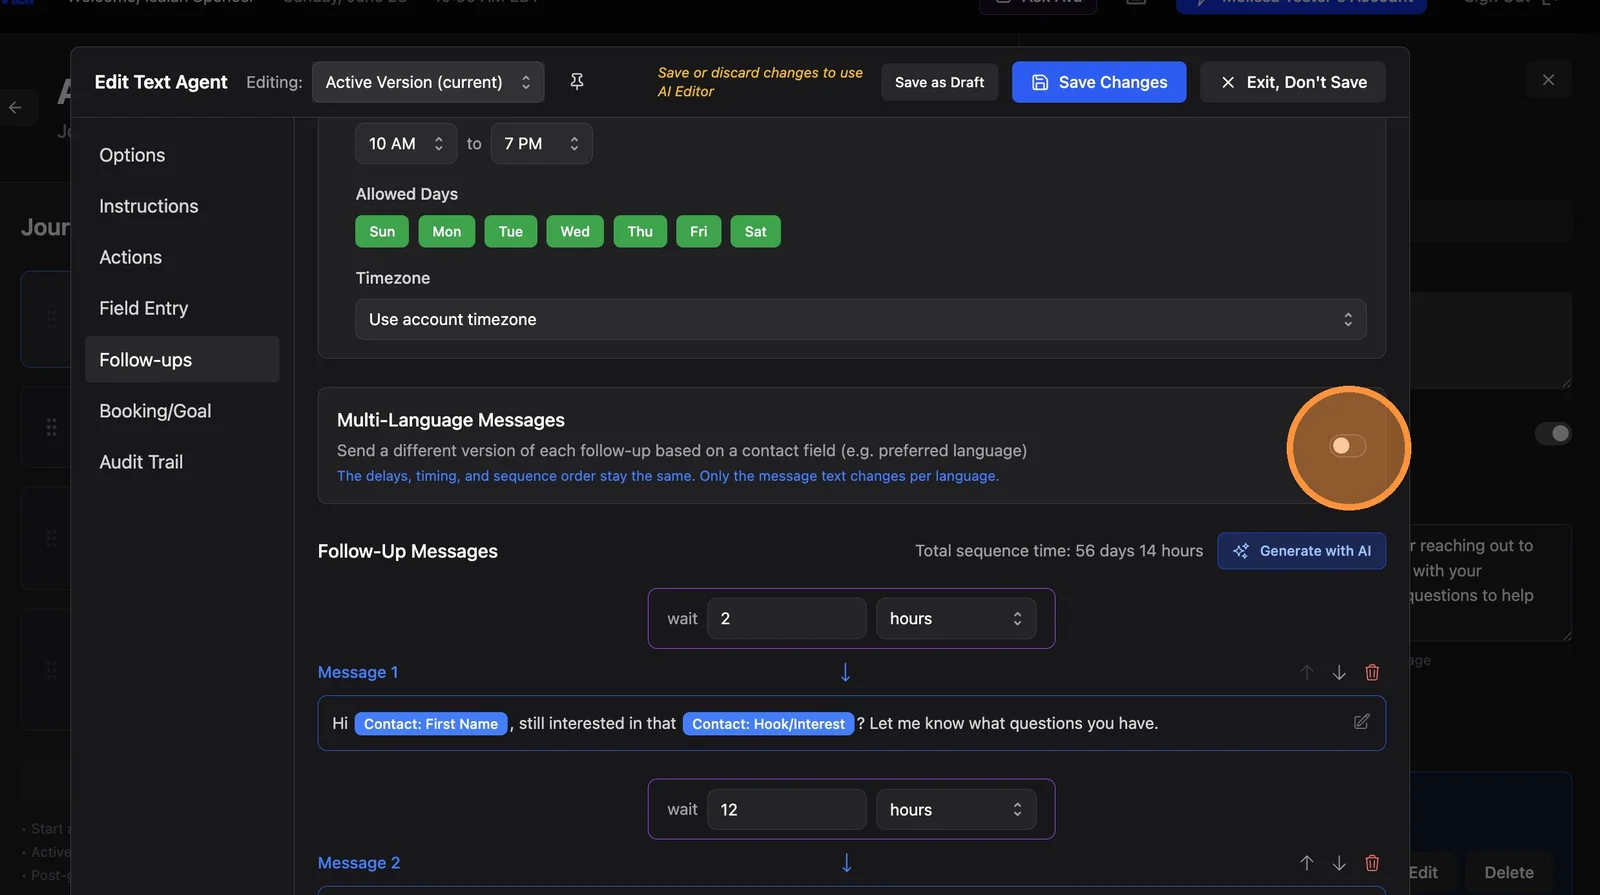
17. Select "preferred_language" as the custom field to check (or whatever field you created/are using)
This is the contact field the system reads at send time. Each language rule then says: when this field contains [your word], send that language's version.
Matching is case-insensitive and uses "contains," so a field value of "Spanish", "spanish", or even "prefers spanish" all match a rule of
spanish. Just make sure the rule's word matches the value your extractor writes (we usedspanish).If no field extractor on this agent fills the selected field, you'll see a warning here - that's your cue to finish the extractor setup in steps 10-14.
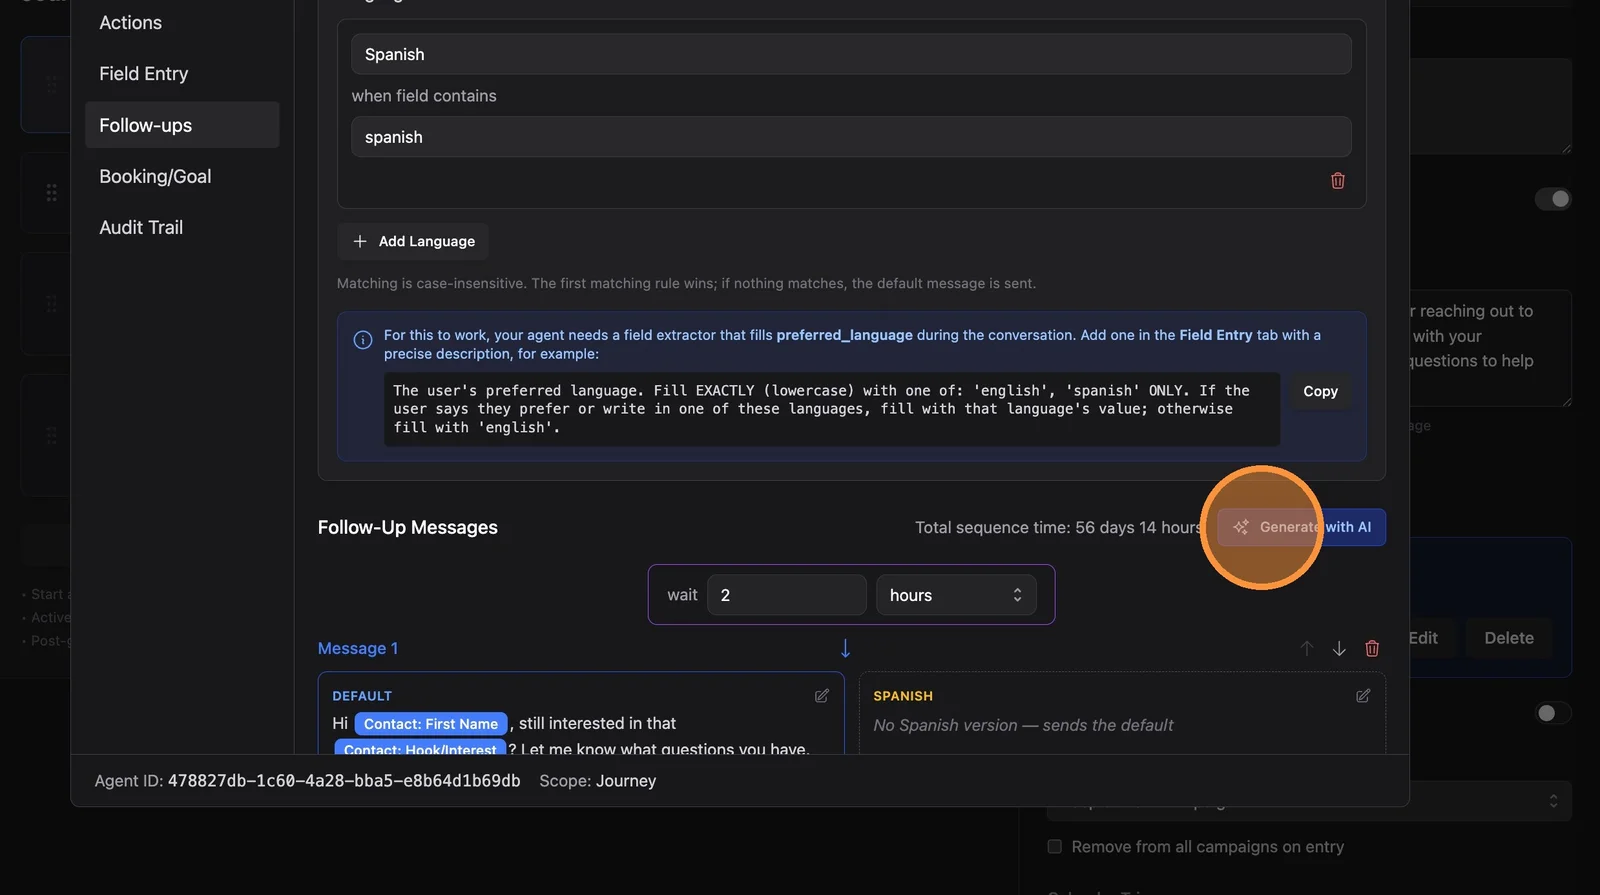
18. Click "Generate with AI"
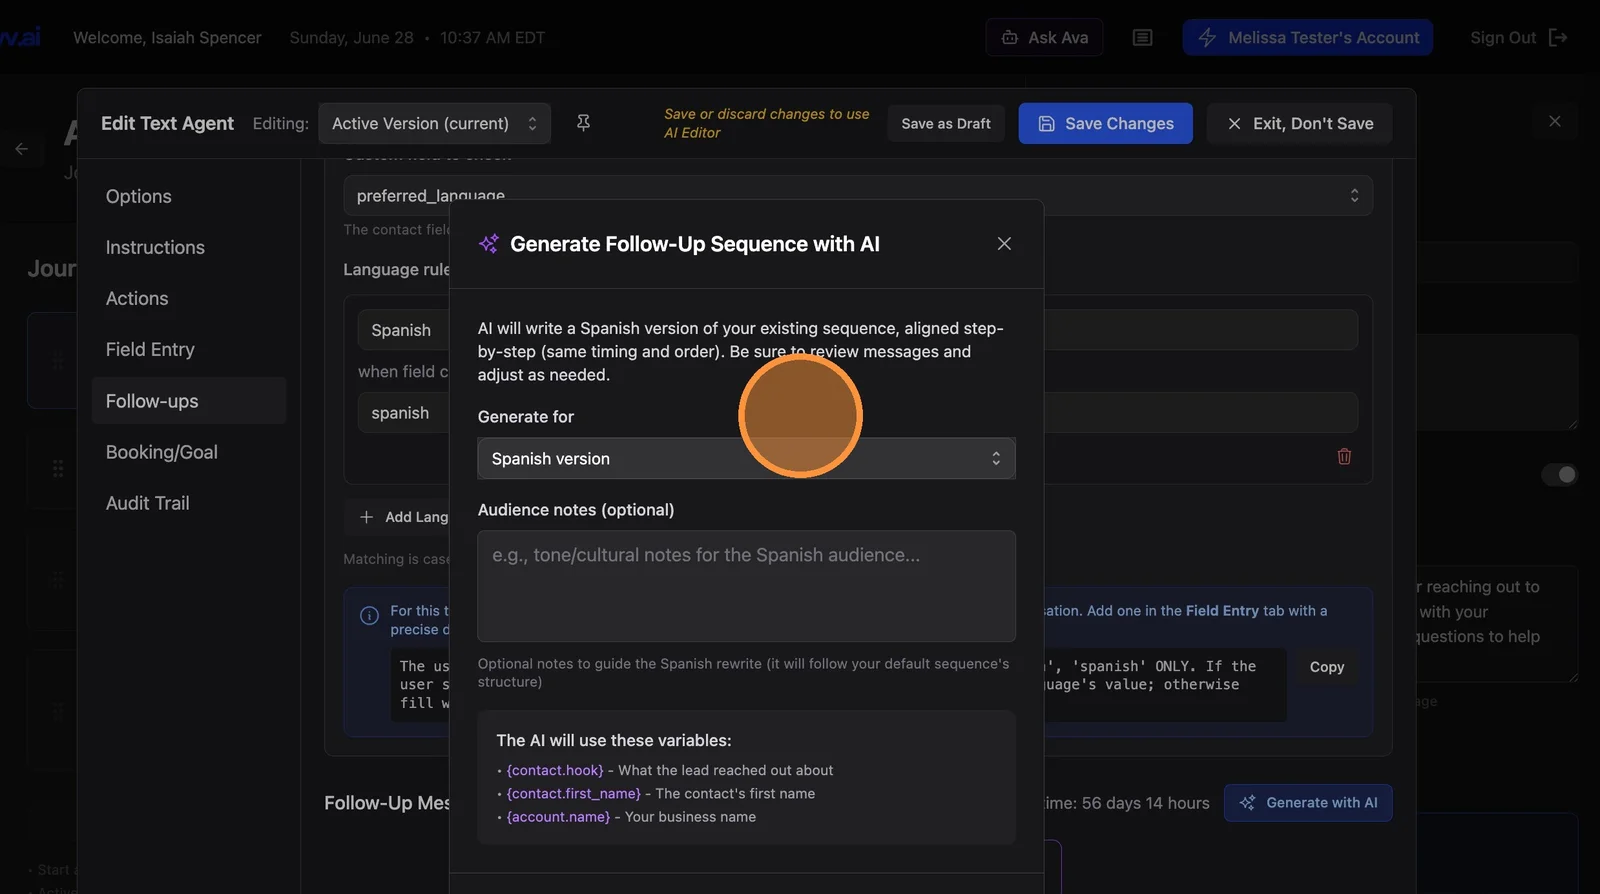
19. Select "Spanish version" from the "Generate for" dropdown
The AI writes one message per step of your default sequence, in order, keeping the same timing. It writes naturally for the audience rather than translating word-for-word.
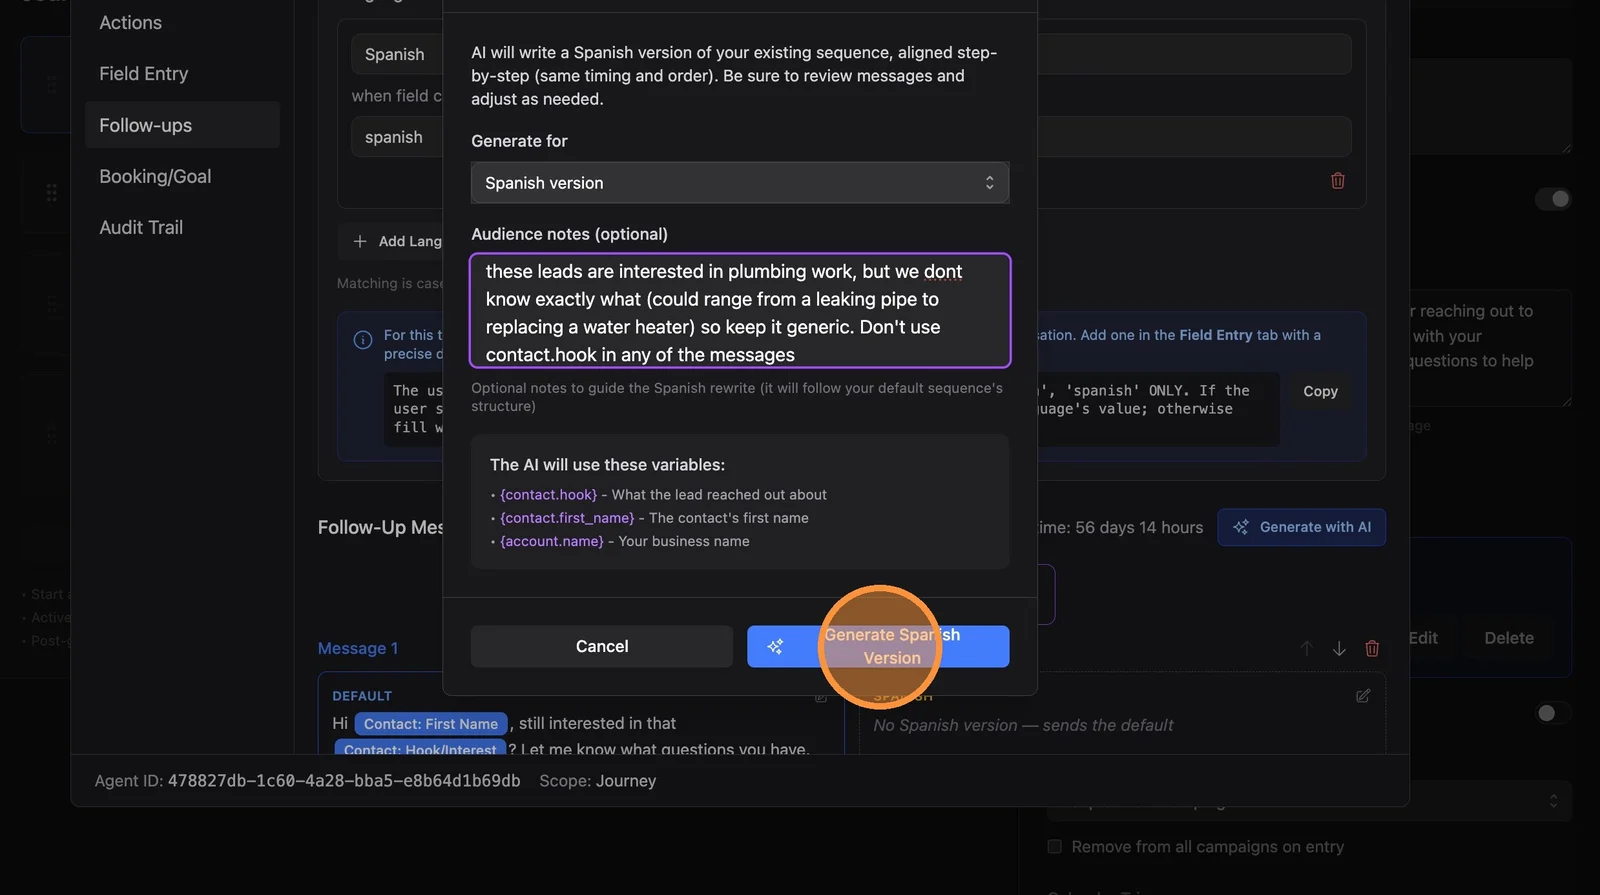
20. Add any notes about this audience, then click "Generate Spanish Version"
Consider telling the AI not to use
{contact.hook}in these messages. The hook usually contains English text captured from the lead, and it gets inserted verbatim at send time - so it would appear in English inside an otherwise Spanish message. Variables like{contact.first_name}are fine.
Update Agent Instructions and Save
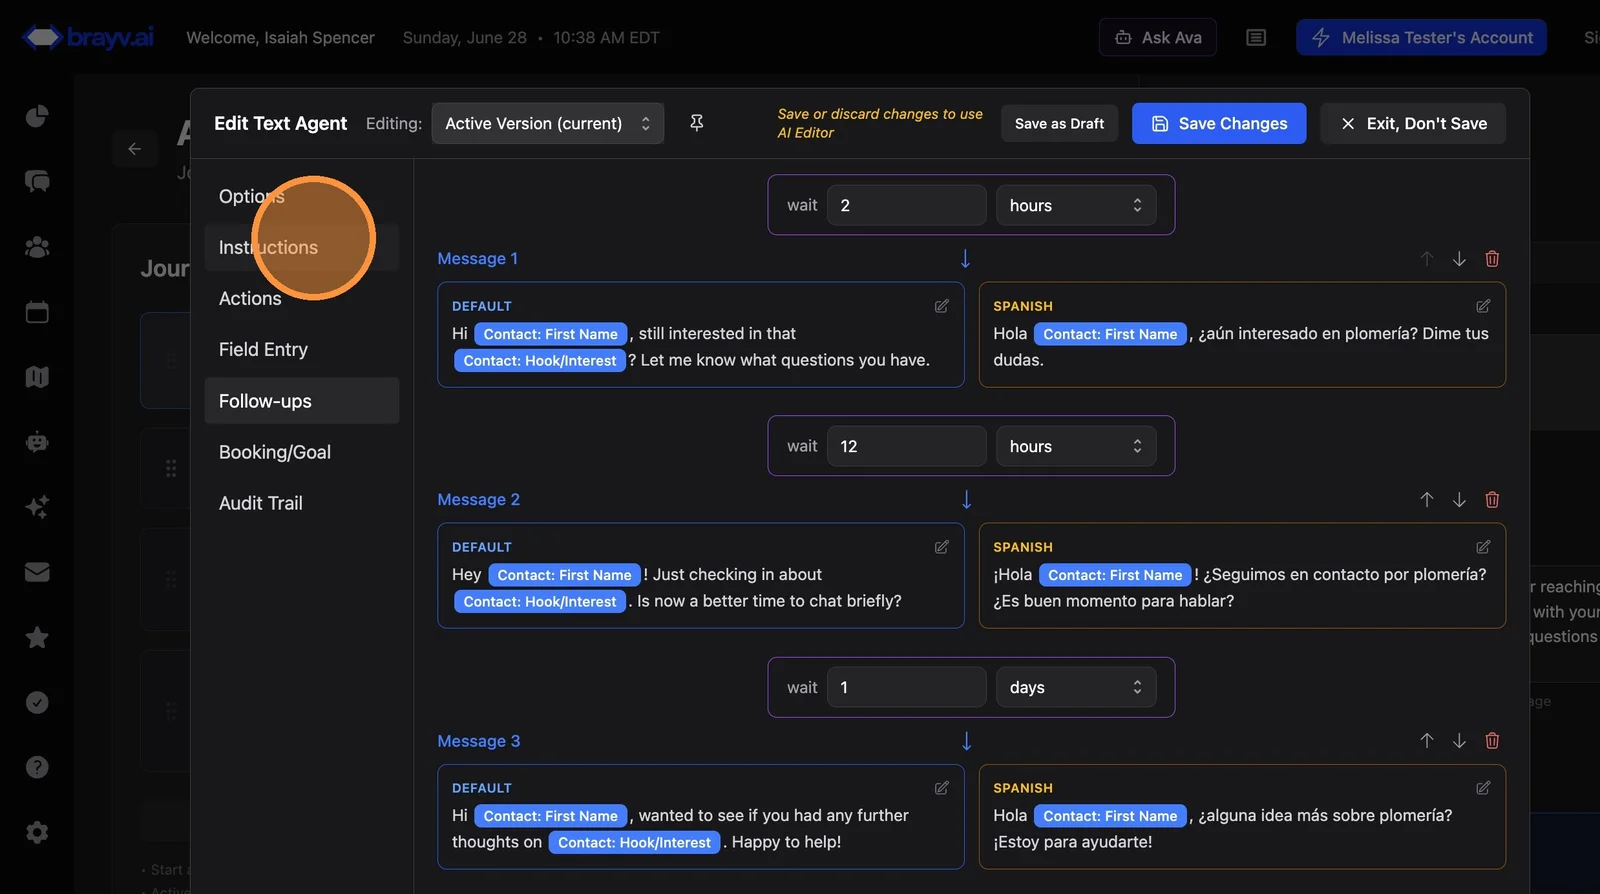
21. Review the generated second-language messages, shown side by side with your default messages
Each step shows the Default version next to the Spanish version. You can click any version to edit it. A step left blank in a language will simply send the default message for that step, so you don't have to translate every step.
The generated follow-ups only control the scripted messages sent to unresponsive leads. To make sure the agent also replies in the right language during a live conversation, update its instructions next.
Click "Instructions"
22. Add a language rule to the agent instructions
You may already have this if your agent has been conversing in multiple languages and you're just adding follow-ups.
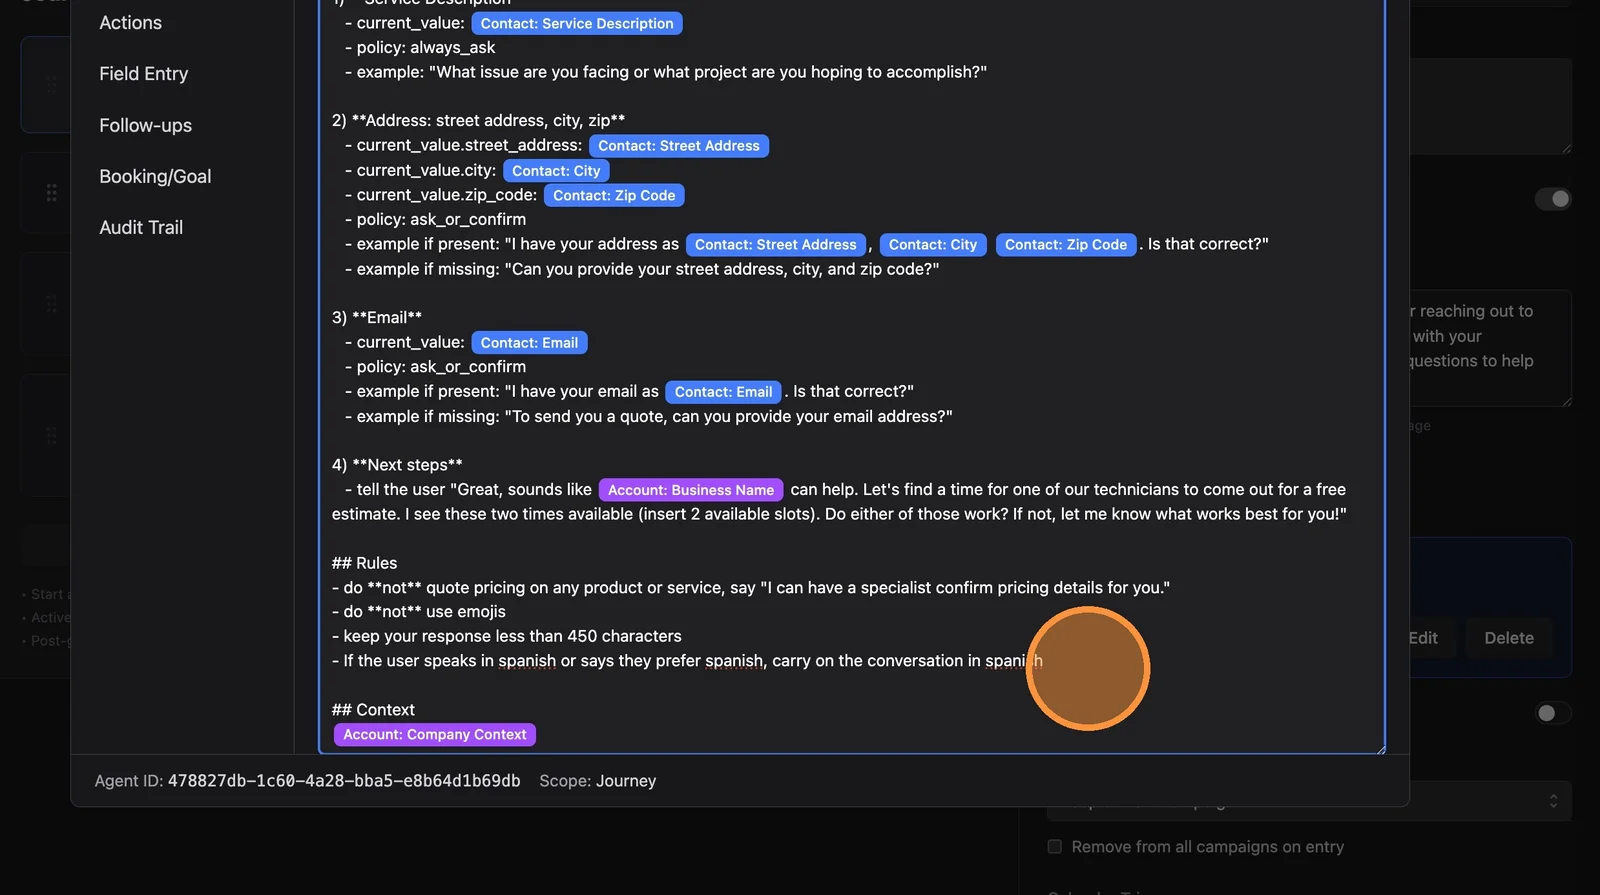
Go to the
## Rulessection and add something like: "If the user writes in Spanish or says they prefer Spanish, carry on the conversation in Spanish."You can also add: "Otherwise, respond only in English, regardless of what language the user writes in" if you want to limit your agent to specific languages.
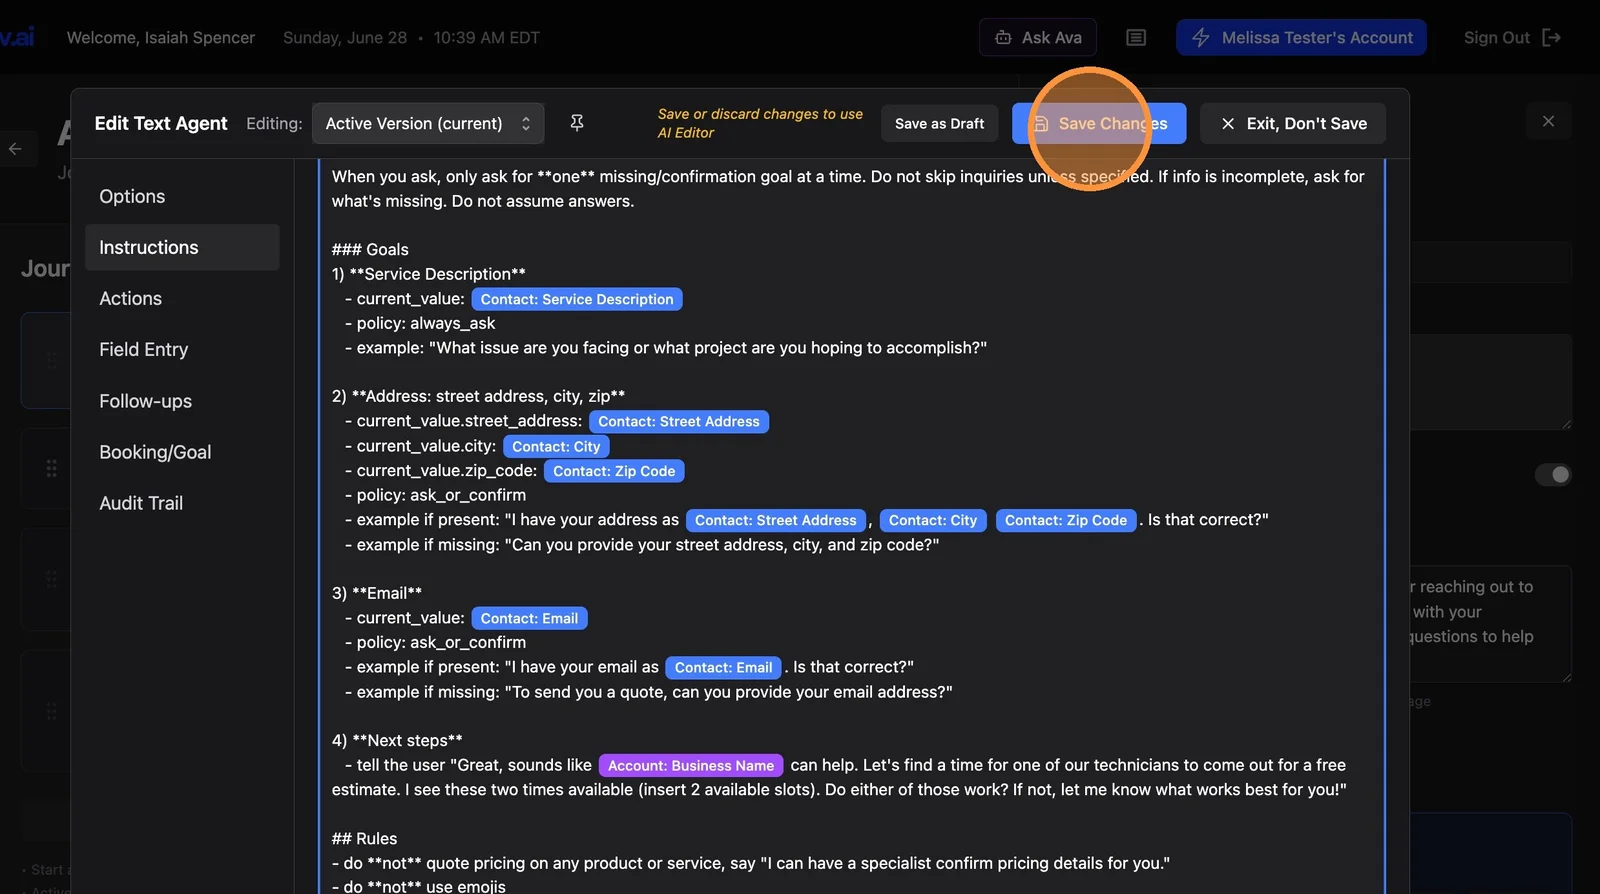
23. Click "Save Changes" on the agent. All done!
How It Works
One sequence, swappable text: There is still just one follow-up sequence with one timeline. The delays, order, and number of messages never change - only the message text is swapped based on the contact's field value.
Evaluated at send time: The contact's field is checked each time a follow-up is about to send. If a lead only reveals their language preference partway through the conversation, the remaining follow-ups automatically switch to that language.
Graceful fallback: If the field is empty, doesn't match any rule, or a particular step has no translation, the contact receives your default message for that step. Contacts who don't need a translation are never affected.
First match wins: If you configure multiple languages, rules are checked top to bottom and the first match is used.
Related Features
- Follow-Up Sequences - Build and manage the default sequence these versions are based on
- Field Extractors - How the agent captures the language preference into a contact field
- AI Text Agents Overview - Understanding how AI text agents work
- Customer Journeys - Stages, opportunities, and where follow-ups run
Summary
To send follow-ups in a second language:
- Create a field to store language preference (or reuse an existing one)
- Add a field extractor so the agent fills that field during conversations
- Enable Multi-Language Messages on the agent's Follow-ups tab and choose the field to check
- Generate the second-language version of your existing sequence and review it side by side
- Update the agent's instructions so live replies use the right language, then Save
Because matching is case-insensitive with a graceful fallback to your default messages, you can roll this out without any impact on contacts who don't need a translation.