
Related Articles
Creating a Journey and Configuring AI Agents on Stages
Quick Reference Keywords: Create journey · Appointment journey · AI agent setup · Stage configuration · Follow-up sequence · Edit with AI · Booking goal · Conditional tools
Overview
This guide walks you through creating a new appointment-based journey from scratch, including setting up AI text agents on each stage, configuring booking, generating follow-up sequences, and adding conditional tools. By the end, you'll have a fully functional journey where AI qualifies leads and books appointments automatically.
Estimated time to complete: 15-20 minutes
For a deeper understanding of journey concepts, stages, and automation, see the Customer Journeys Overview.
Part 1: Creating a Calendar (If Needed)
If you already have a calendar set up, skip to Part 2. You need at least one calendar before creating an appointment journey. For detailed calendar configuration, see Calendars and Appointments.
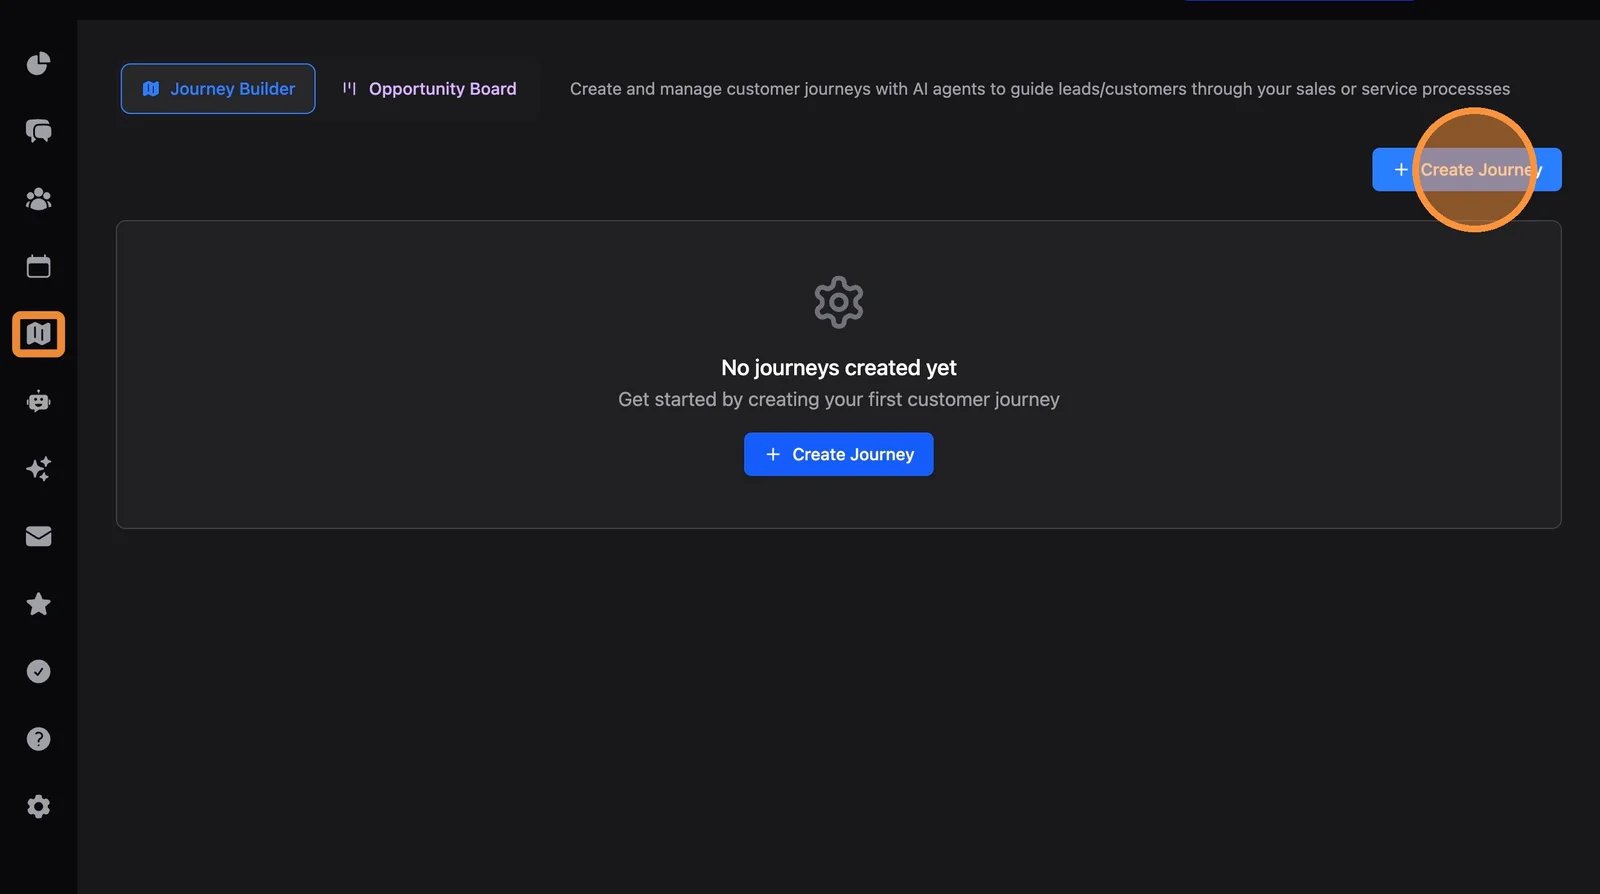
1. Navigate to Journeys (map icon, main left-hand menu). In Journey Builder, click "Create Journey"
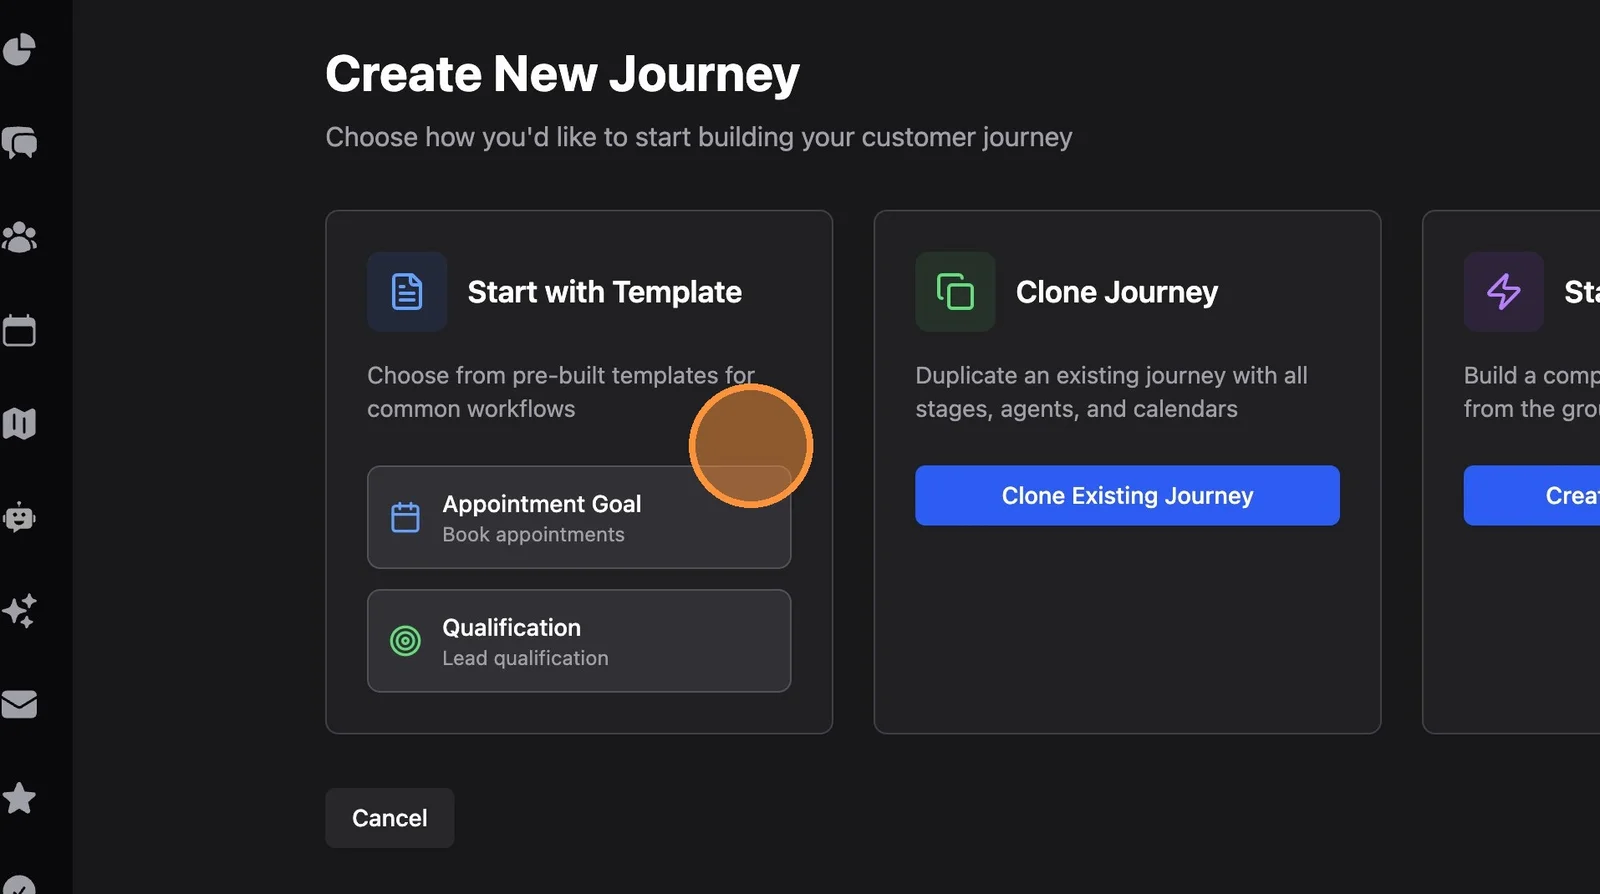
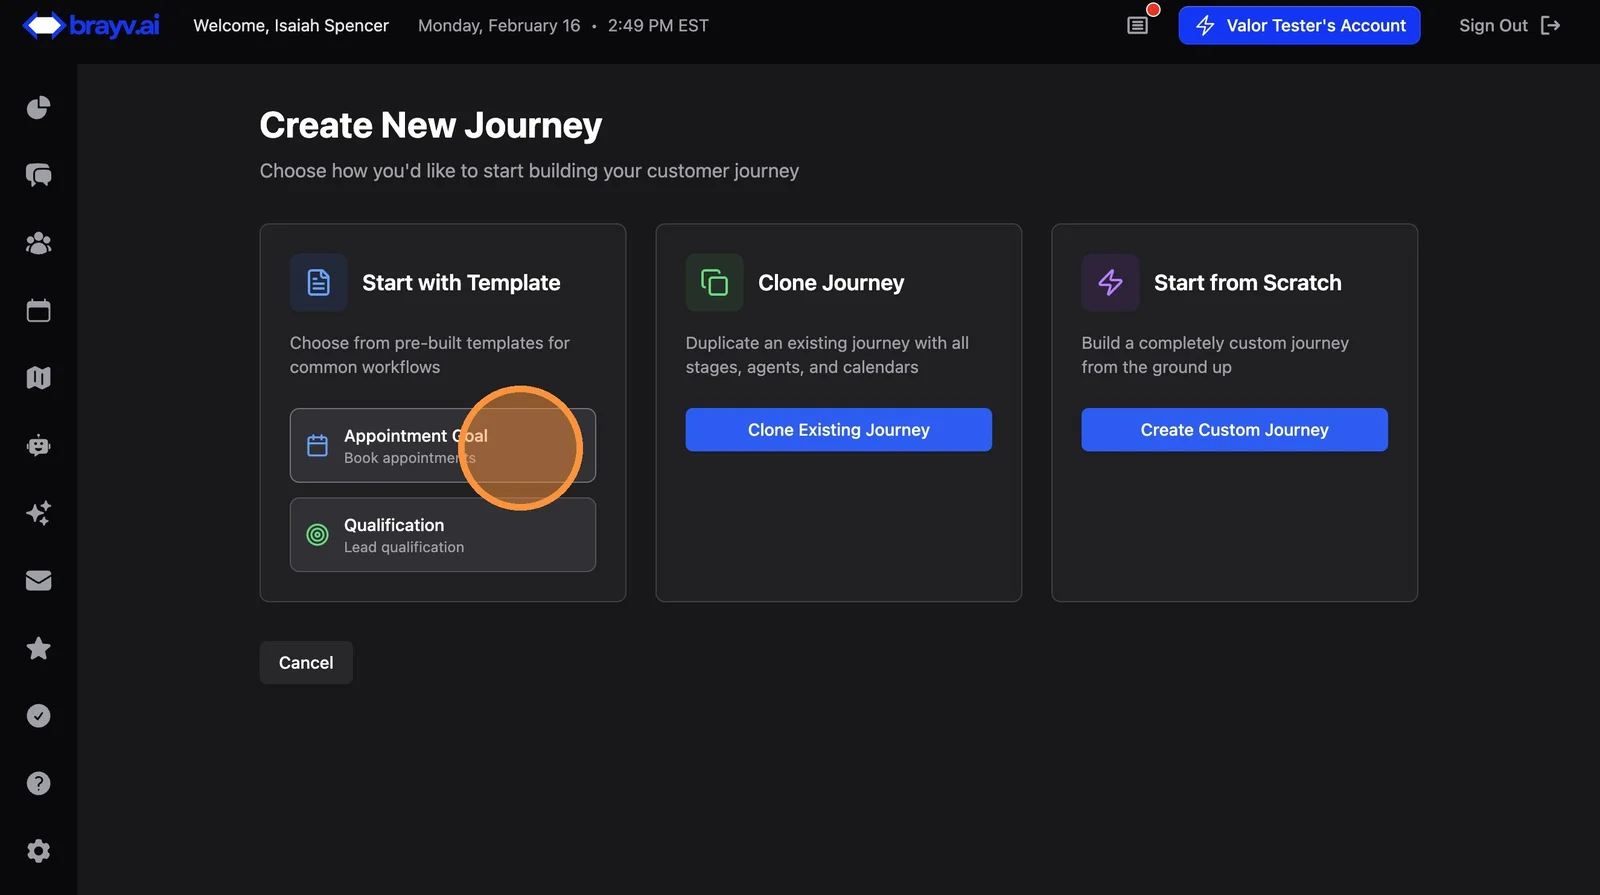
2. Choose a template. Select "Appointment Goal" for booking journeys, or "Qualification" for qualifying and handing off to a human.
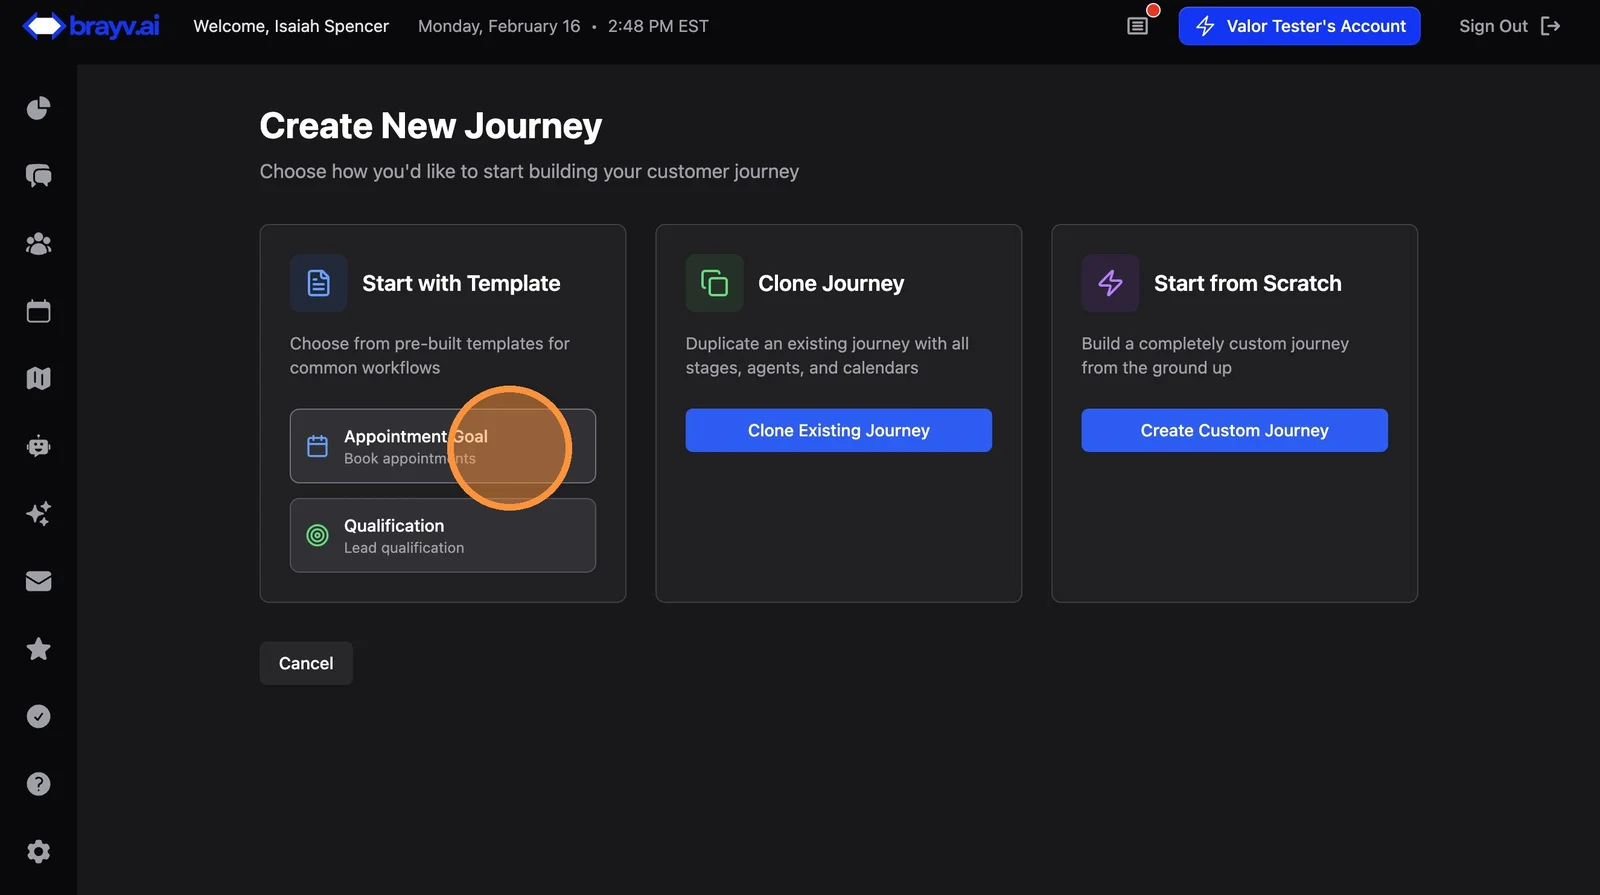
3. Click "Appointment Goal"
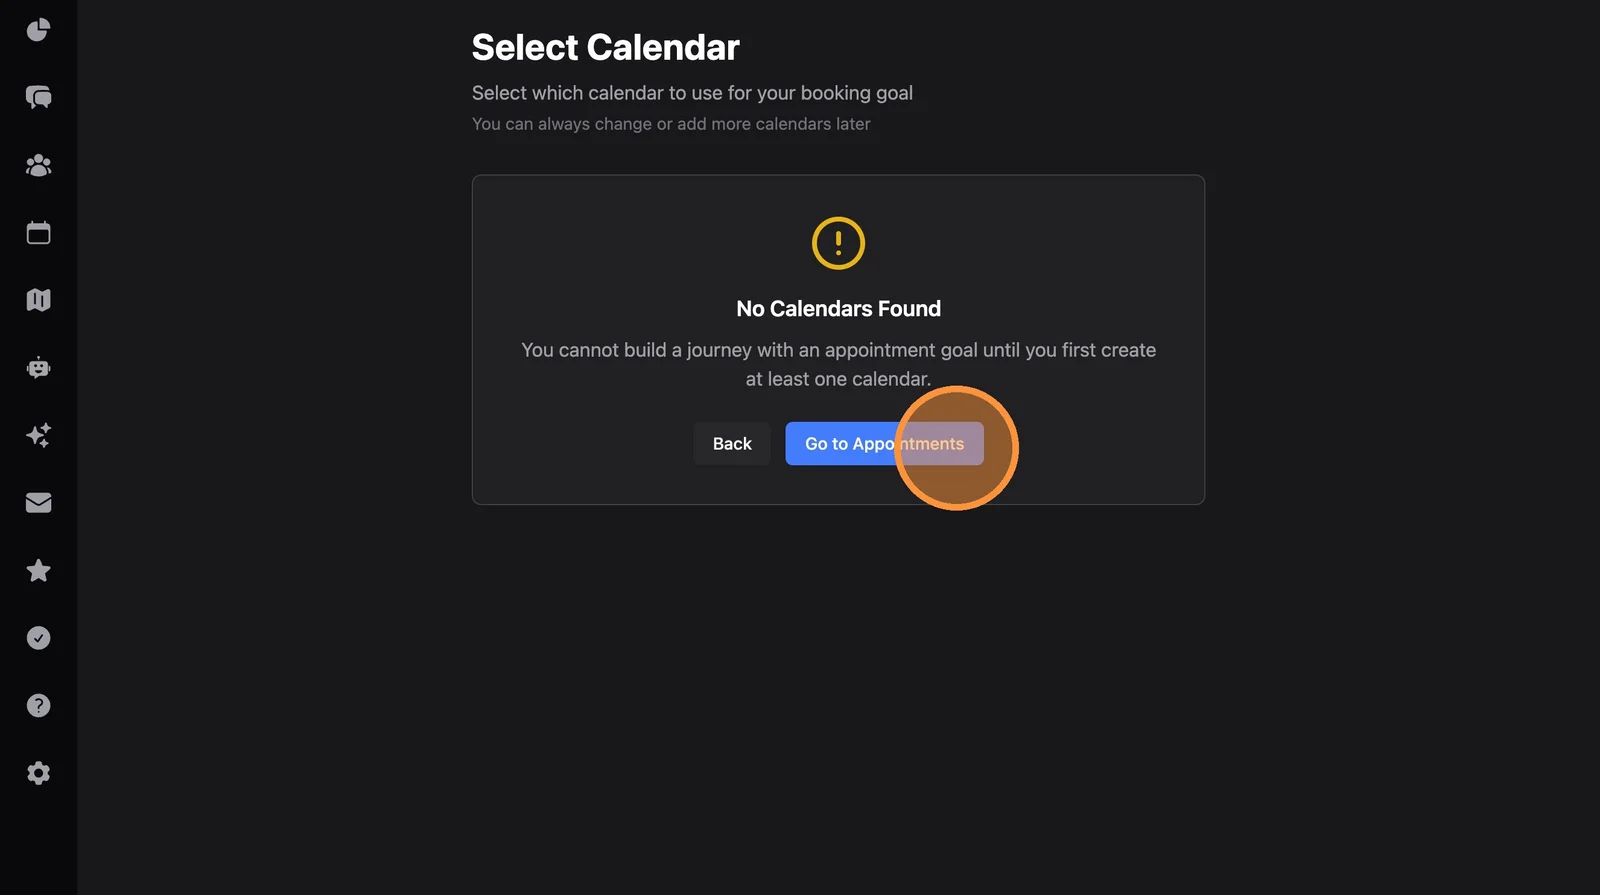
4. If you don't have a calendar, you'll be prompted. Click "Go to Appointments" to create one first.
5. Click "Calendar Settings"
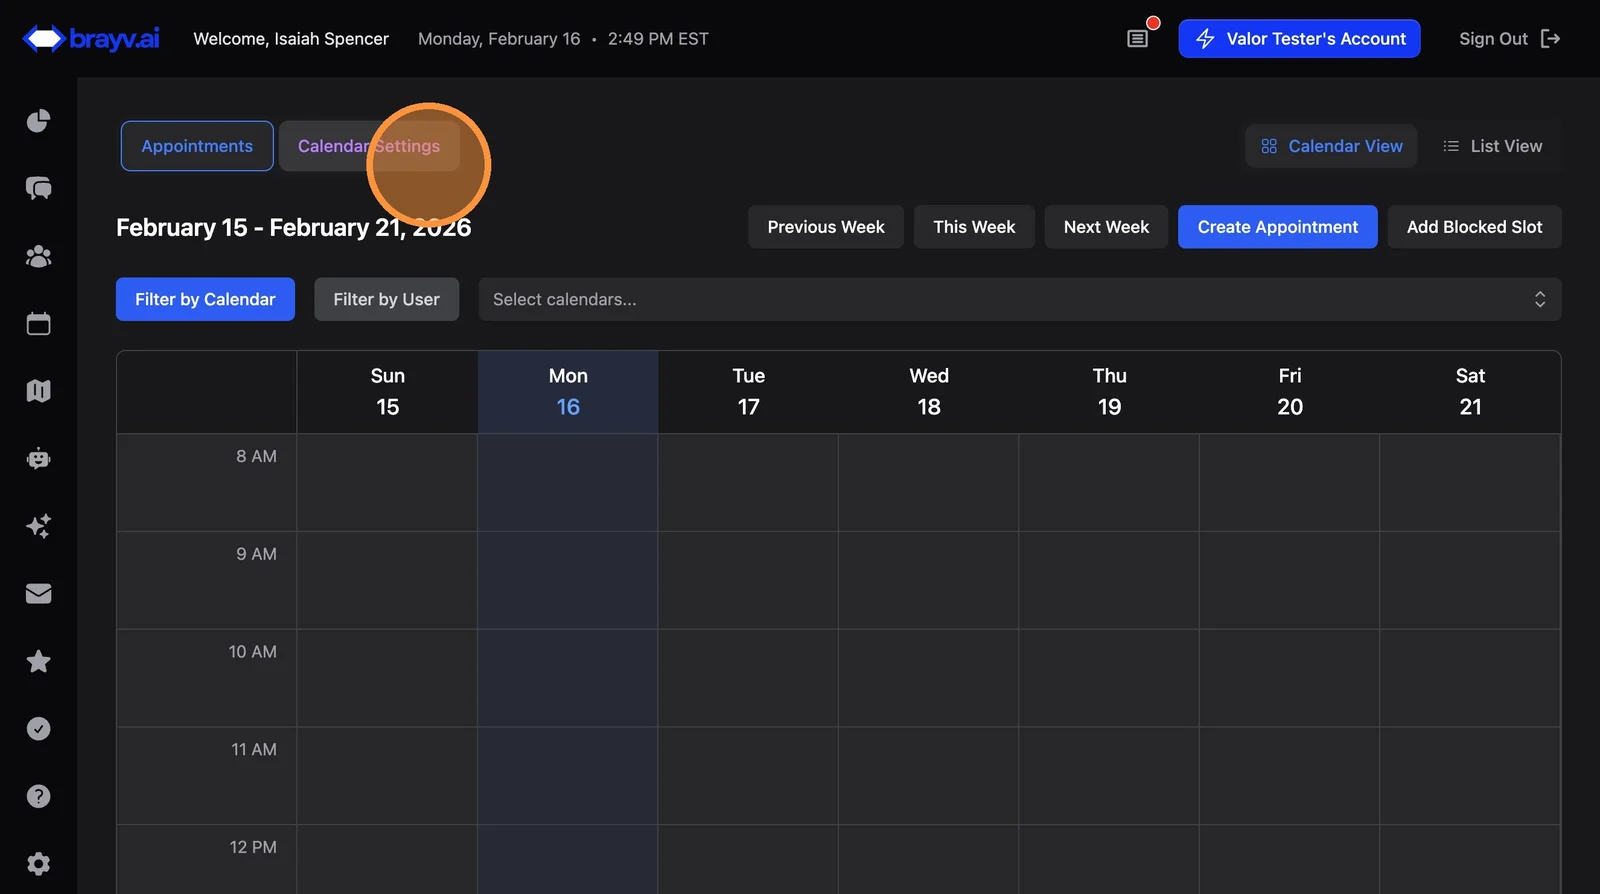
6. Click "Create Calendar"
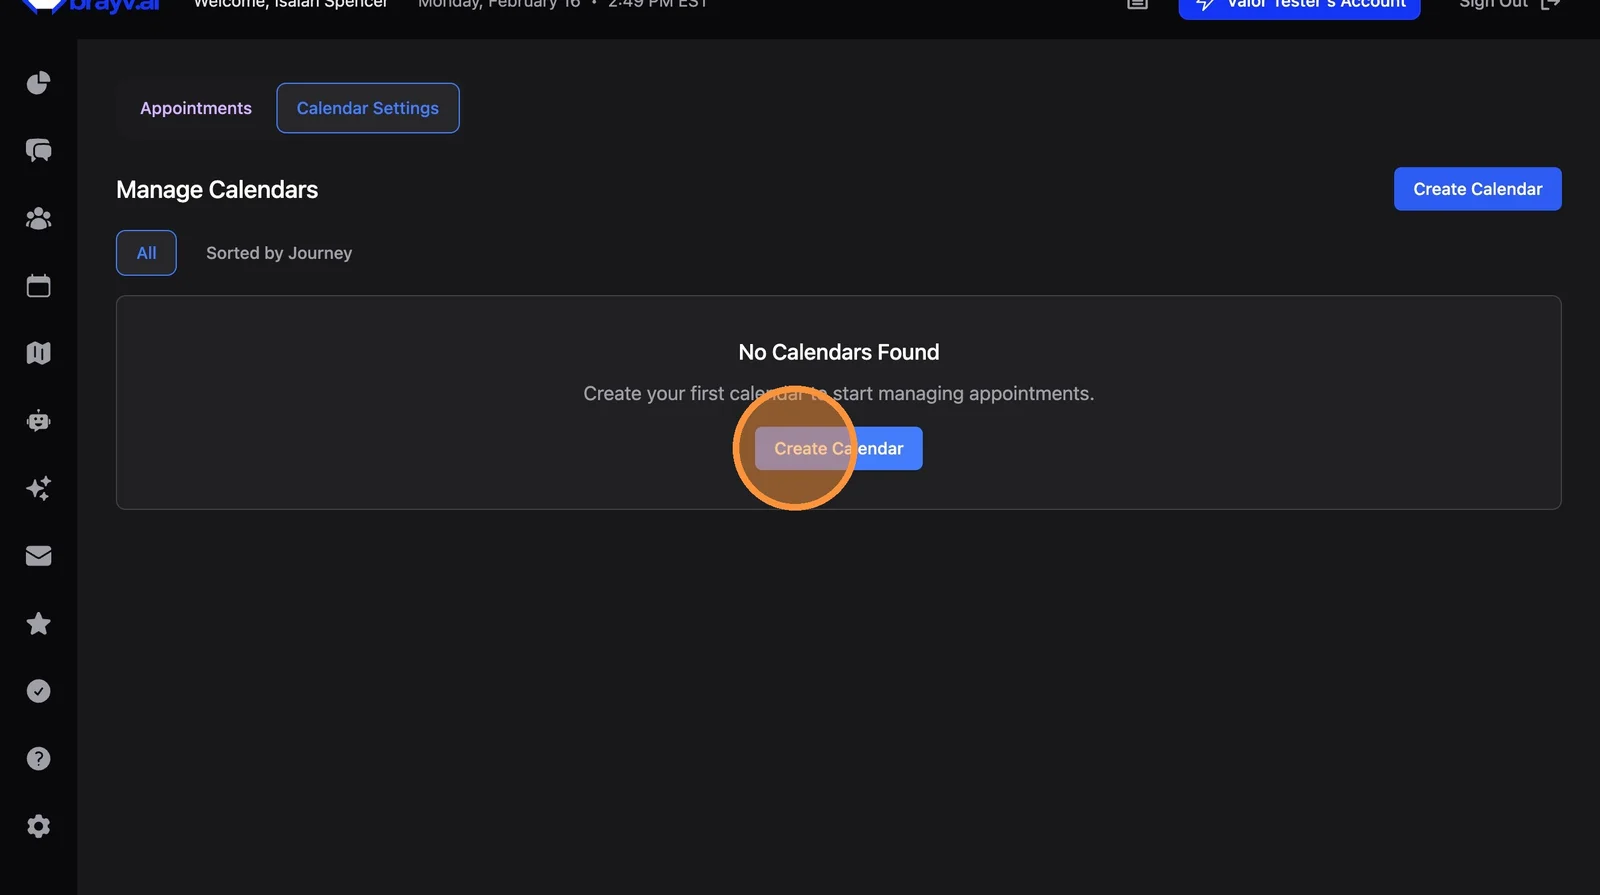
7. Give it a name and adjust other calendar settings as needed.
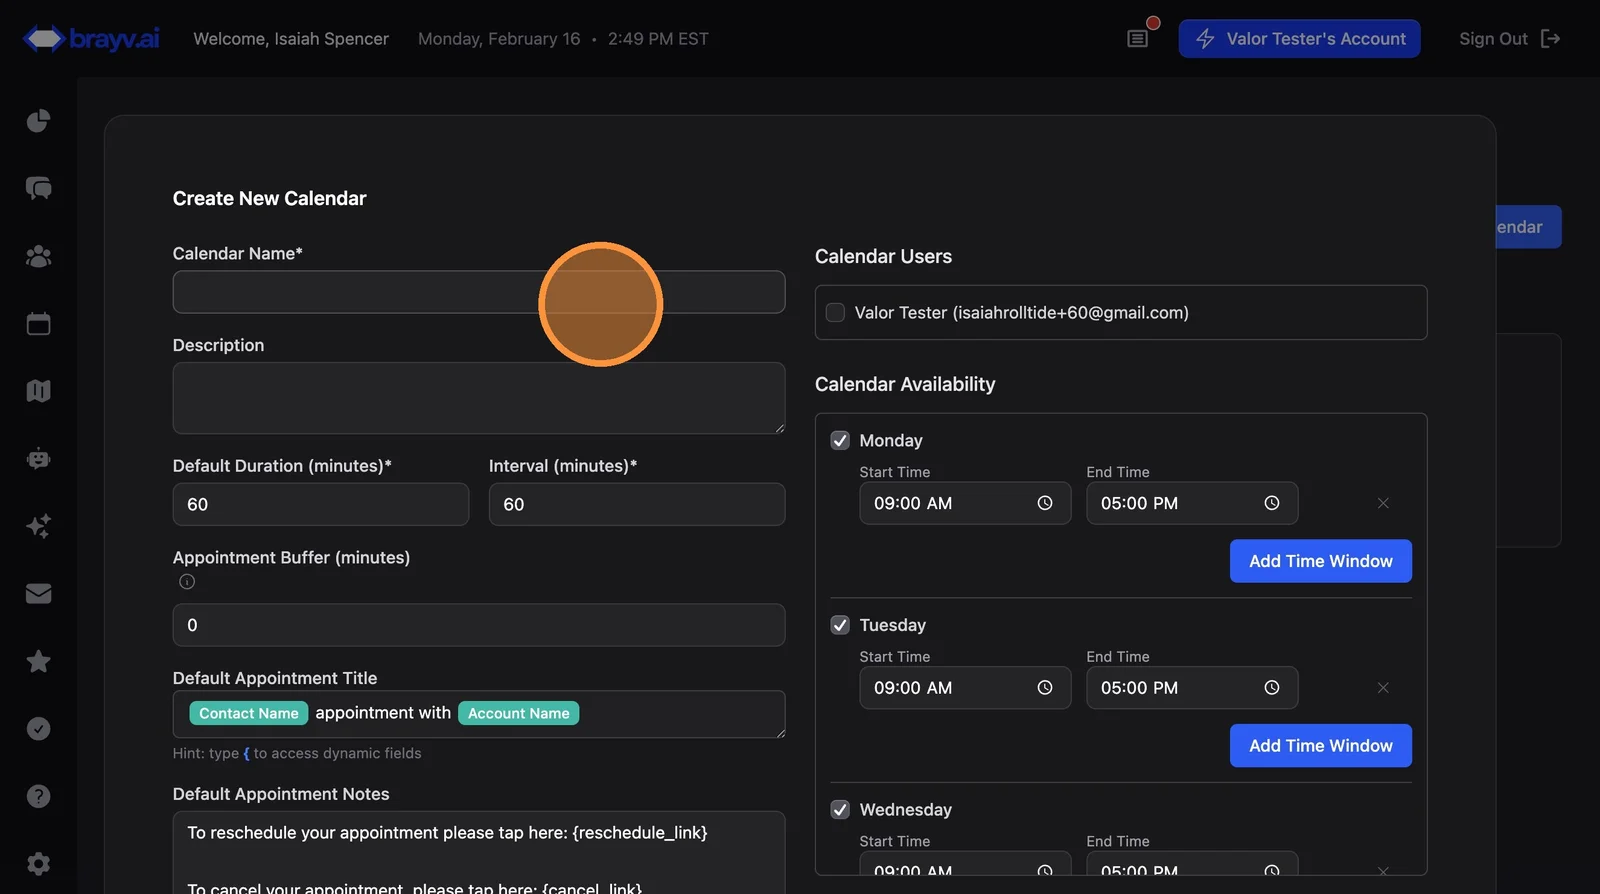
8. Click "Create Calendar"
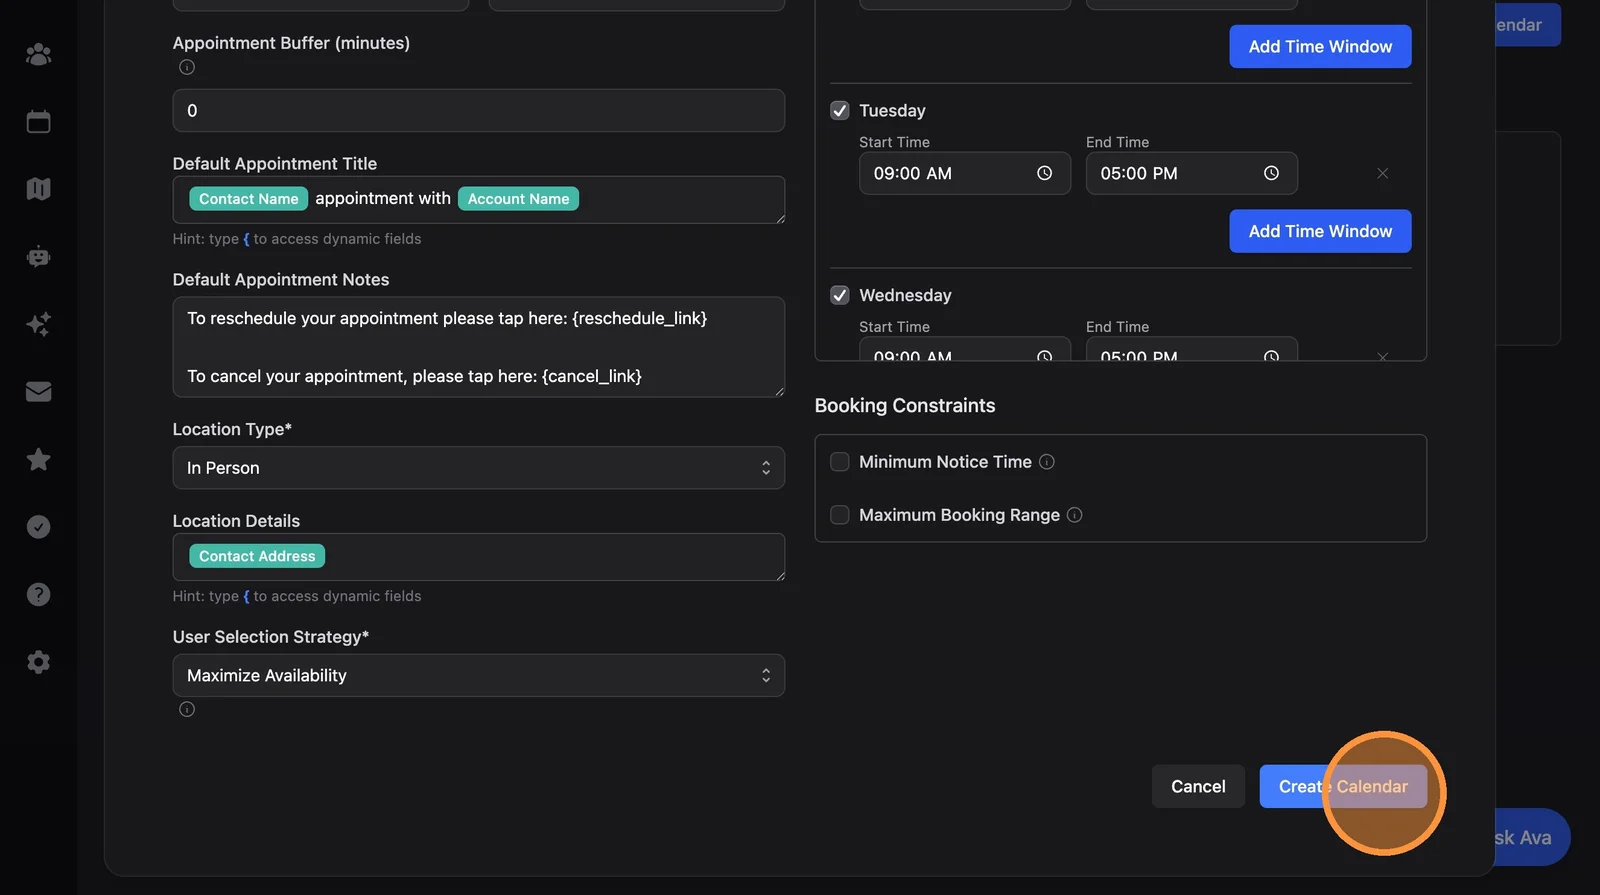
Part 2: Creating the Journey
9. Navigate back to Journeys
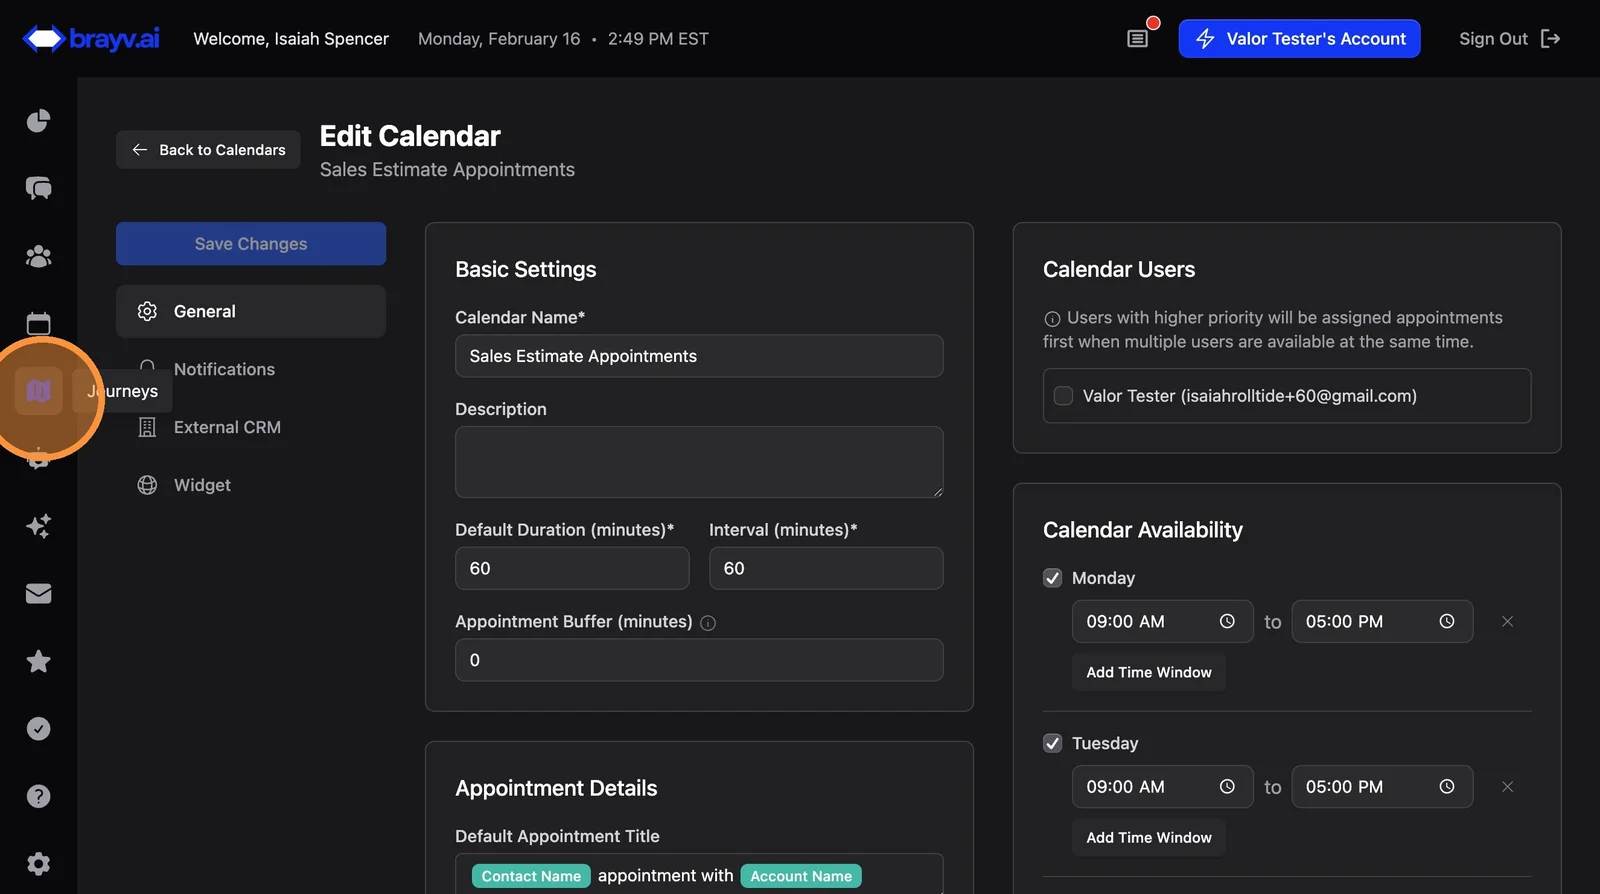
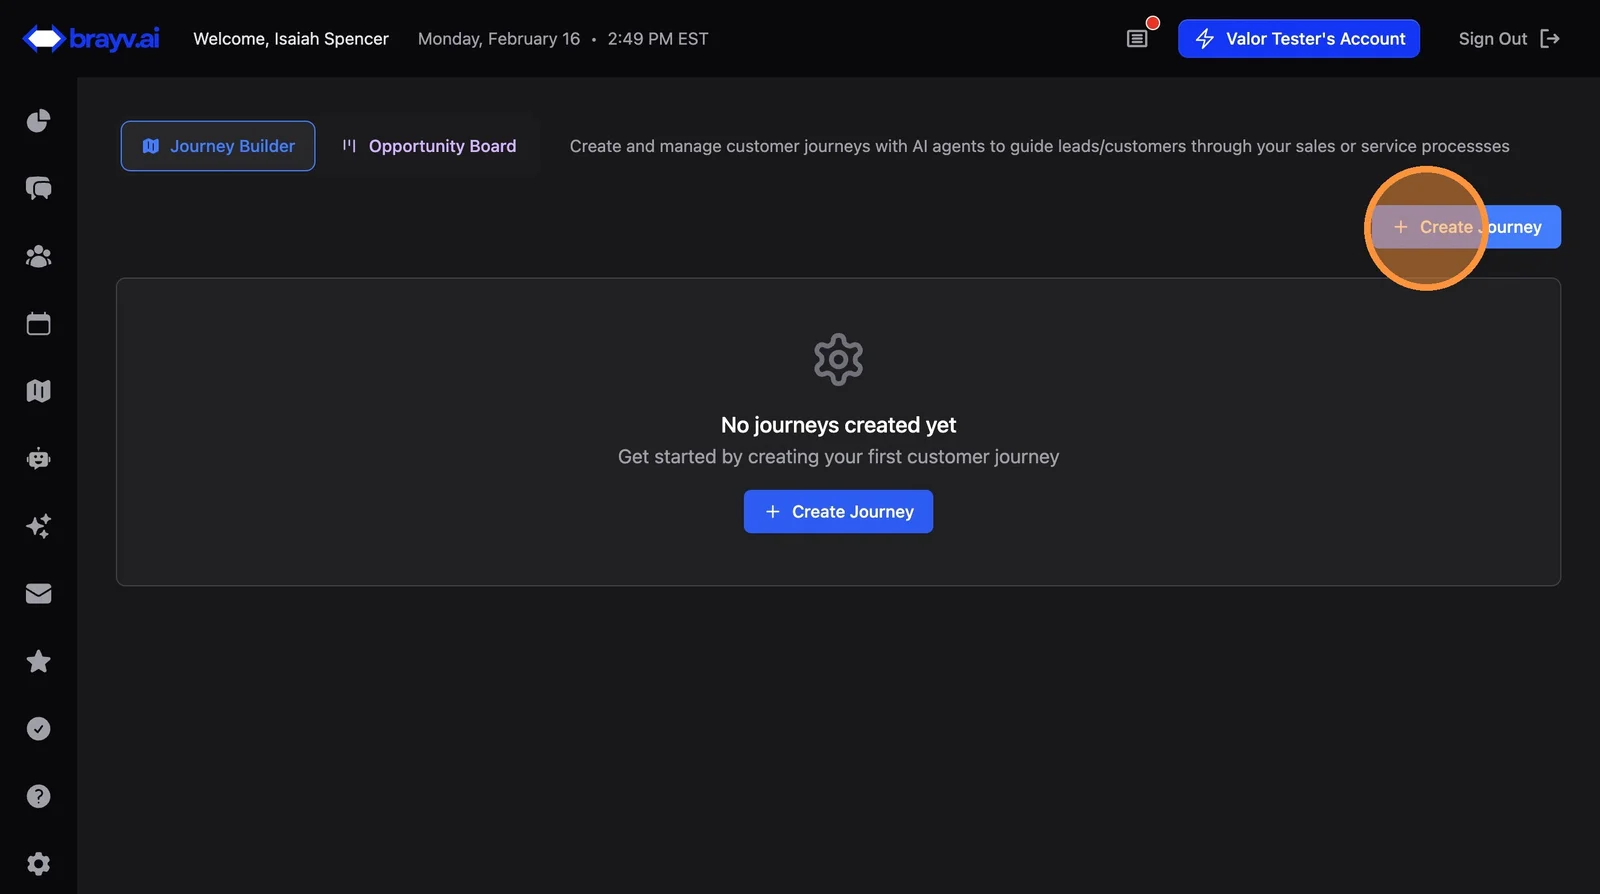
10. Click "Create Journey"
11. Click "Appointment Goal"
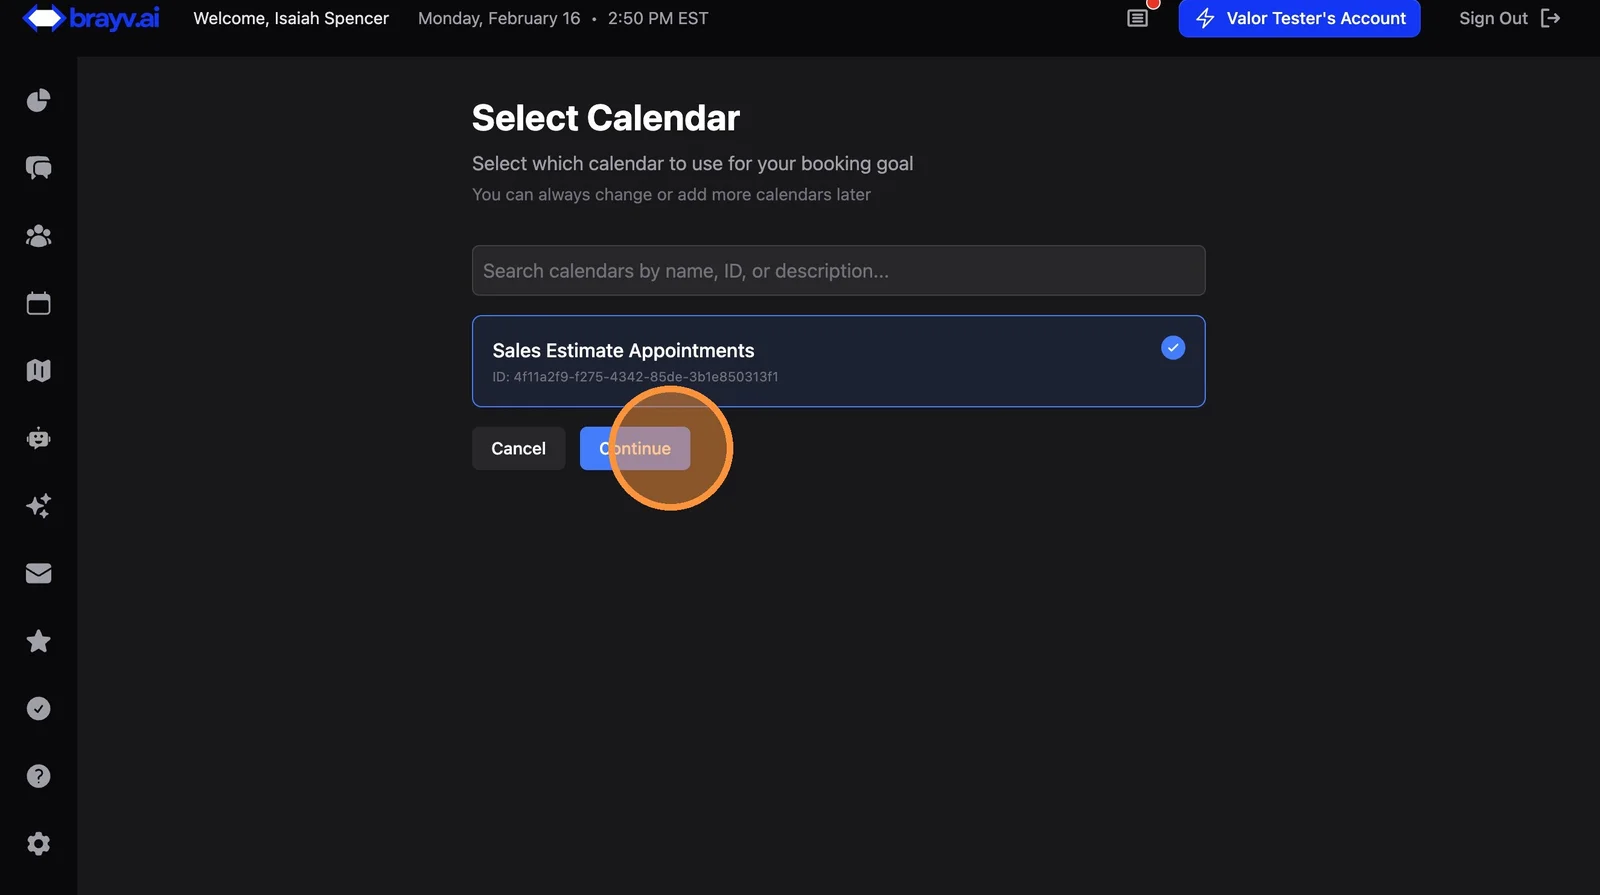
12. Select a calendar and click Continue. You can add more calendars later.
Part 3: Journey Settings
13. Click "Journey Settings"
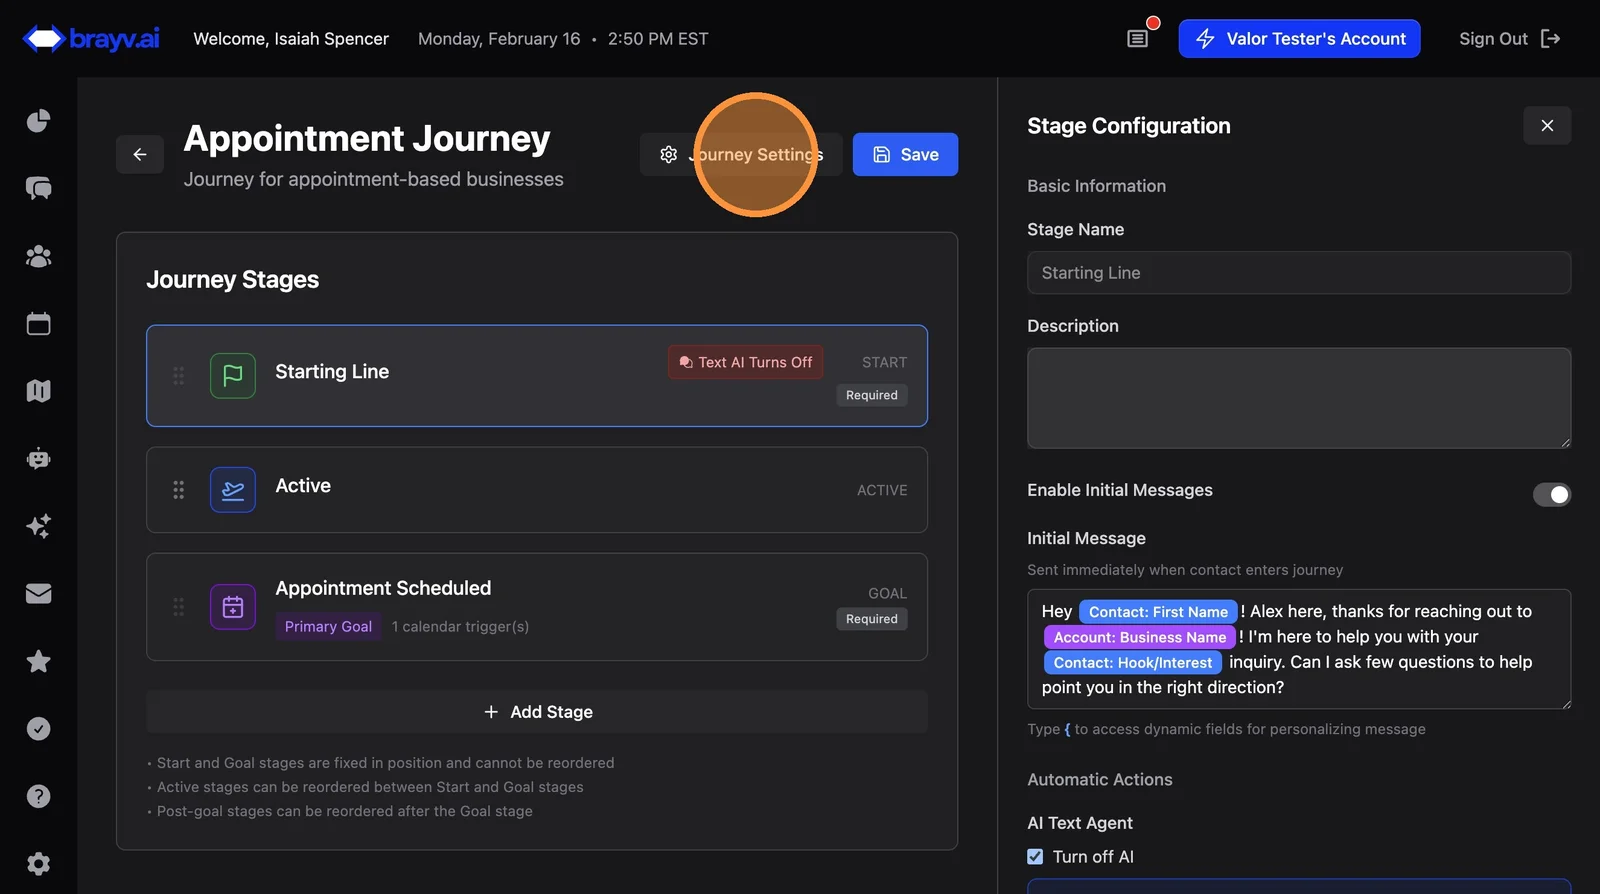
14. Give the journey a name that makes sense for you.
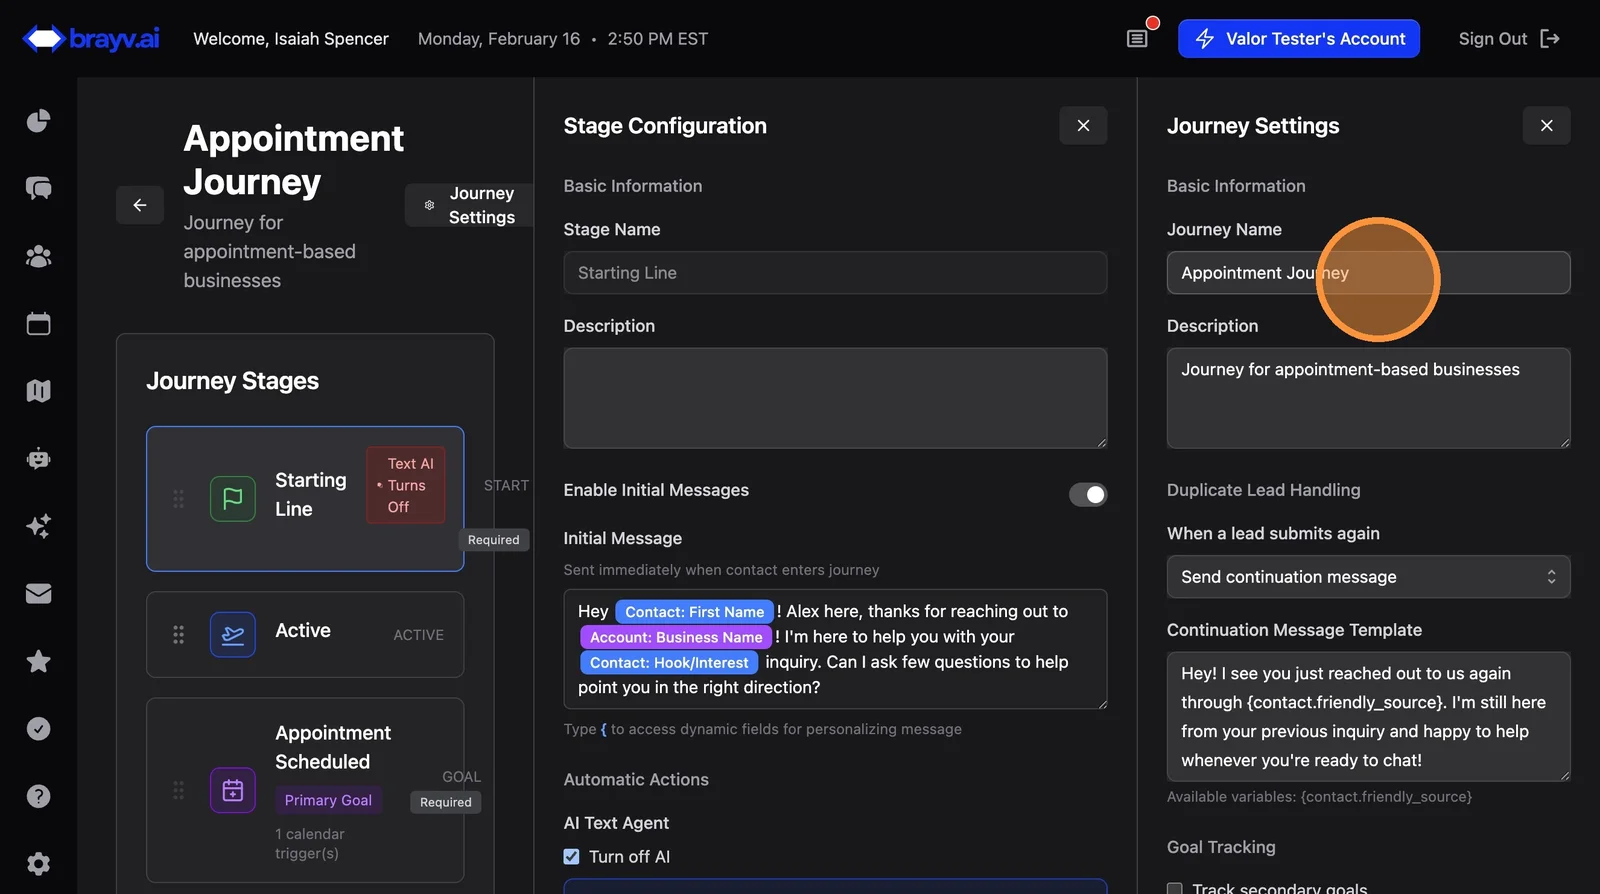
15. Example: "Main Journey for New Leads"
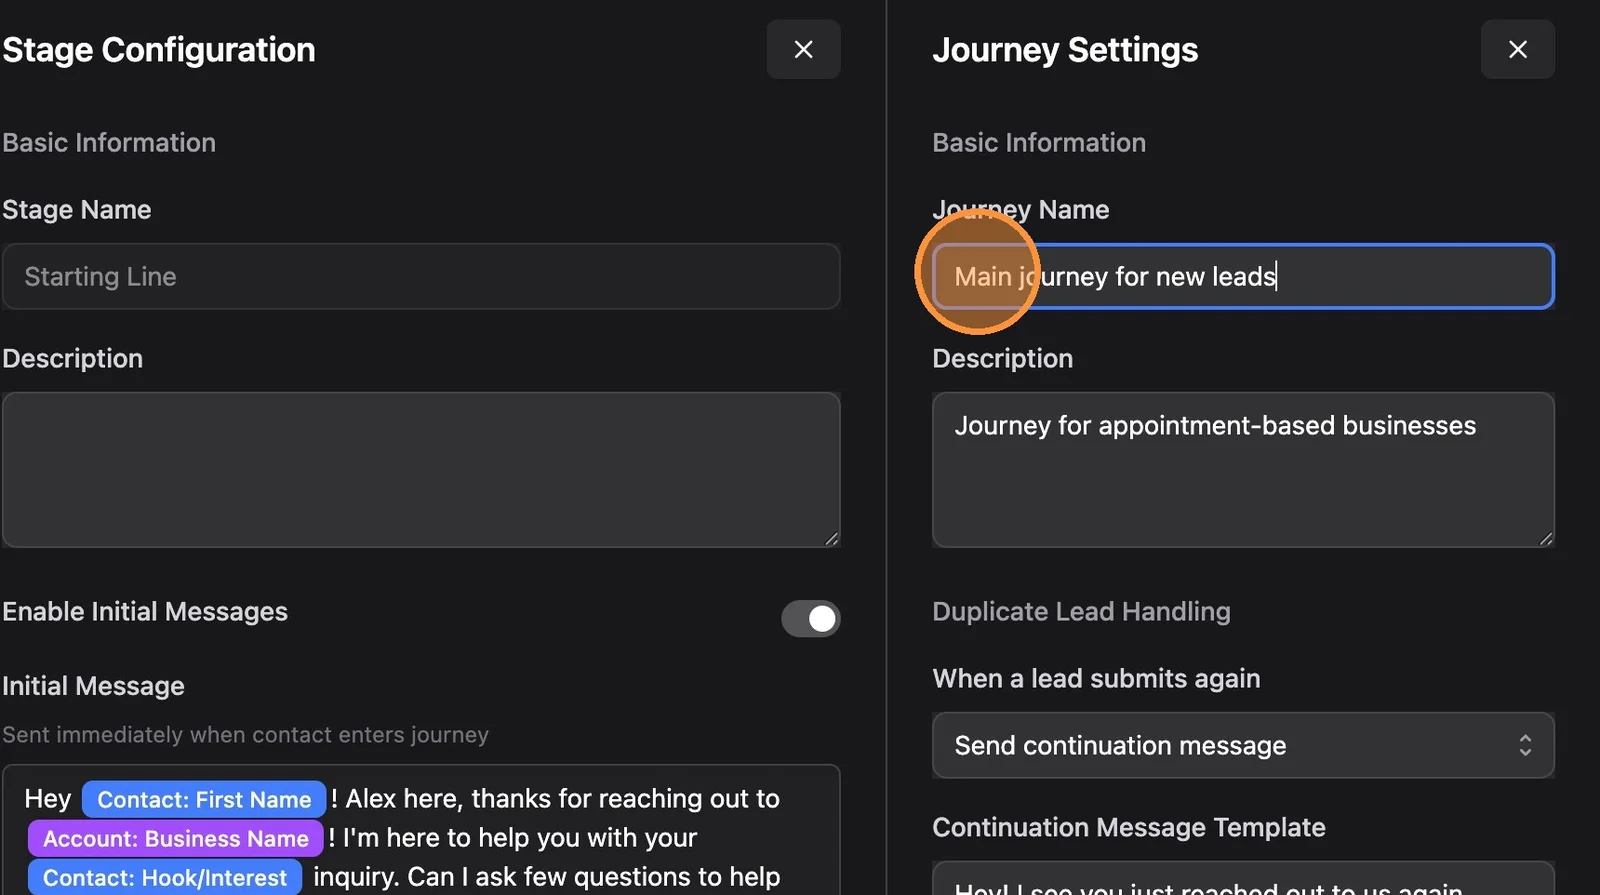
16. Add a description of what this journey accomplishes. Example: "Qualifying and setting initial appointments for new leads"
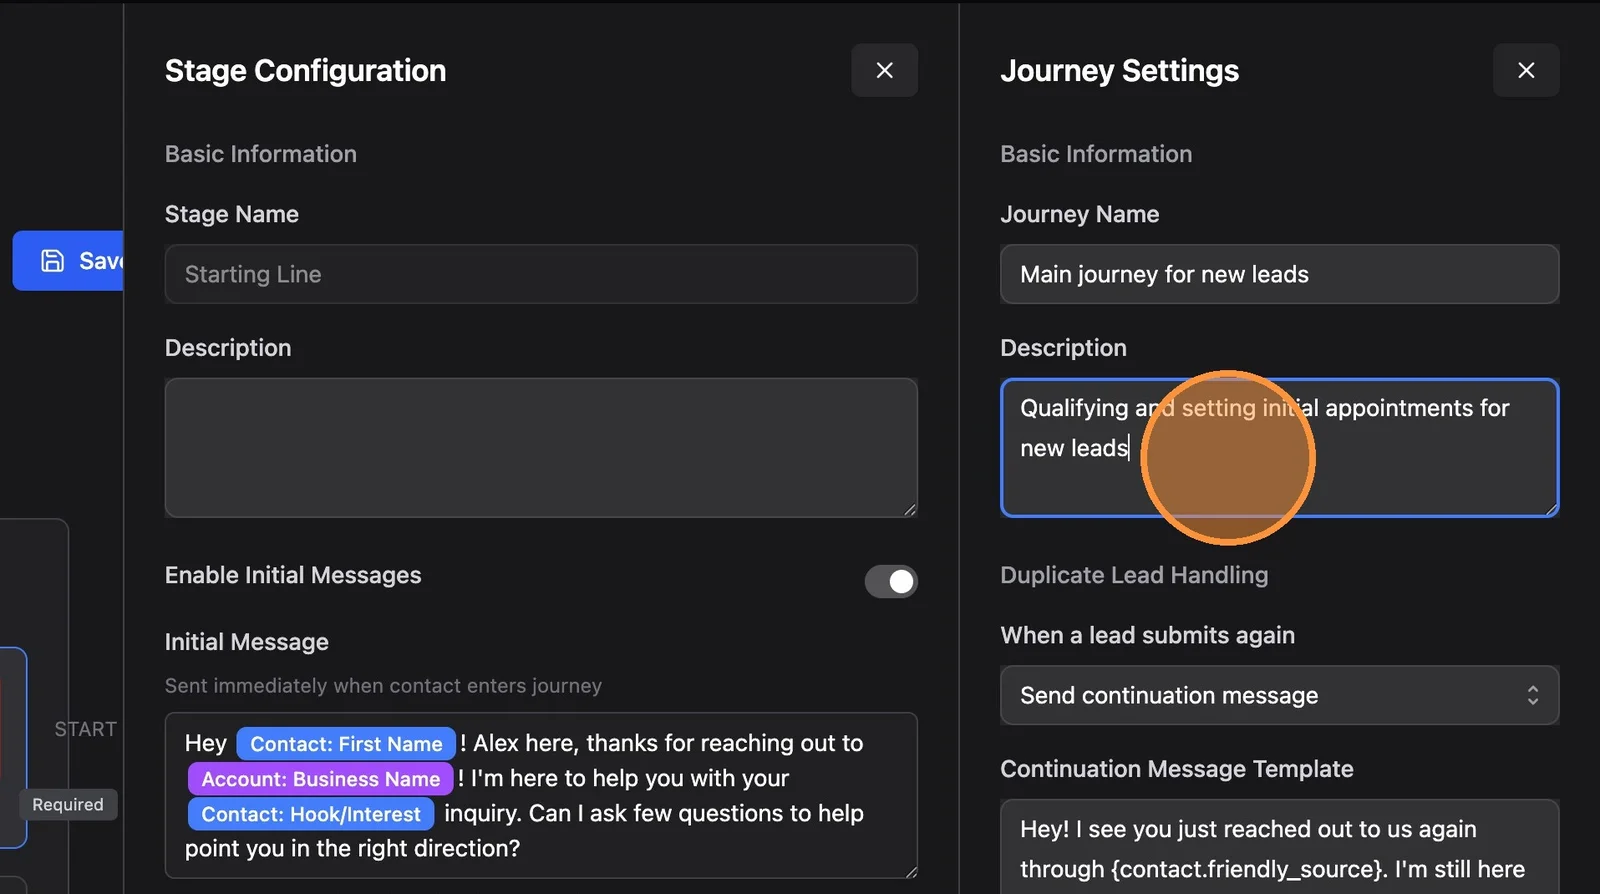
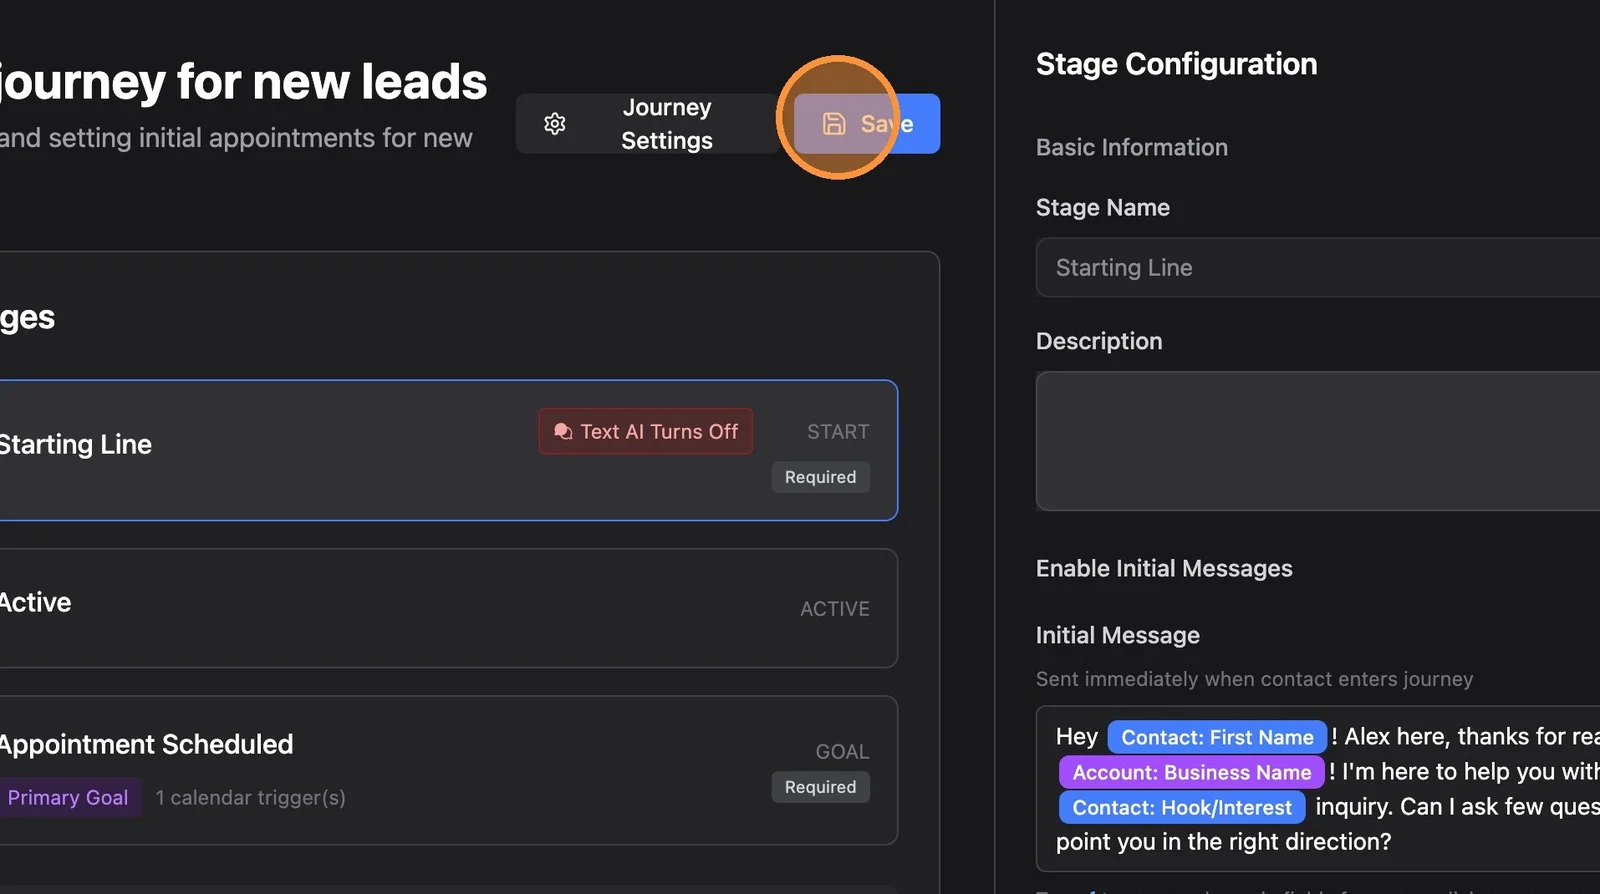
17. Close the Journey Settings panel, then click "Save" on the journey
Part 4: Configuring the Starting Line Agent
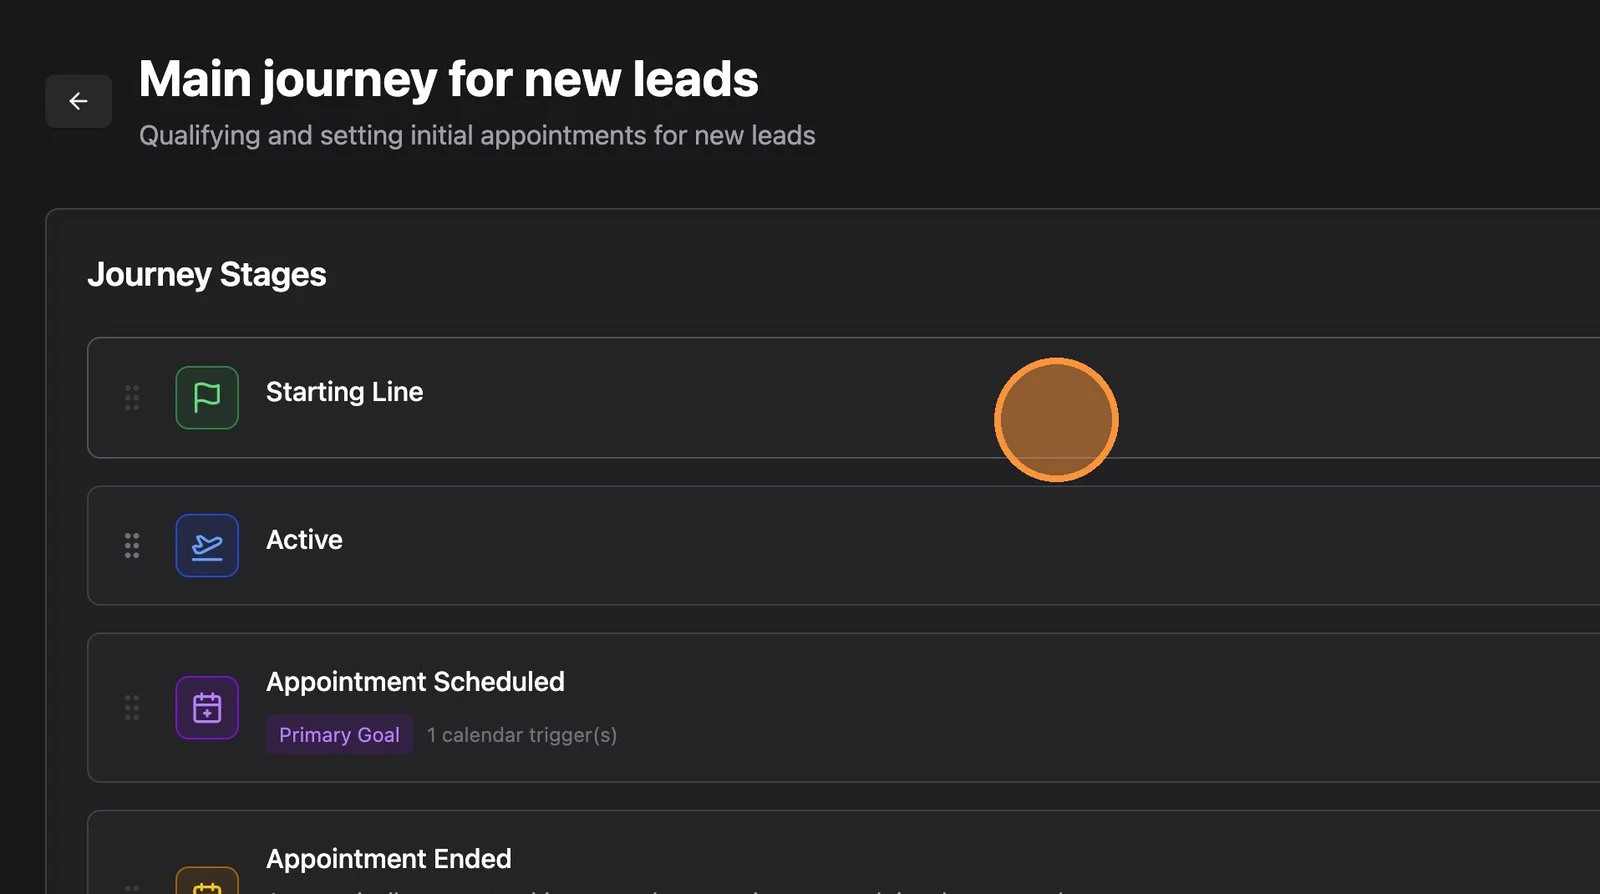
18. Click on "Starting Line"
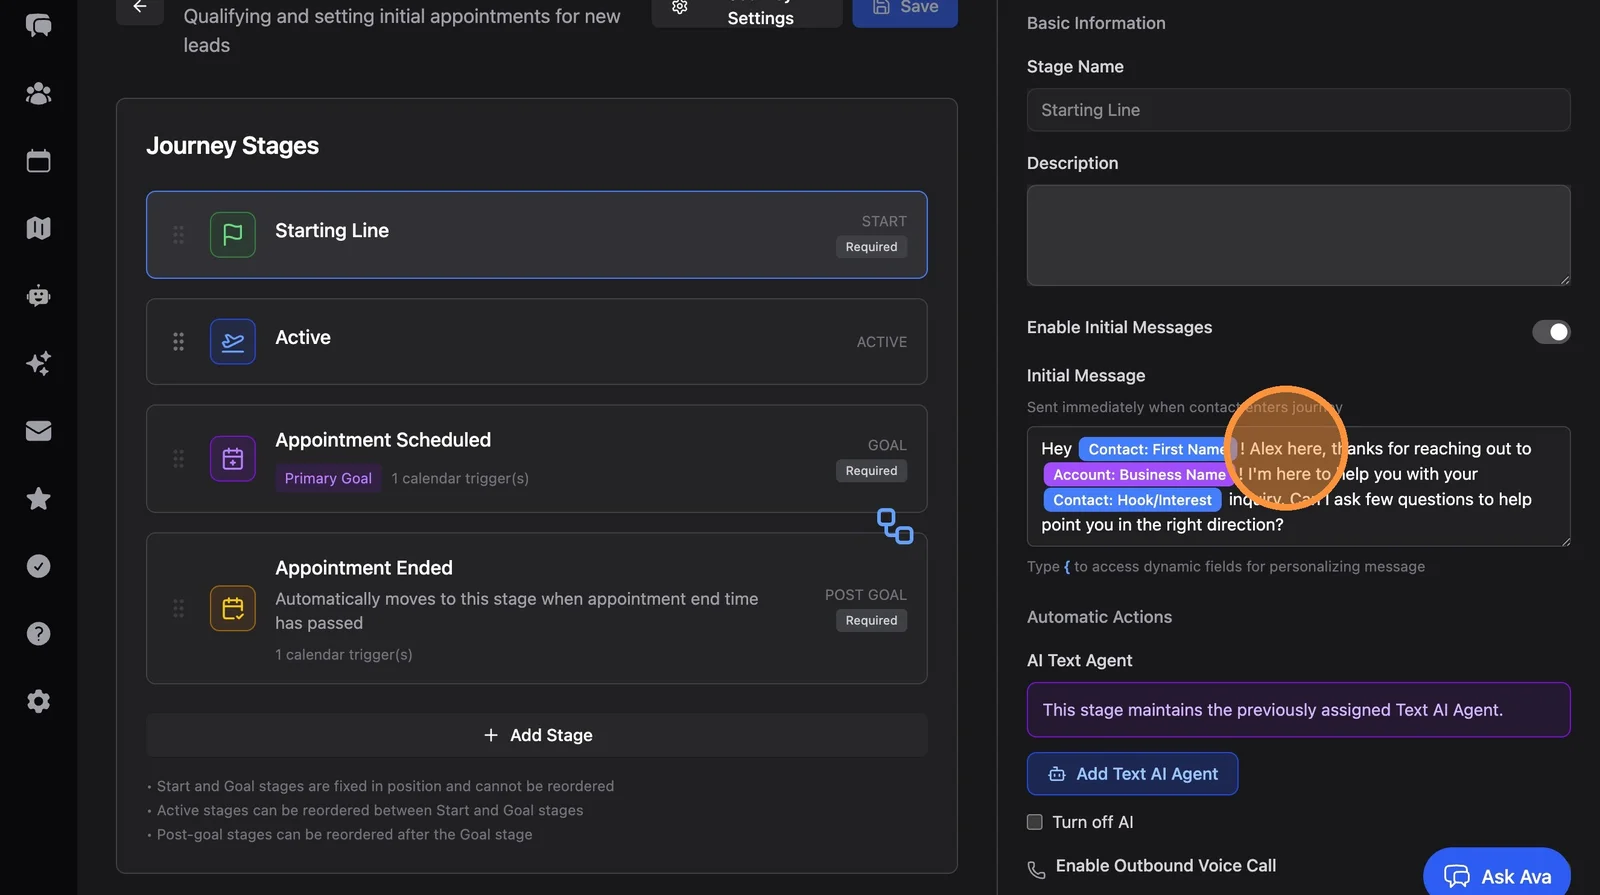
19. The stage configuration panel will open. You can edit the initial scripted message the AI agent will send to new leads here. By default the AI refers to itself as "Alex" - change this to whatever name you prefer.
20. Click "Add Text AI Agent"
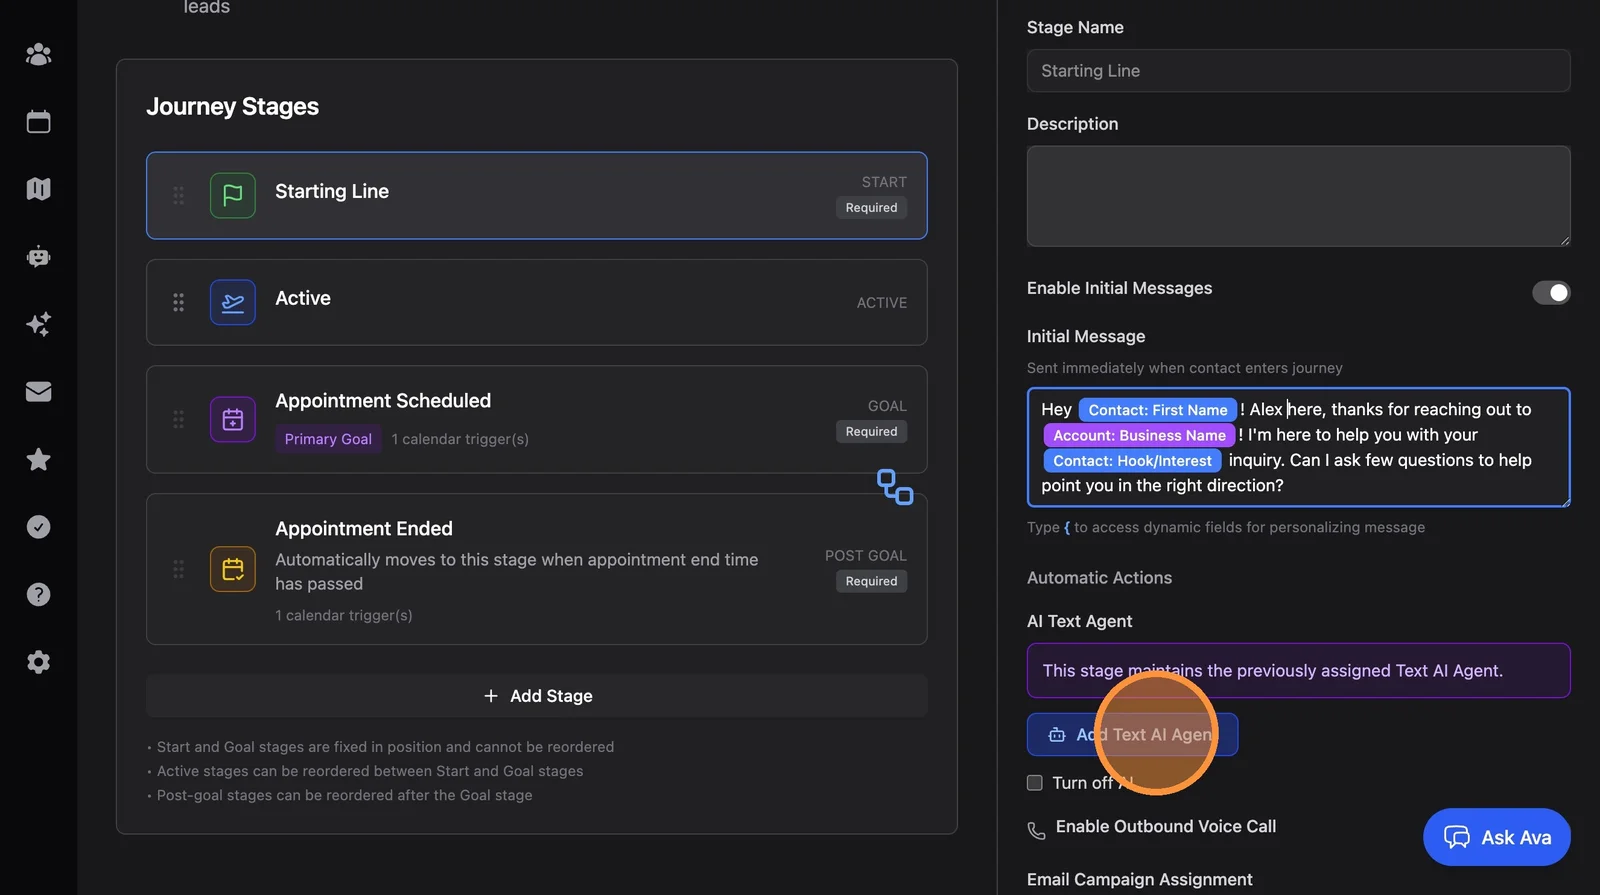
21. You must make at least one change to save the agent. Recommended: change provider to "Lightning Auto" and model to "Optimized" - this lets the system dynamically choose the best provider/model for your agent configuration.
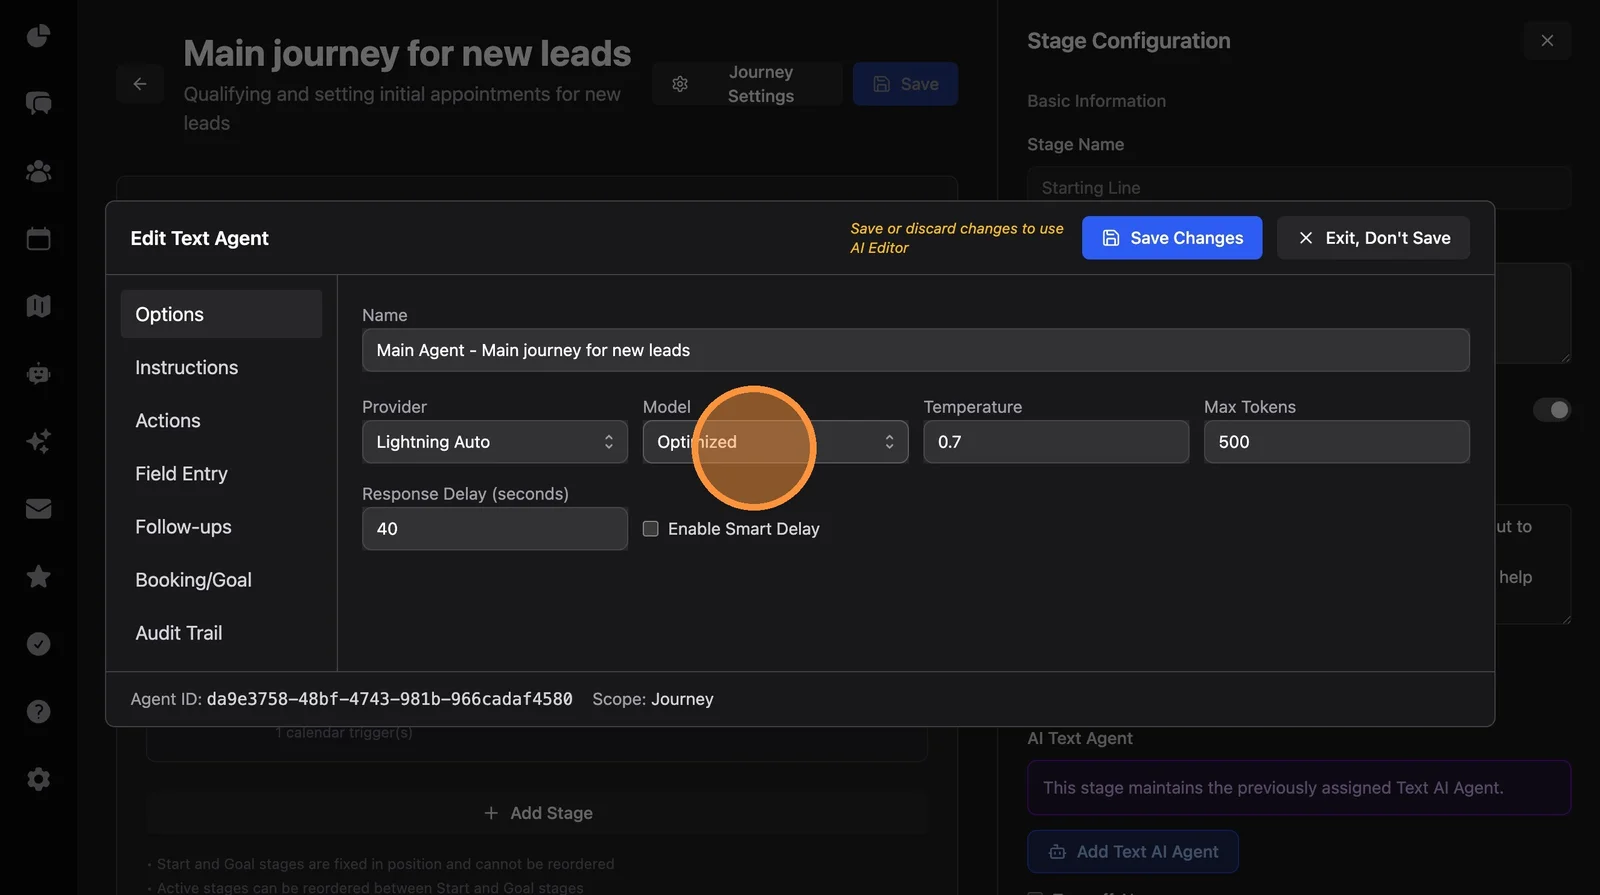
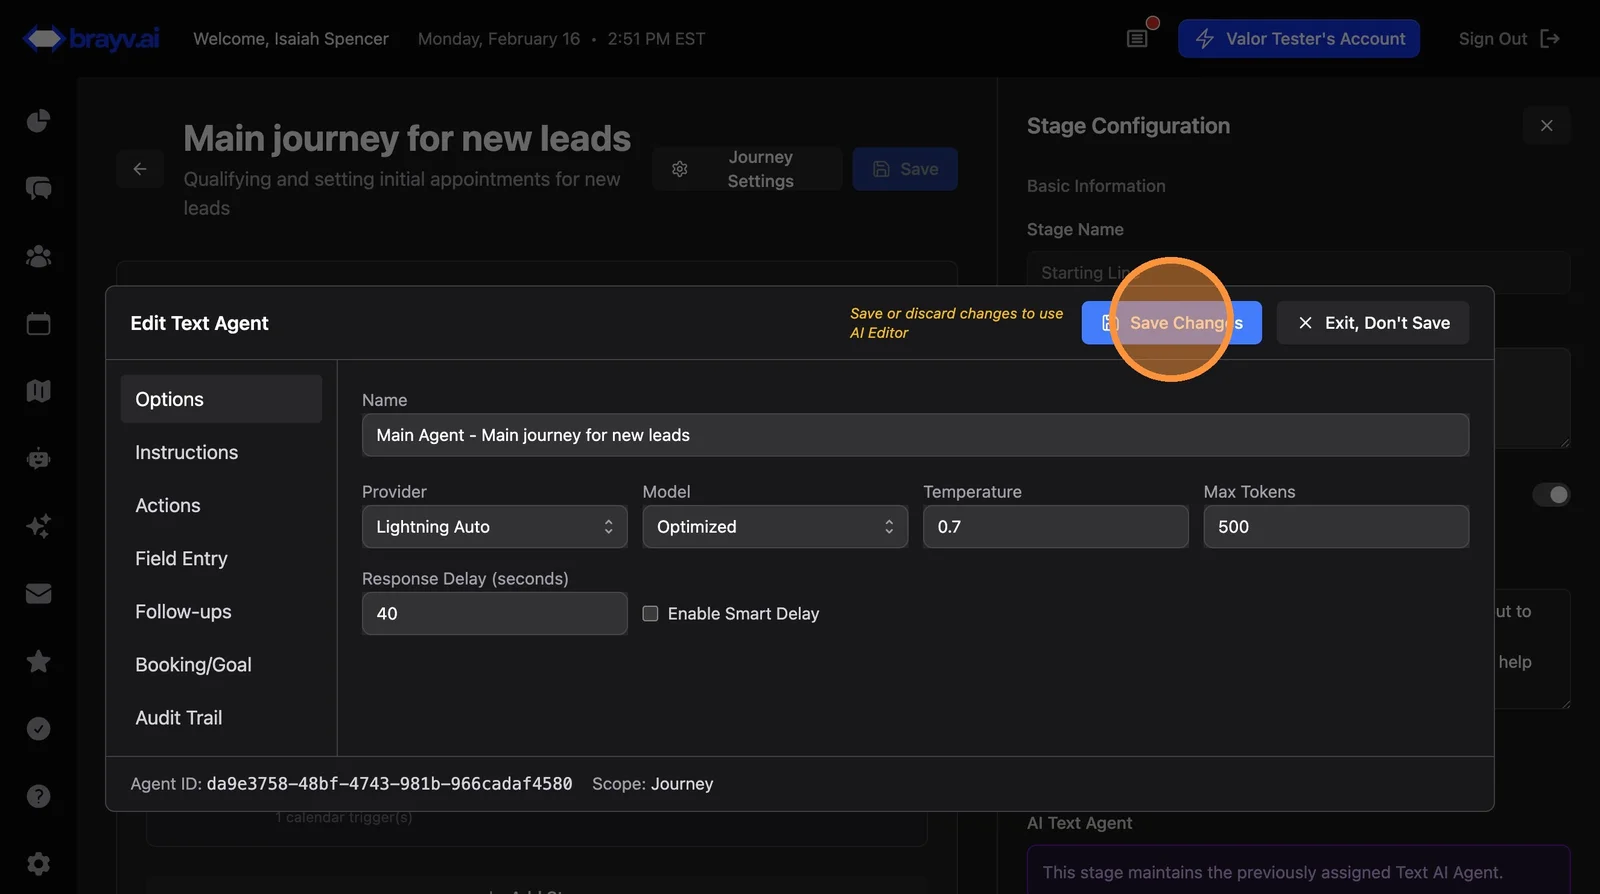
22. Click "Save Changes" on the Agent Editor dialog
Editing Agent Instructions with Ava
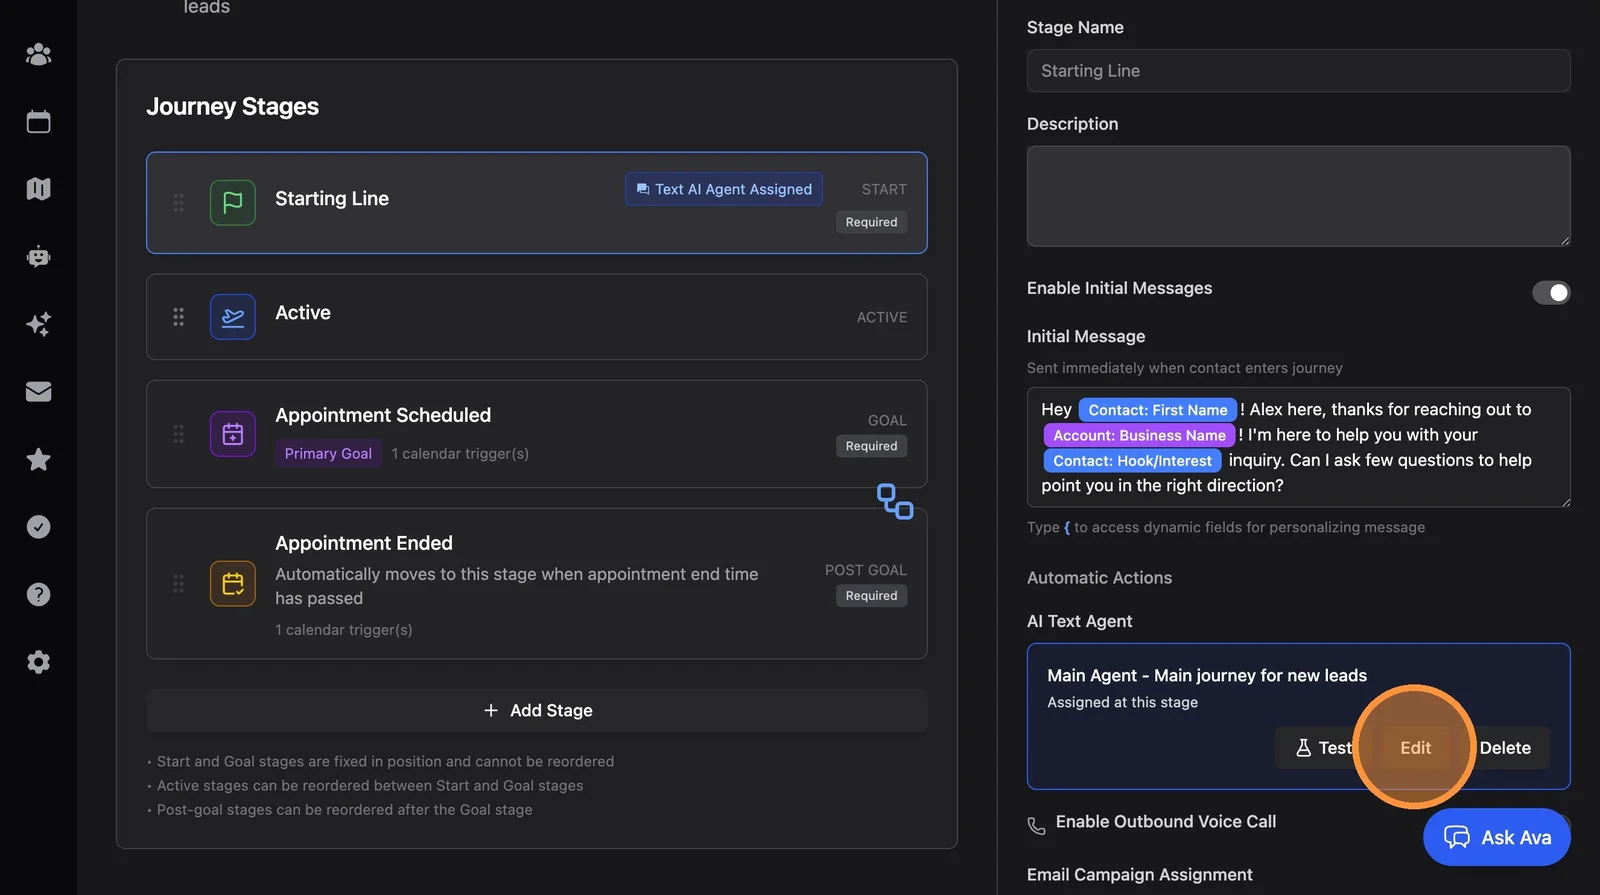
23. Click "Edit" on your AI Text Agent (outlined in blue in the stage panel)
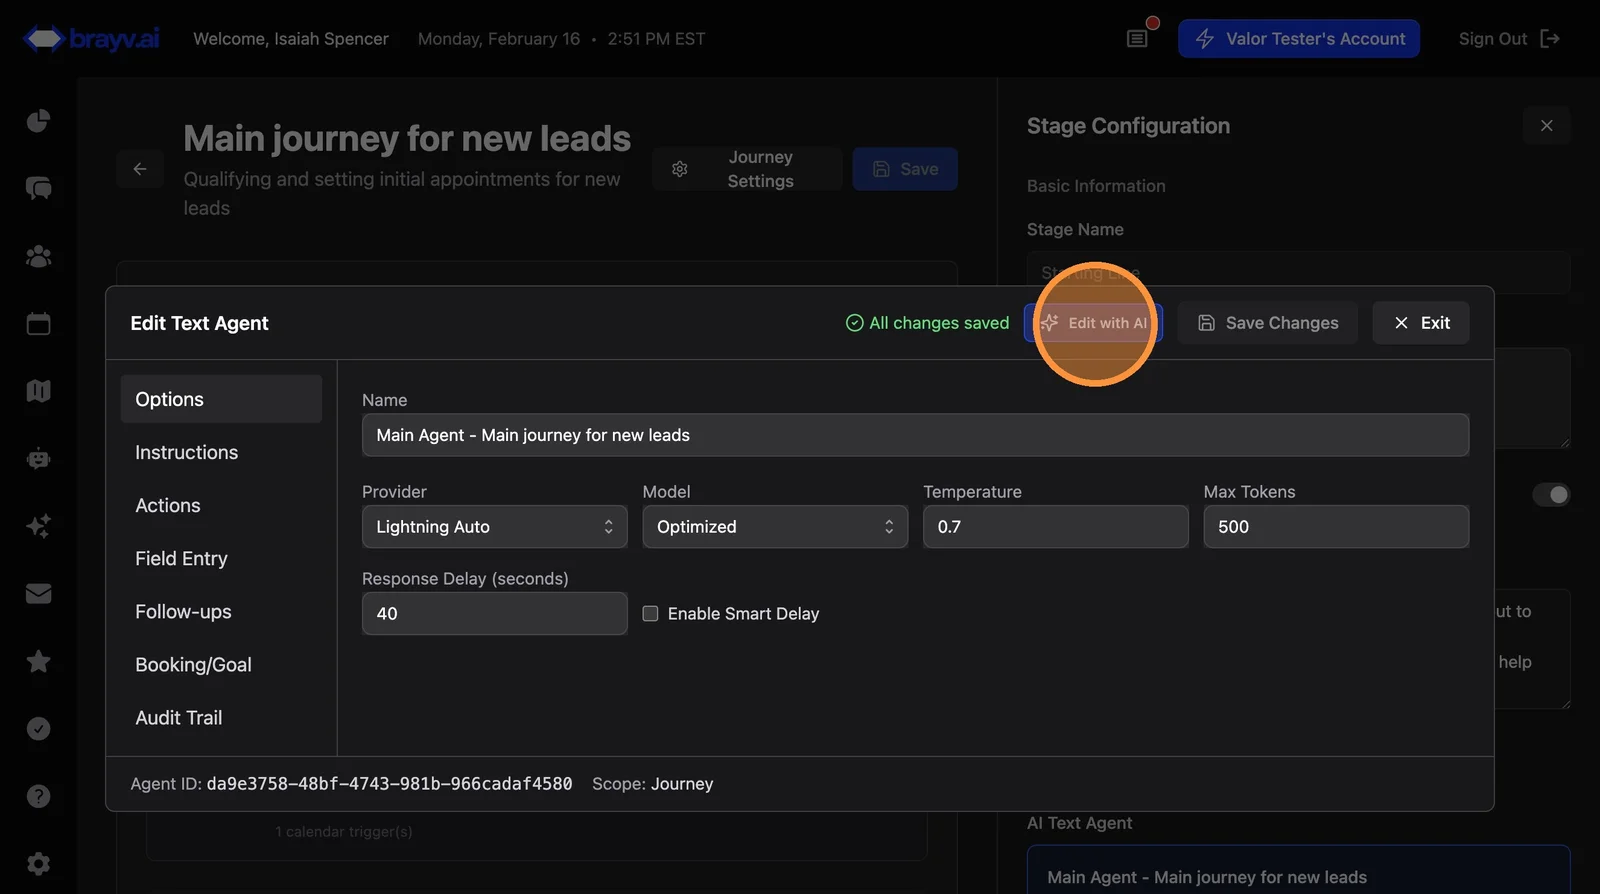
24. Click "Edit with AI"
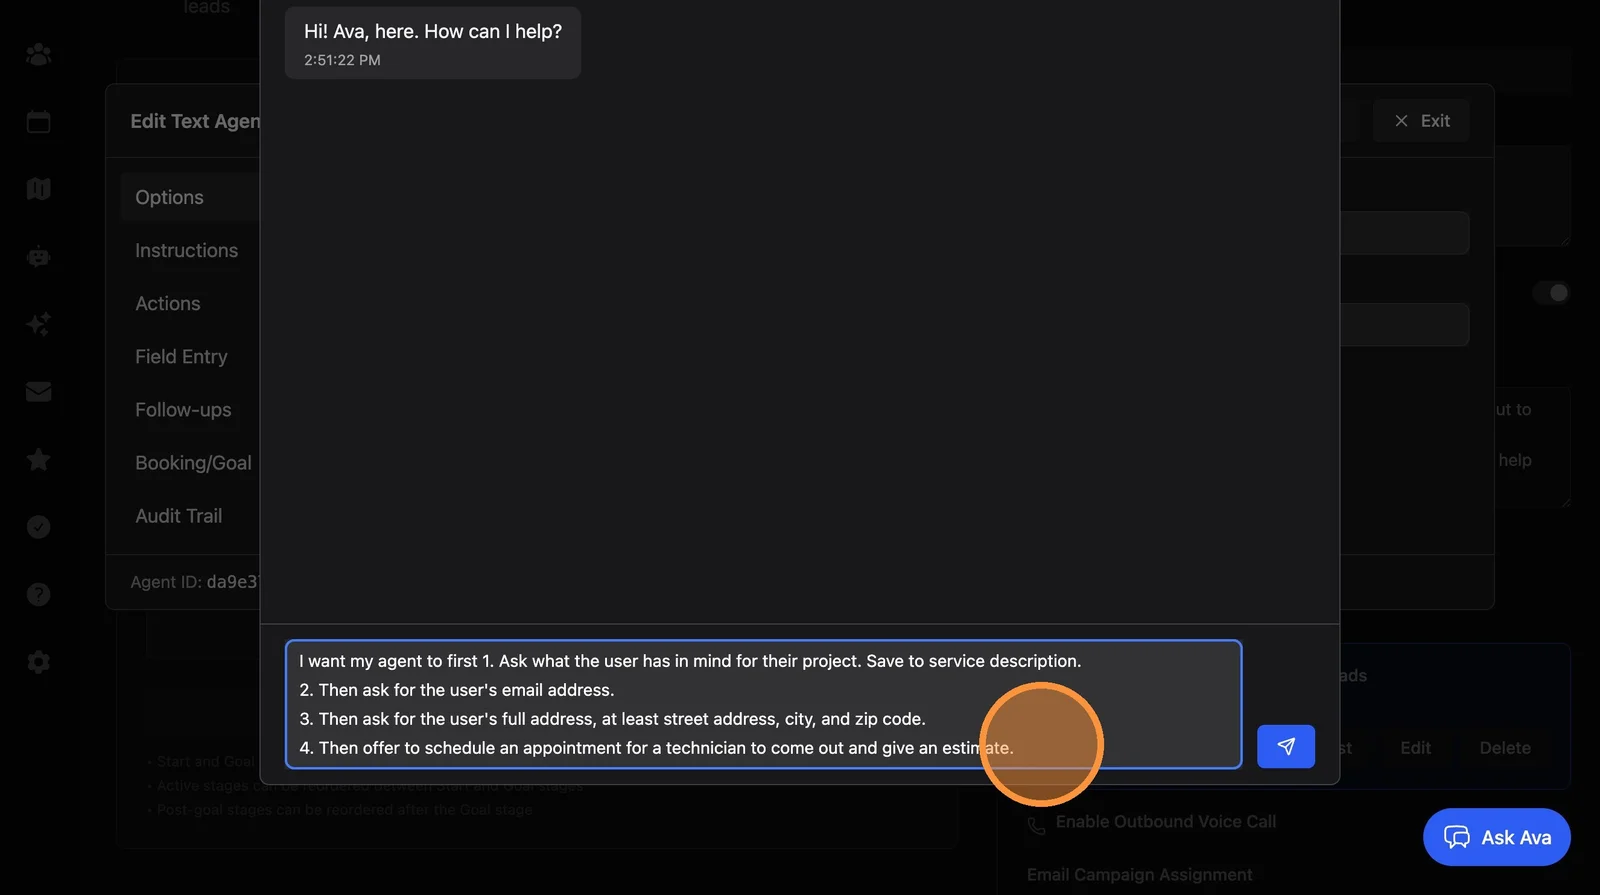
25. Tell Ava how you want your AI agent to walk through the conversation.
Example:
I want my agent to:
- First ask what the user has in mind for their project. Save to service description.
- Then ask for the user's email address.
- Then ask for the user's full address - at least street address, city, and zip code.
- Then offer to schedule an appointment for a technician to come out and give an estimate.
Tip: If you need to gather a piece of info that doesn't have a standard field, go to Settings > Custom Fields and create one. Then tell Ava in the agent editor what to gather and which field to save it to - she'll create the field extractor for you.
Pro Tip: For new leads, the sweet spot is 2-3 questions before moving on to your next step (like booking). People often stop responding after 4+ questions. Keep it concise and gather the essentials first.
26. Ava will explain what was changed and remind you of any actions needed (like configuring booking)
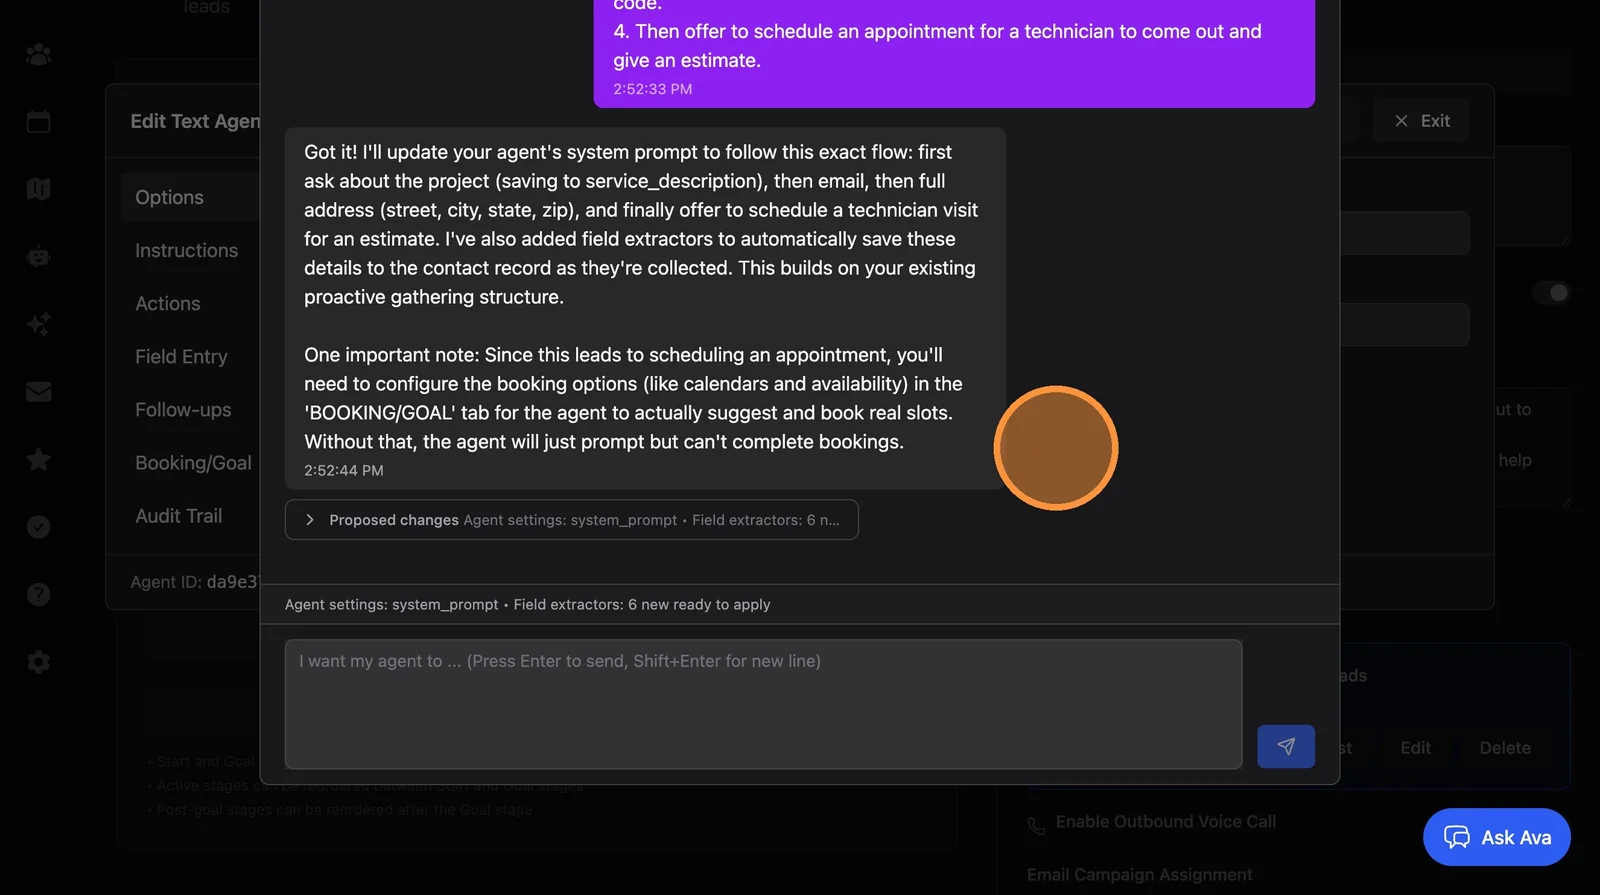
27. Click "Apply Changes"
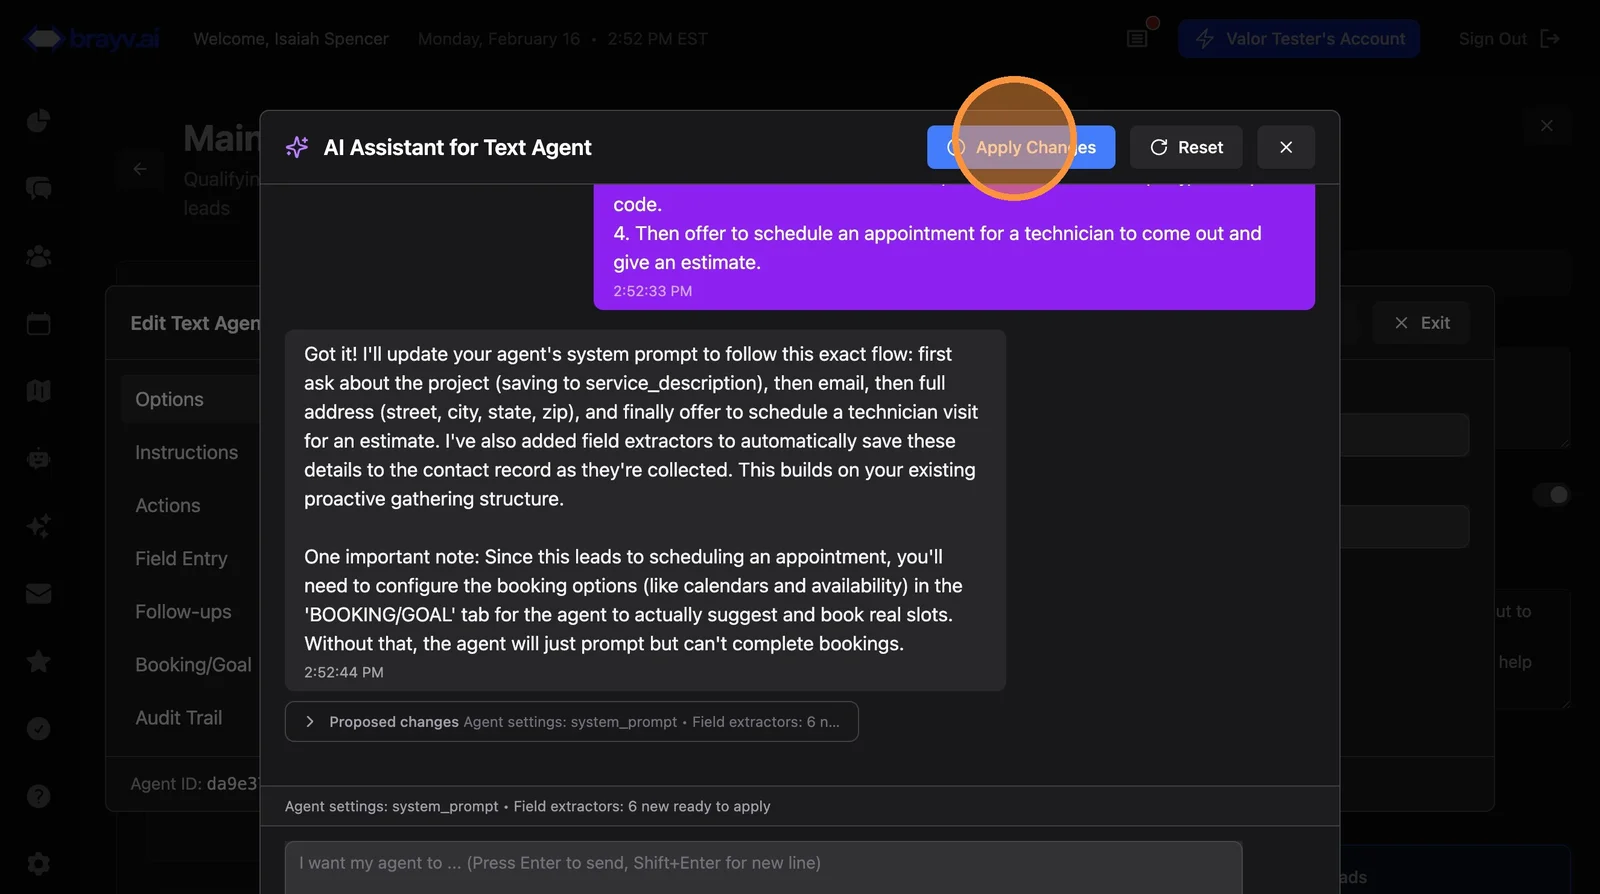
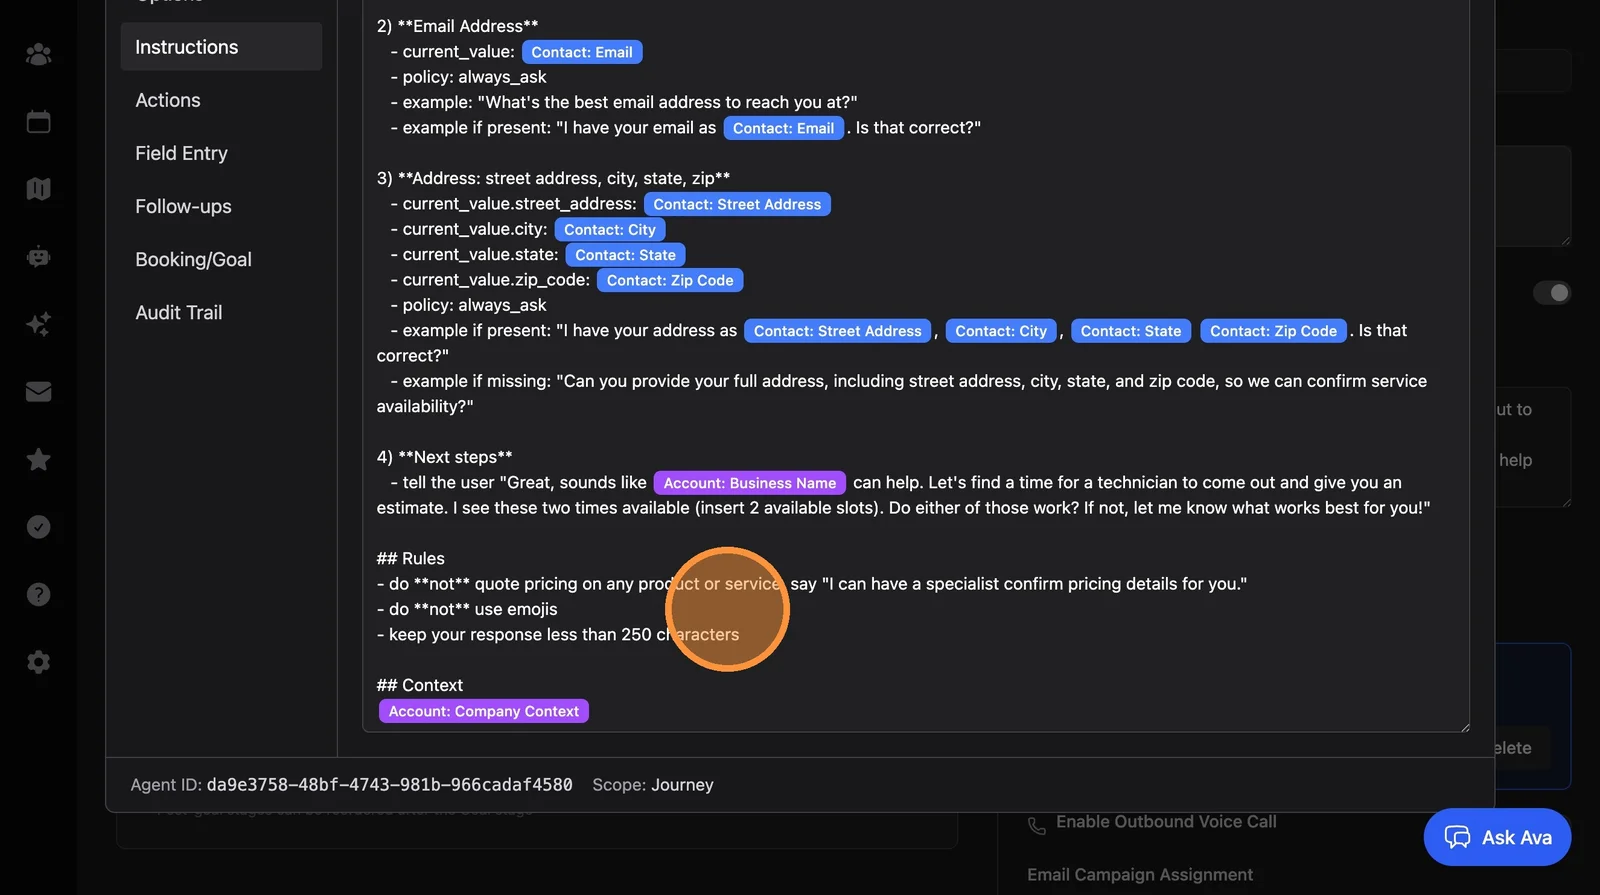
28. These changes are saved as a draft. Click through your agent configuration to review what Ava changed before saving. Start with Instructions.
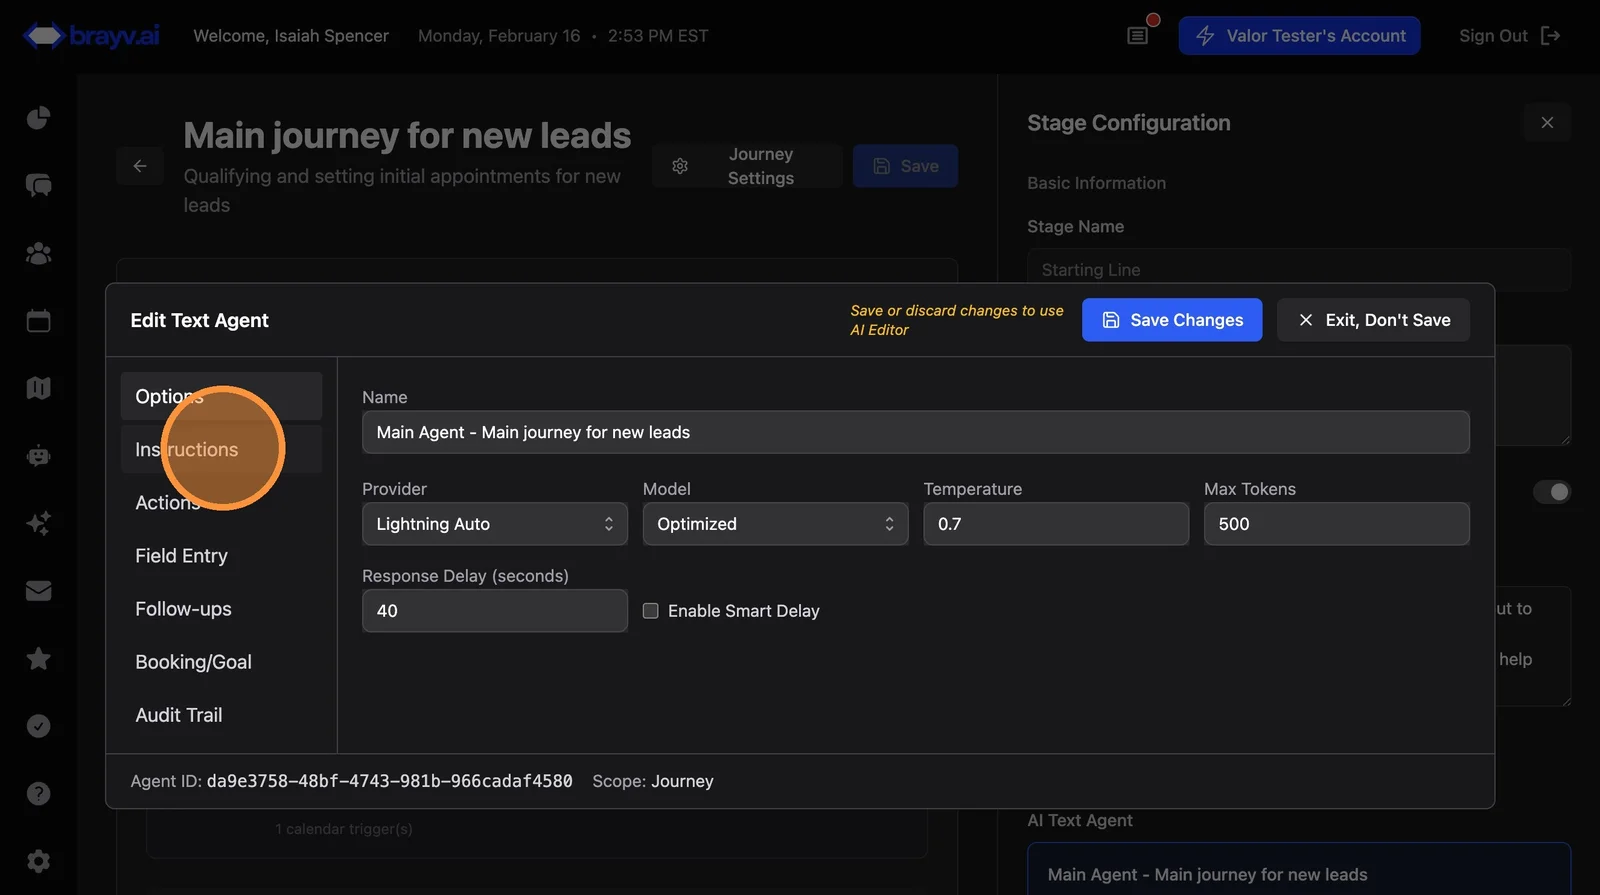
29. To add rules that should always guide the agent, type them into the Rules section. Example: "We do not provide estimates without first having a technician come on site." You can also ask Ava to add rules for you.
Adding Conditional Tools (Quick Add)
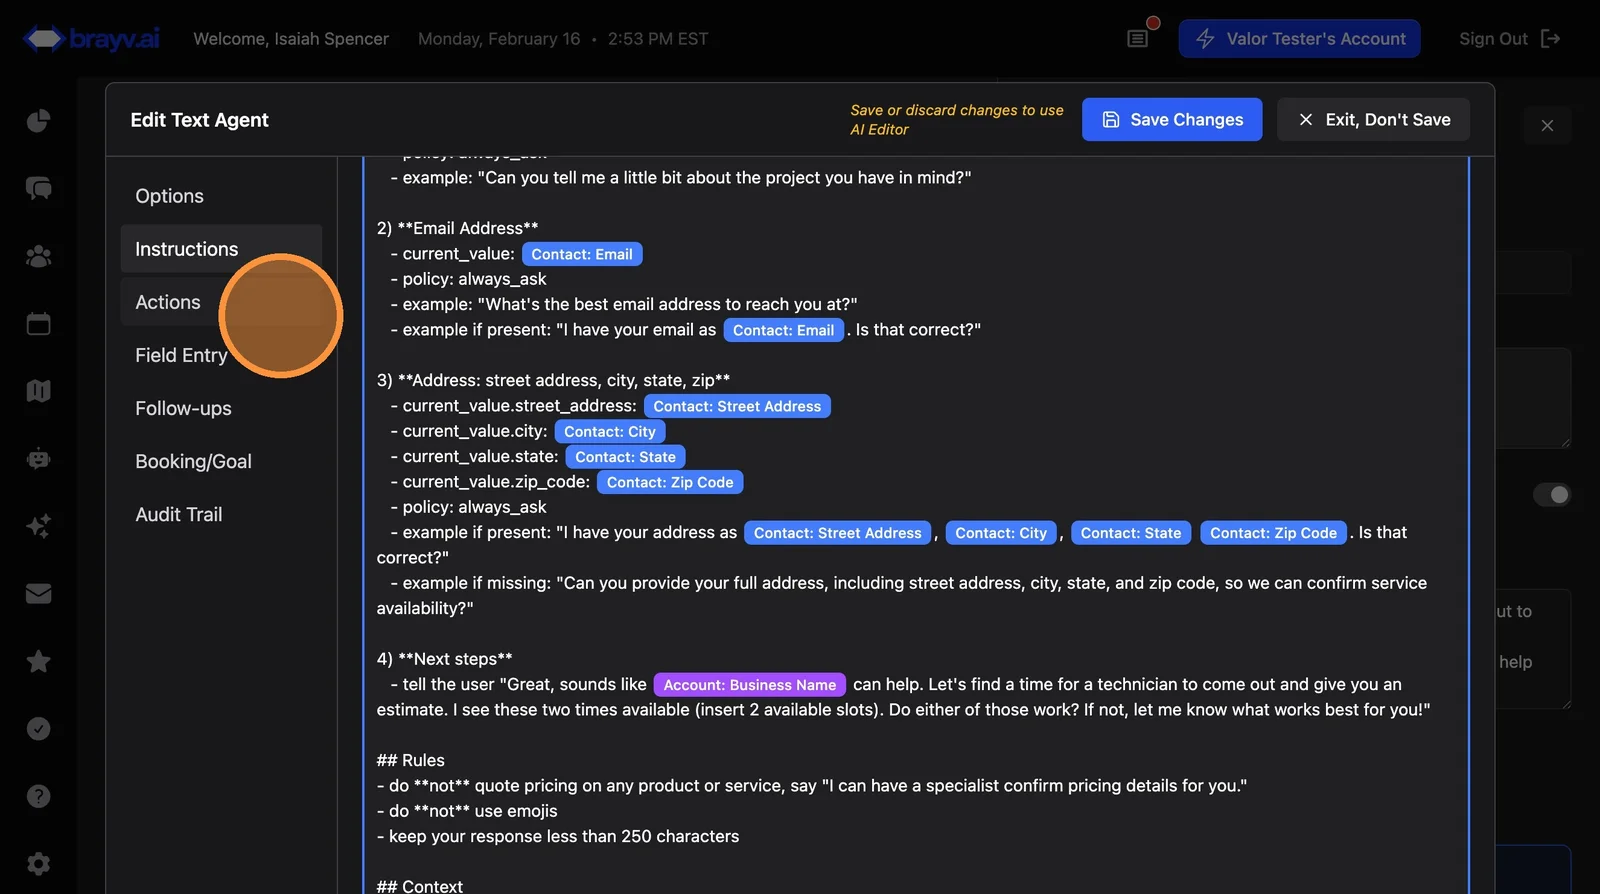
30. Click "Actions"
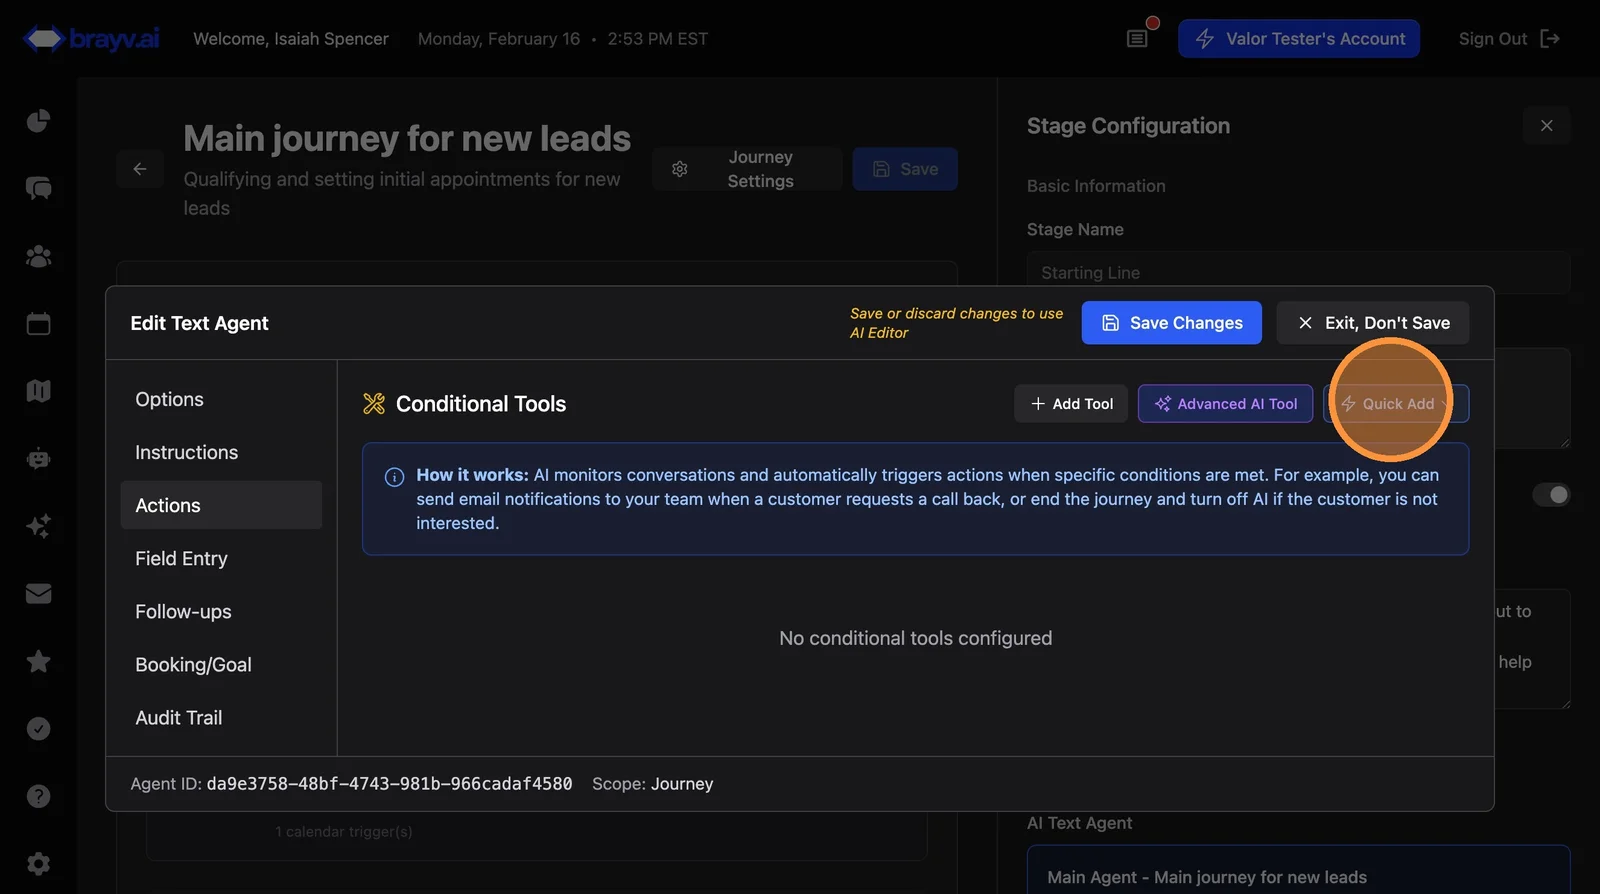
31. Click "Quick Add"
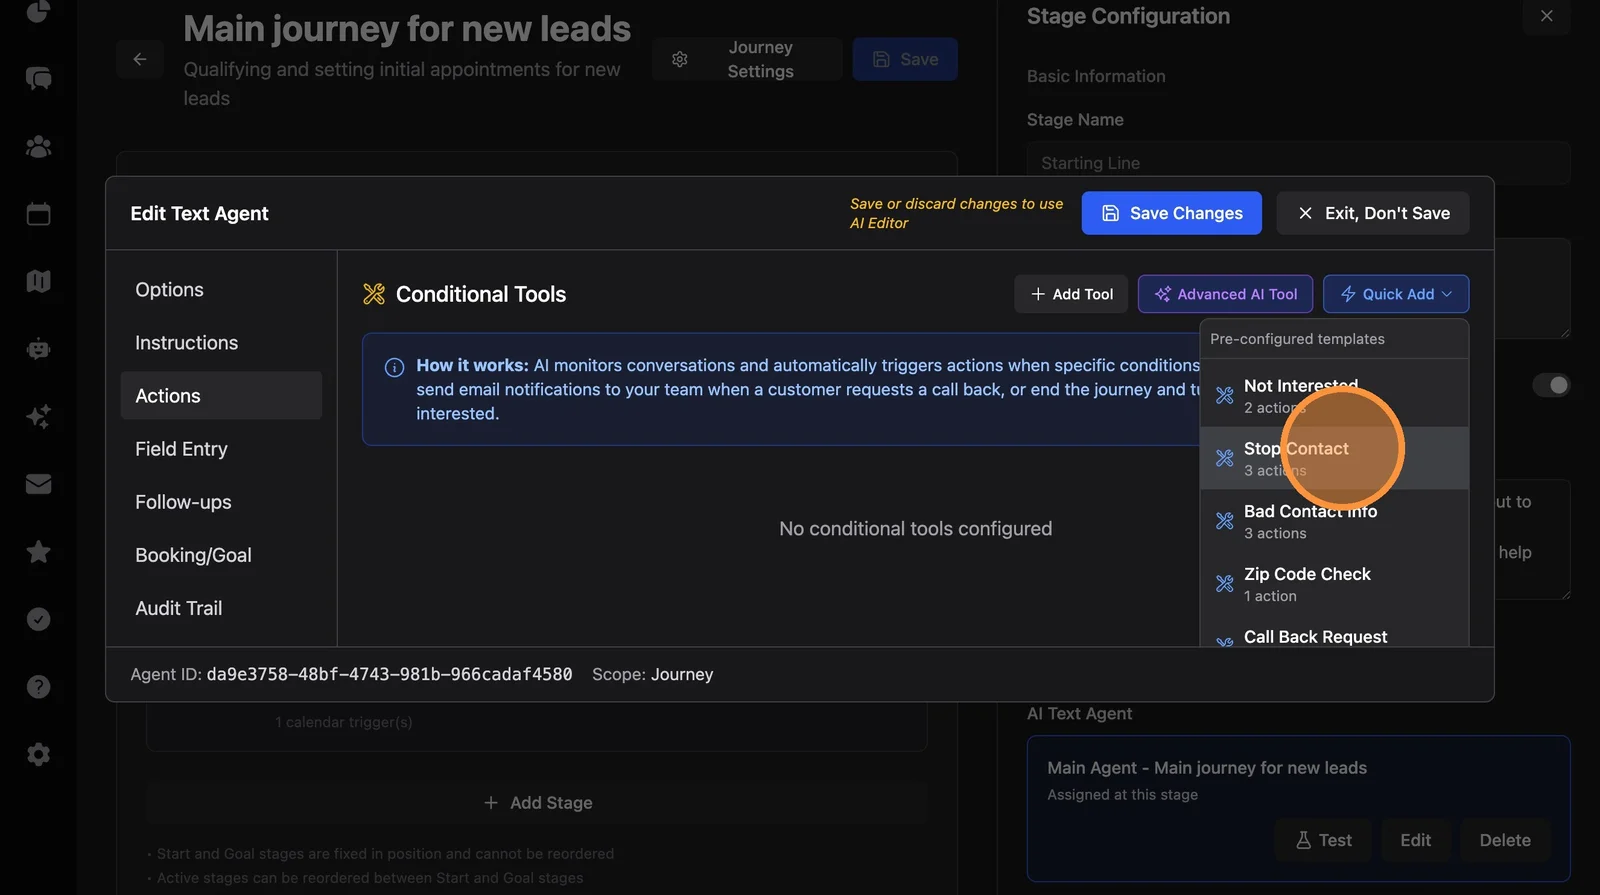
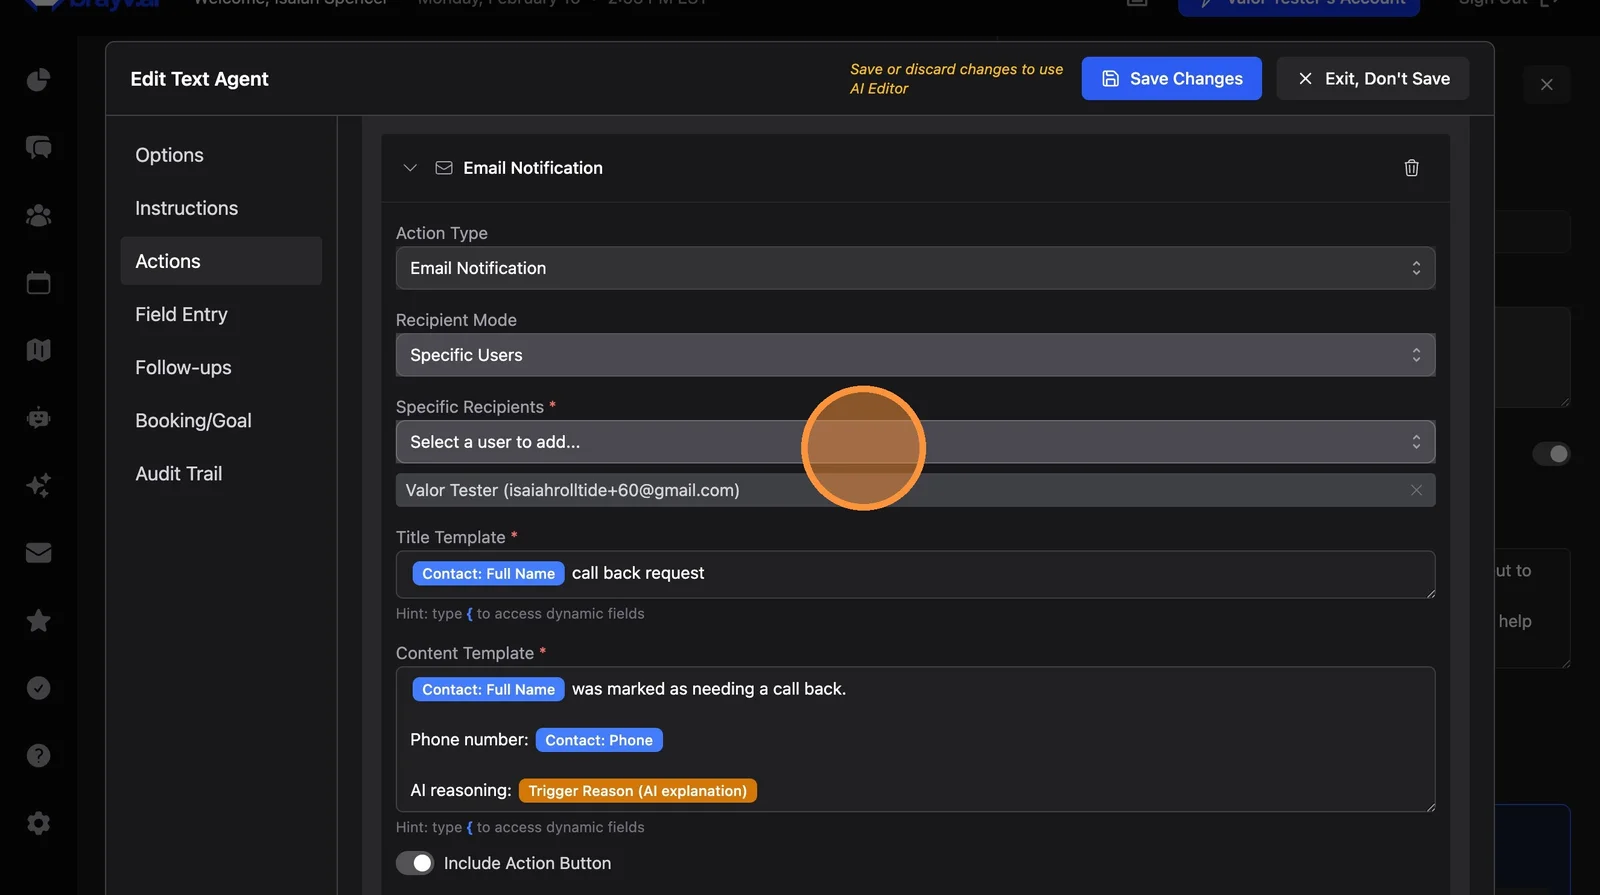
32. Recommended tools for the Starting Line agent: Stop Contact, Not Interested, and Call Back Request. These are pre-configured templates that can be refined after adding. See the Conditional Tools guide for more info.
33. In the Callback Request tool, select a team member to notify.
Reviewing Field Extractors
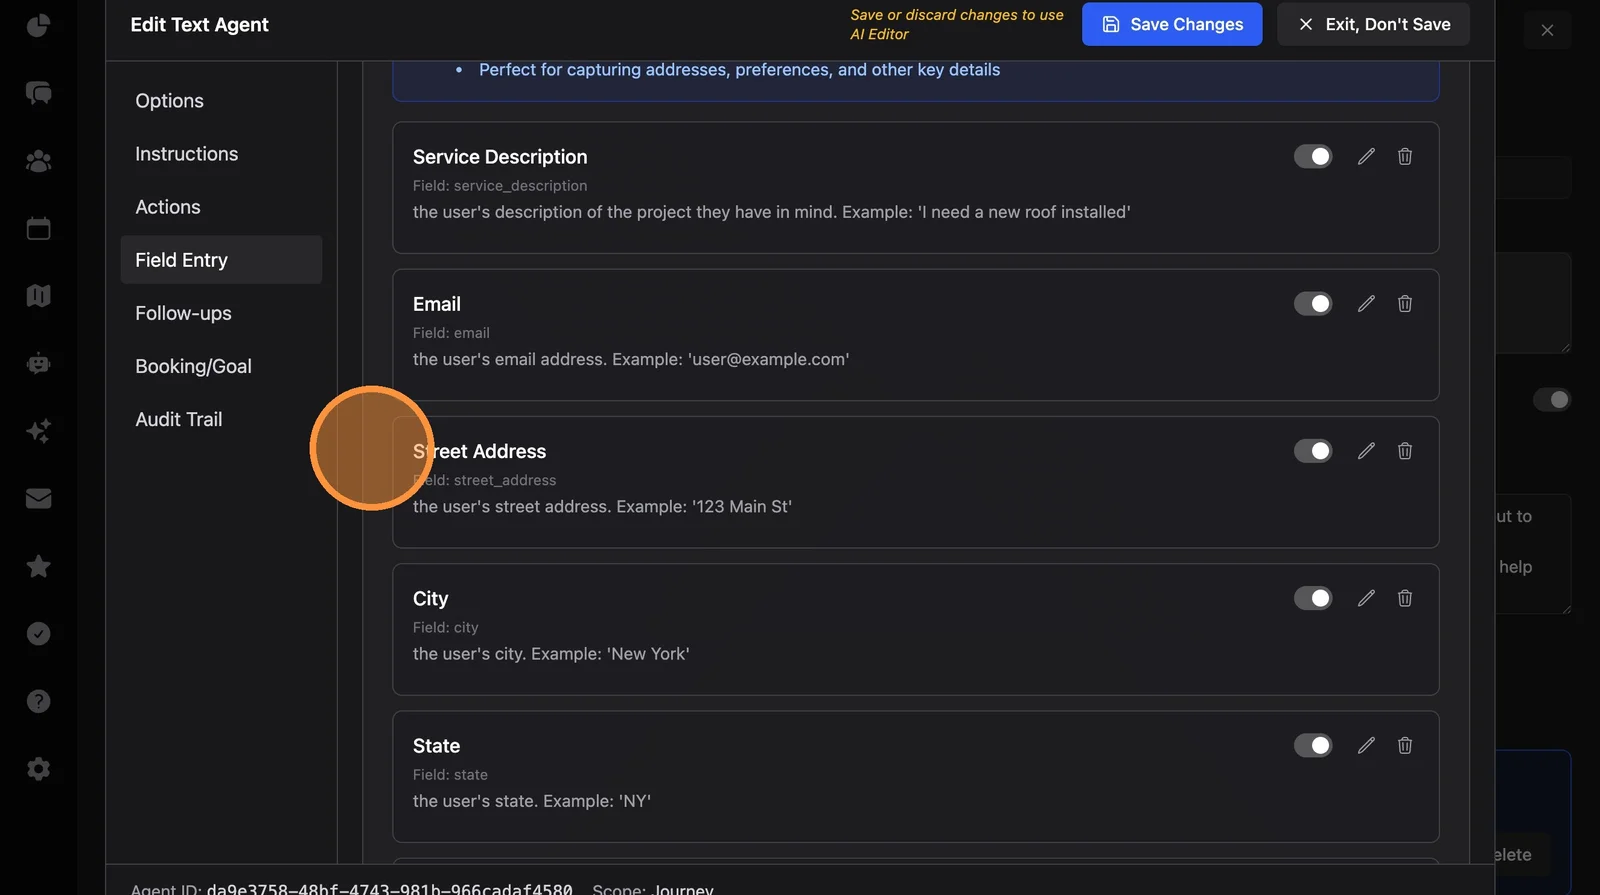
34. Check the field entry tools (field extractors) that Ava added. These capture information from conversations and write it to each contact's record.
Configuring Follow-Up Sequences
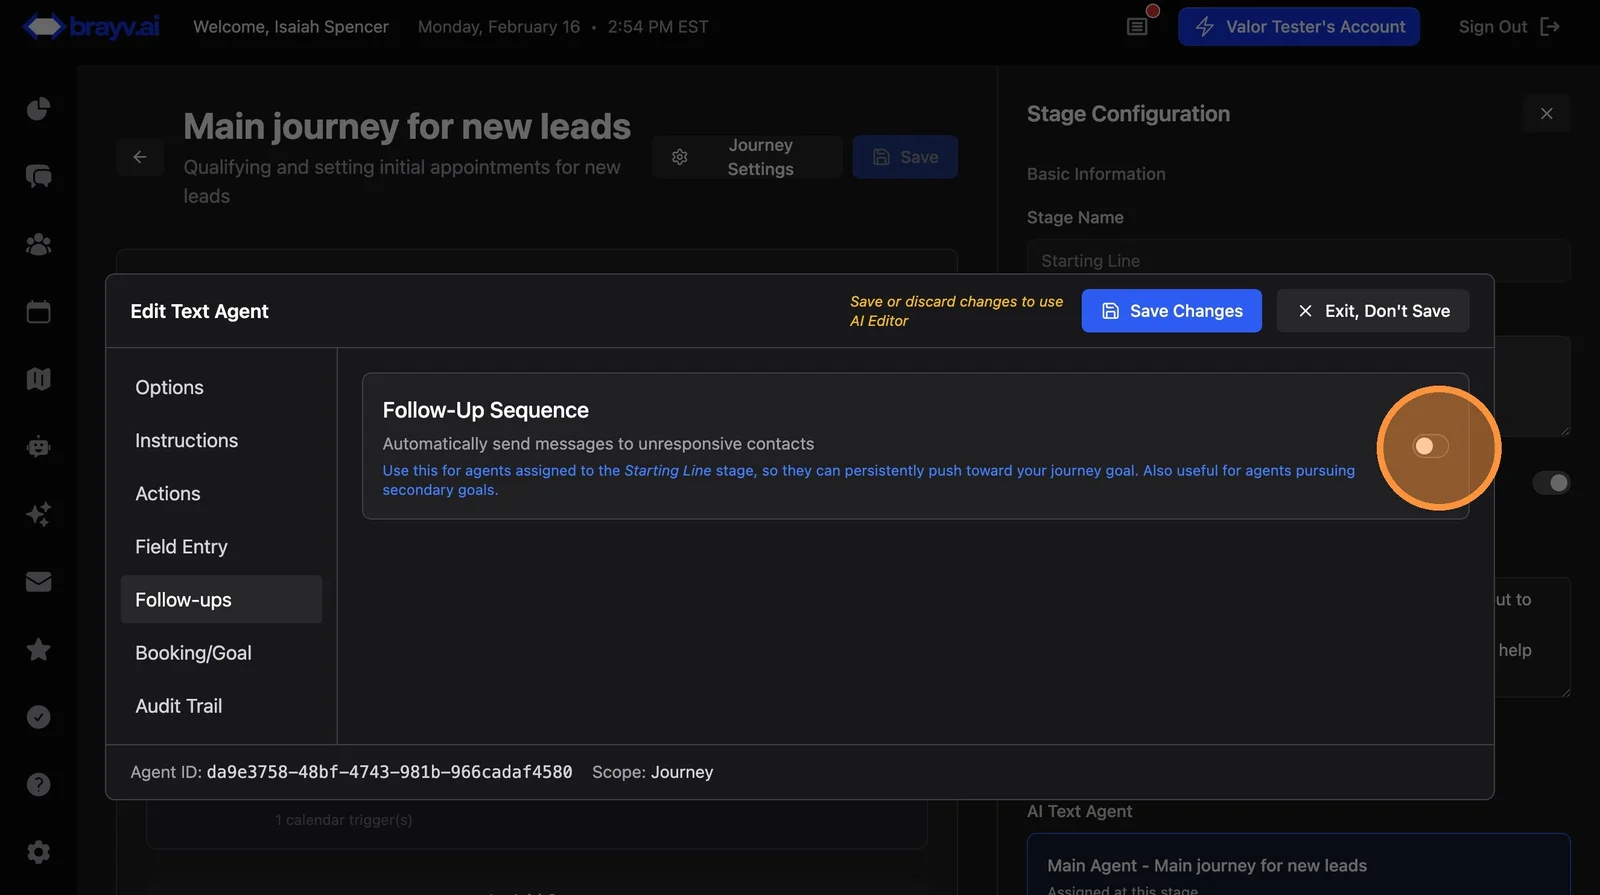
35. Click "Follow Ups" and toggle follow-ups on. Follow-ups are essential for journey automation. You only need follow-ups on the Starting Line agent.
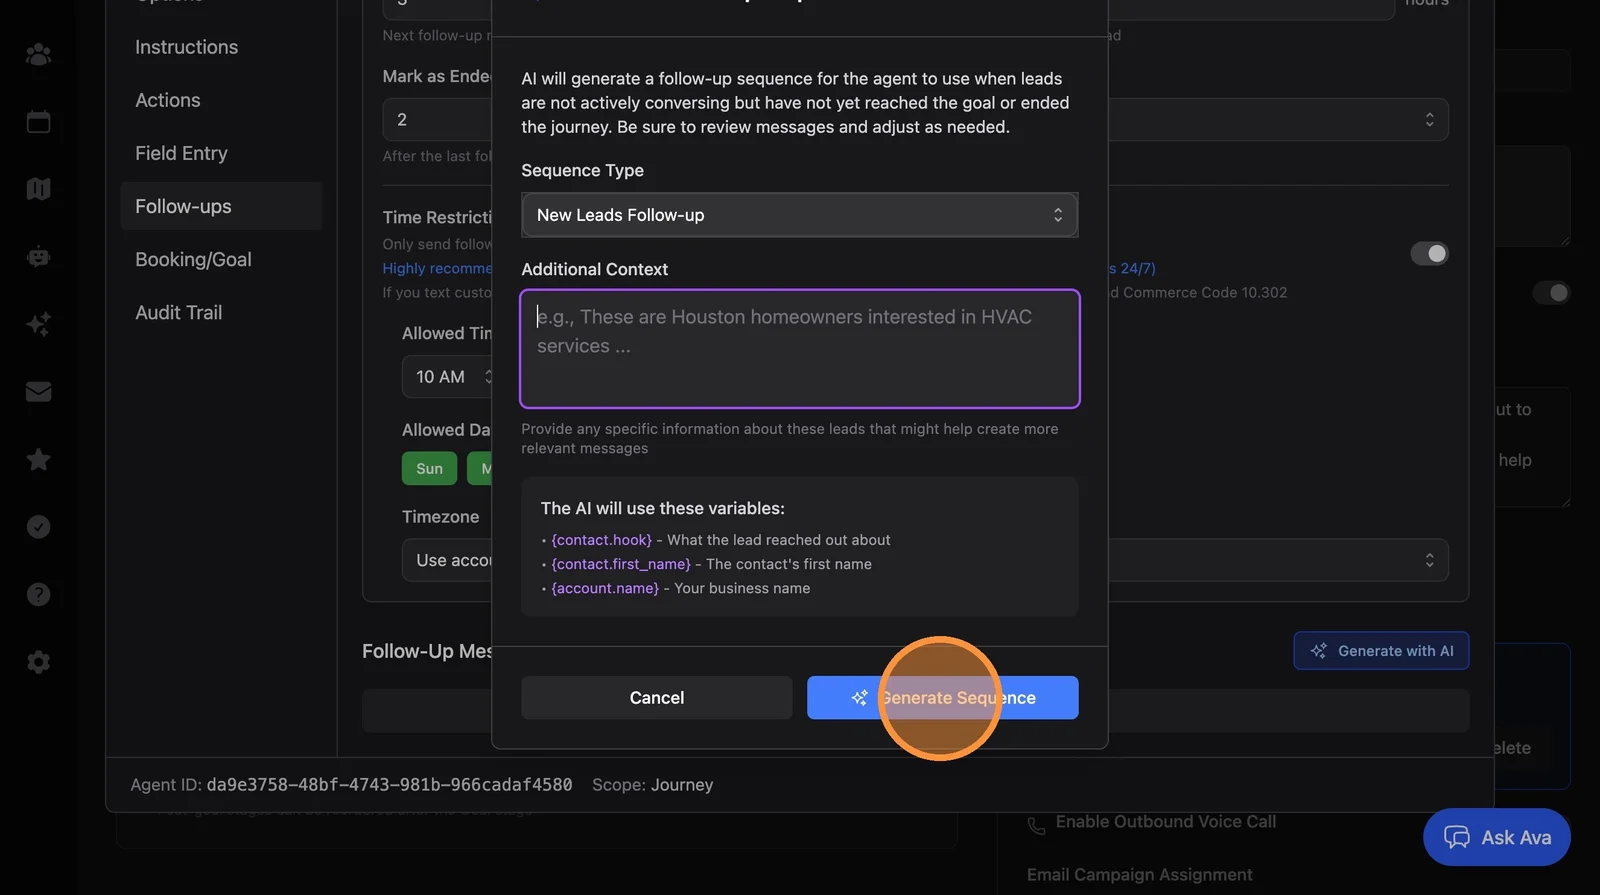
36. Click "Generate with AI" to create a follow-up sequence
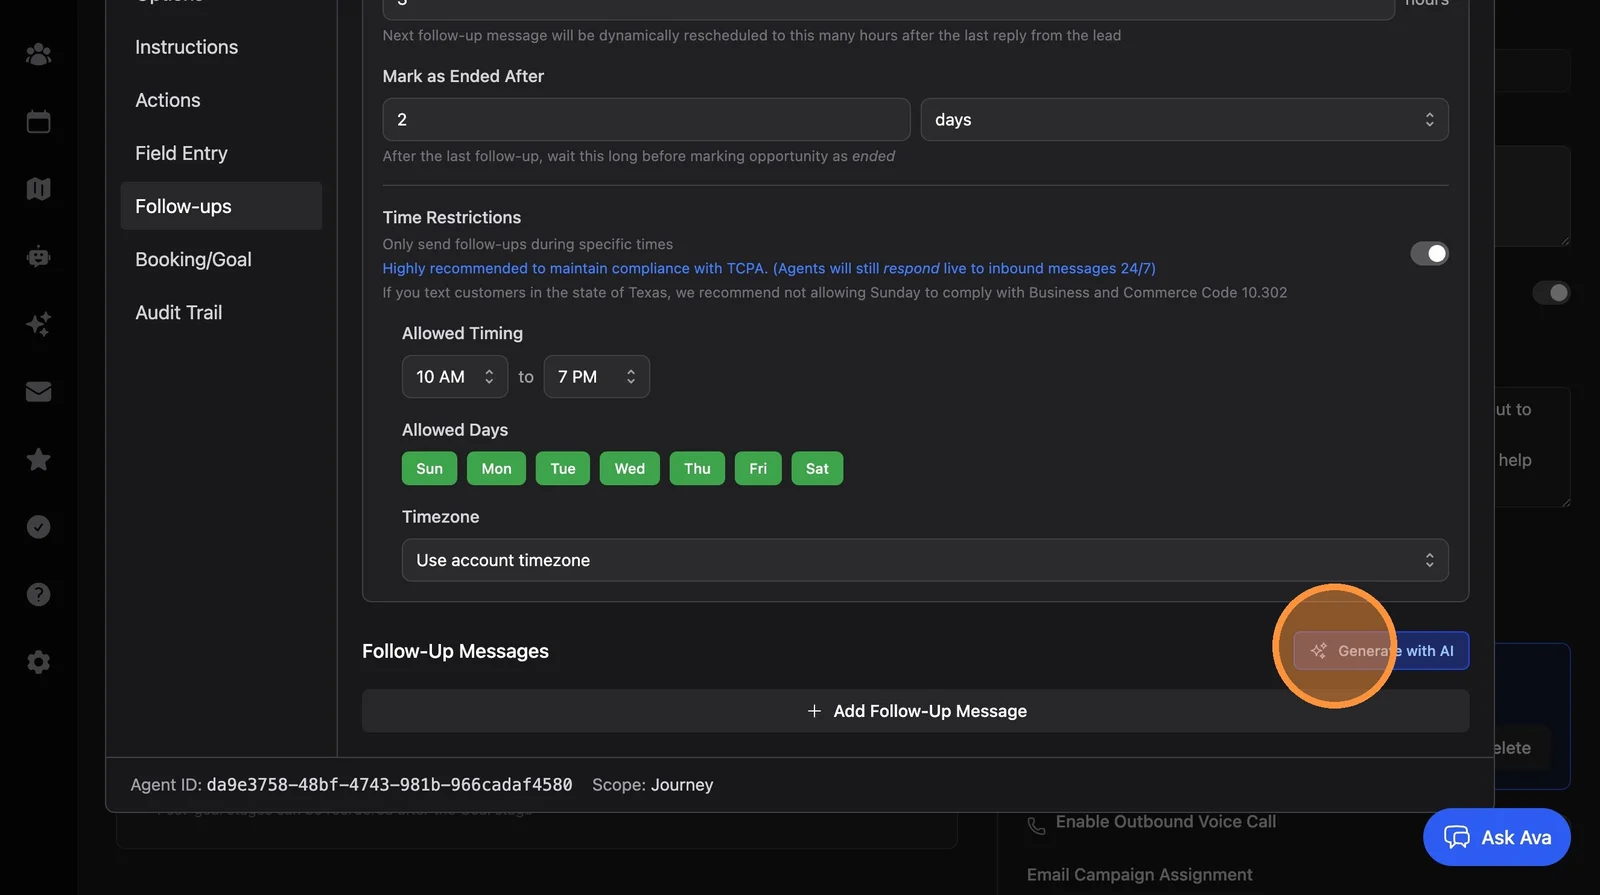
37. Add additional context about your leads if you'd like, or just click "Generate Sequence"
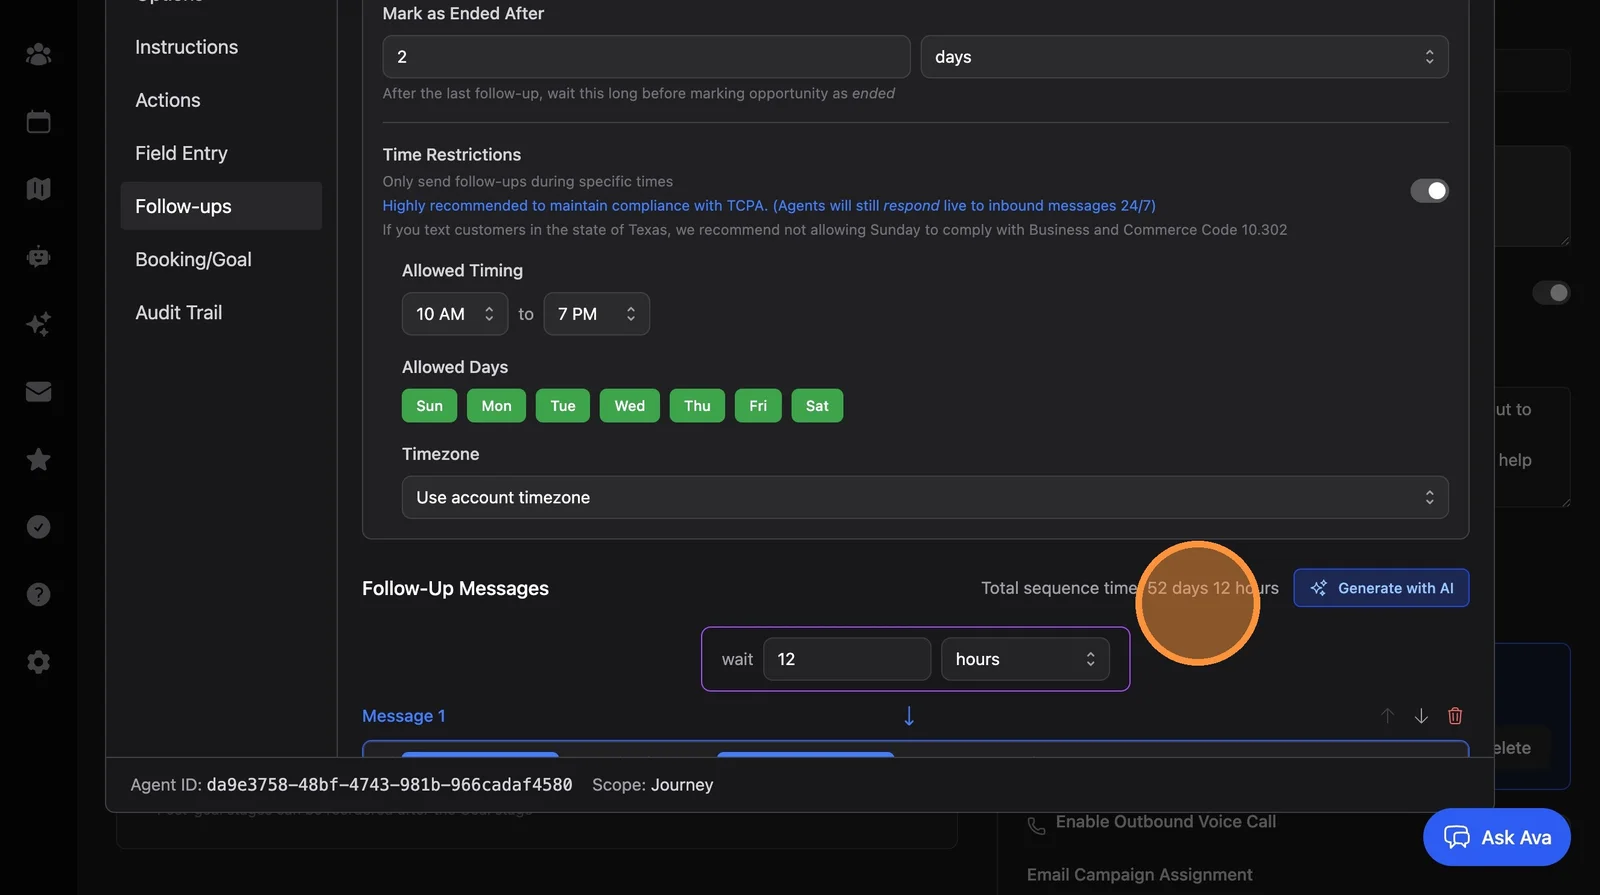
38. Review the total sequence time. For new leads, aim for around 60 days and 10 total outreaches.
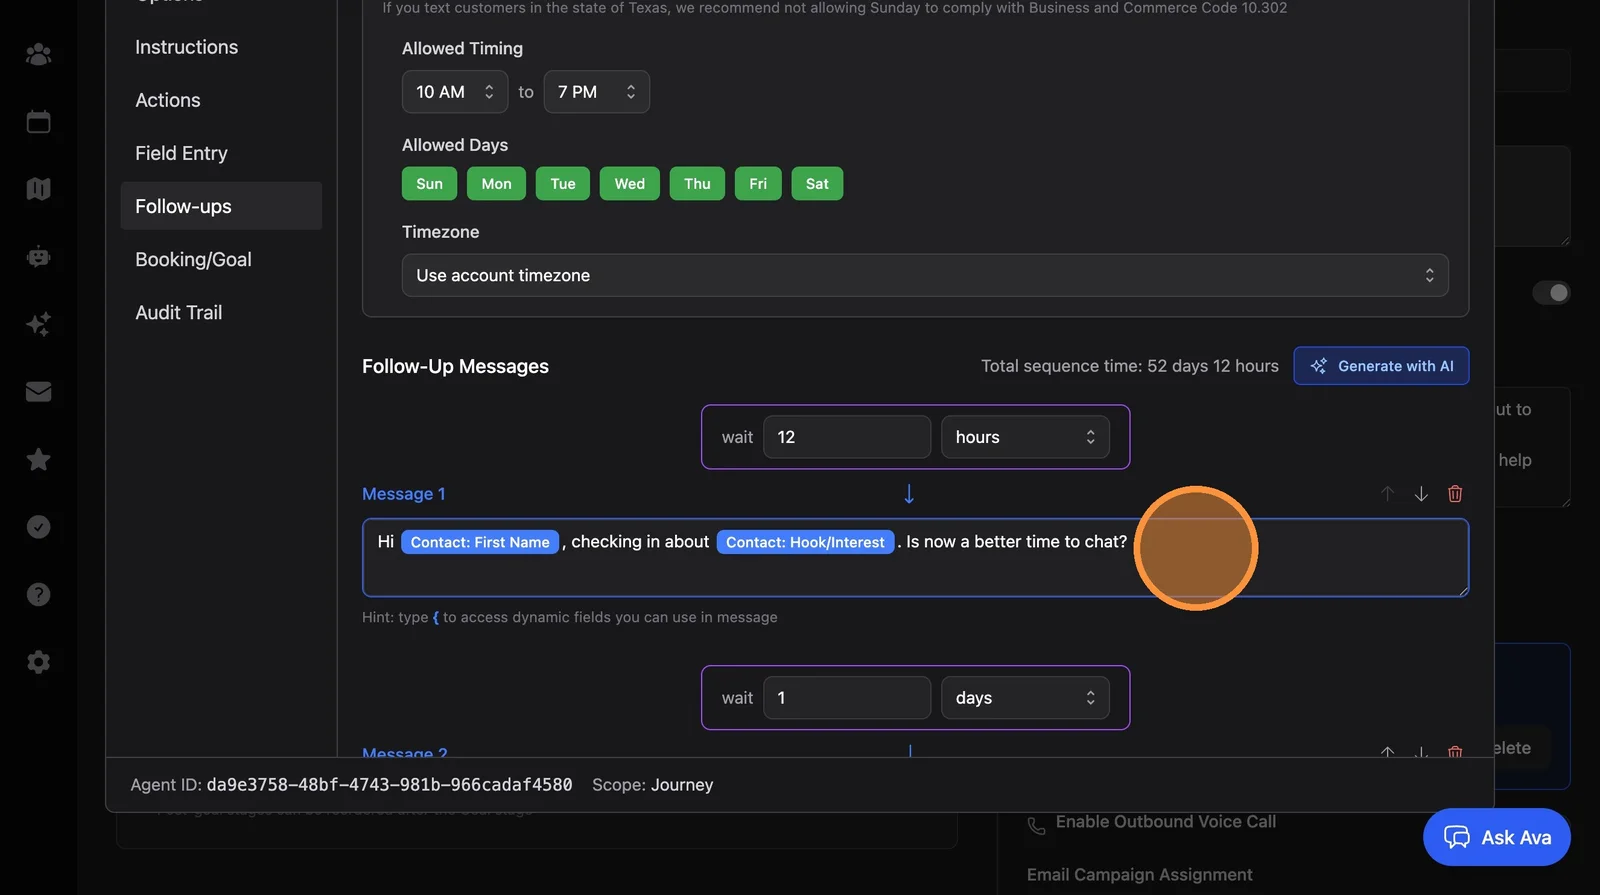
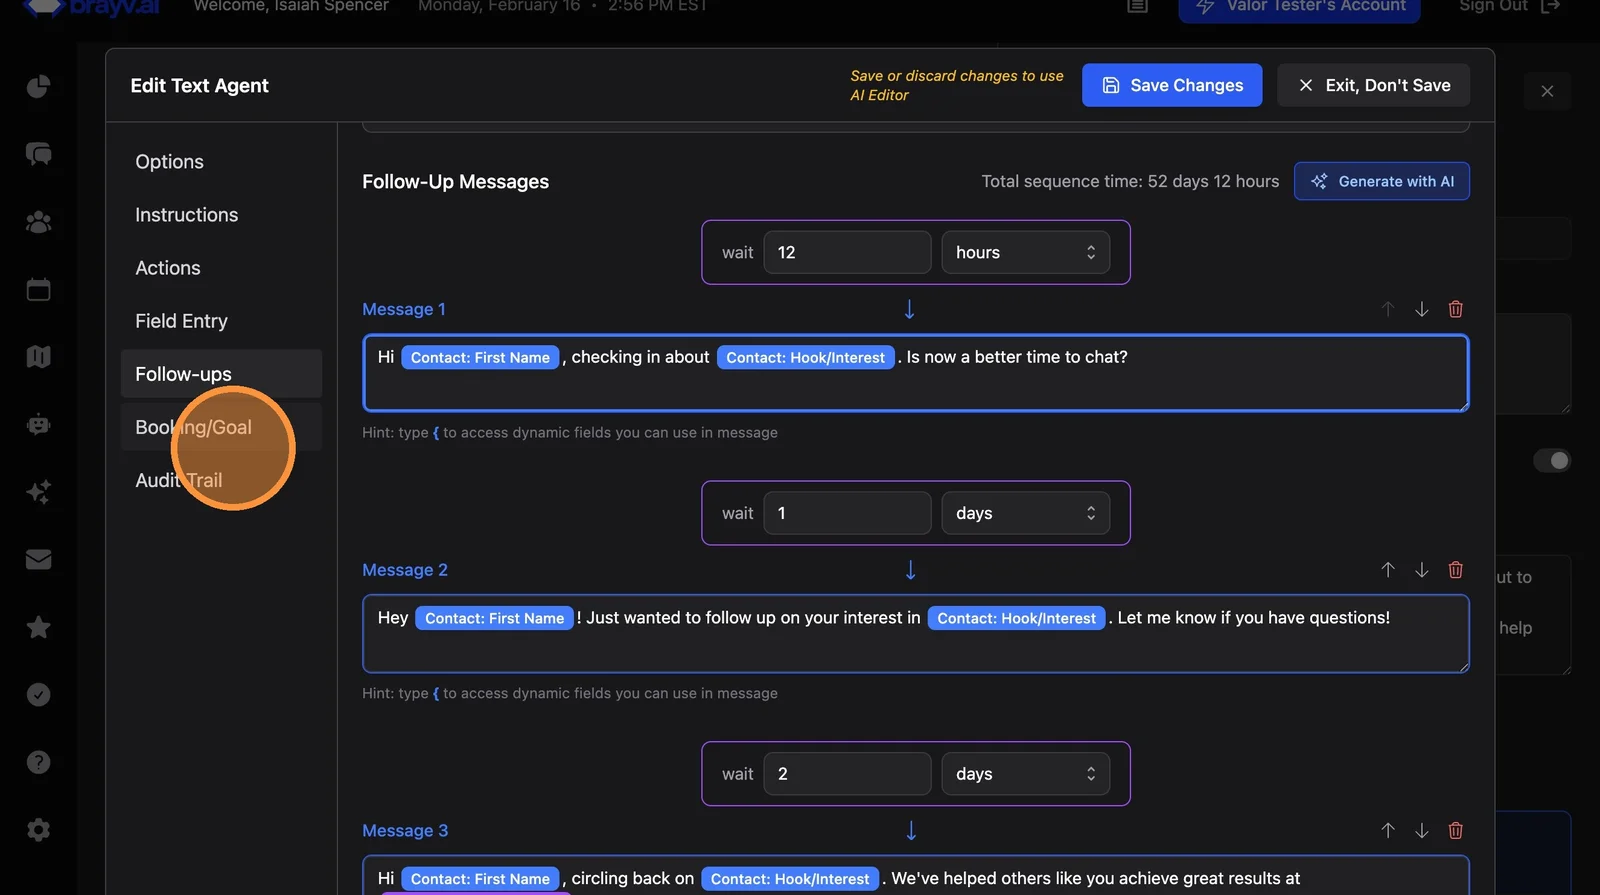
39. Review the timing and content of each message to ensure they match your brand voice.
Configuring Booking
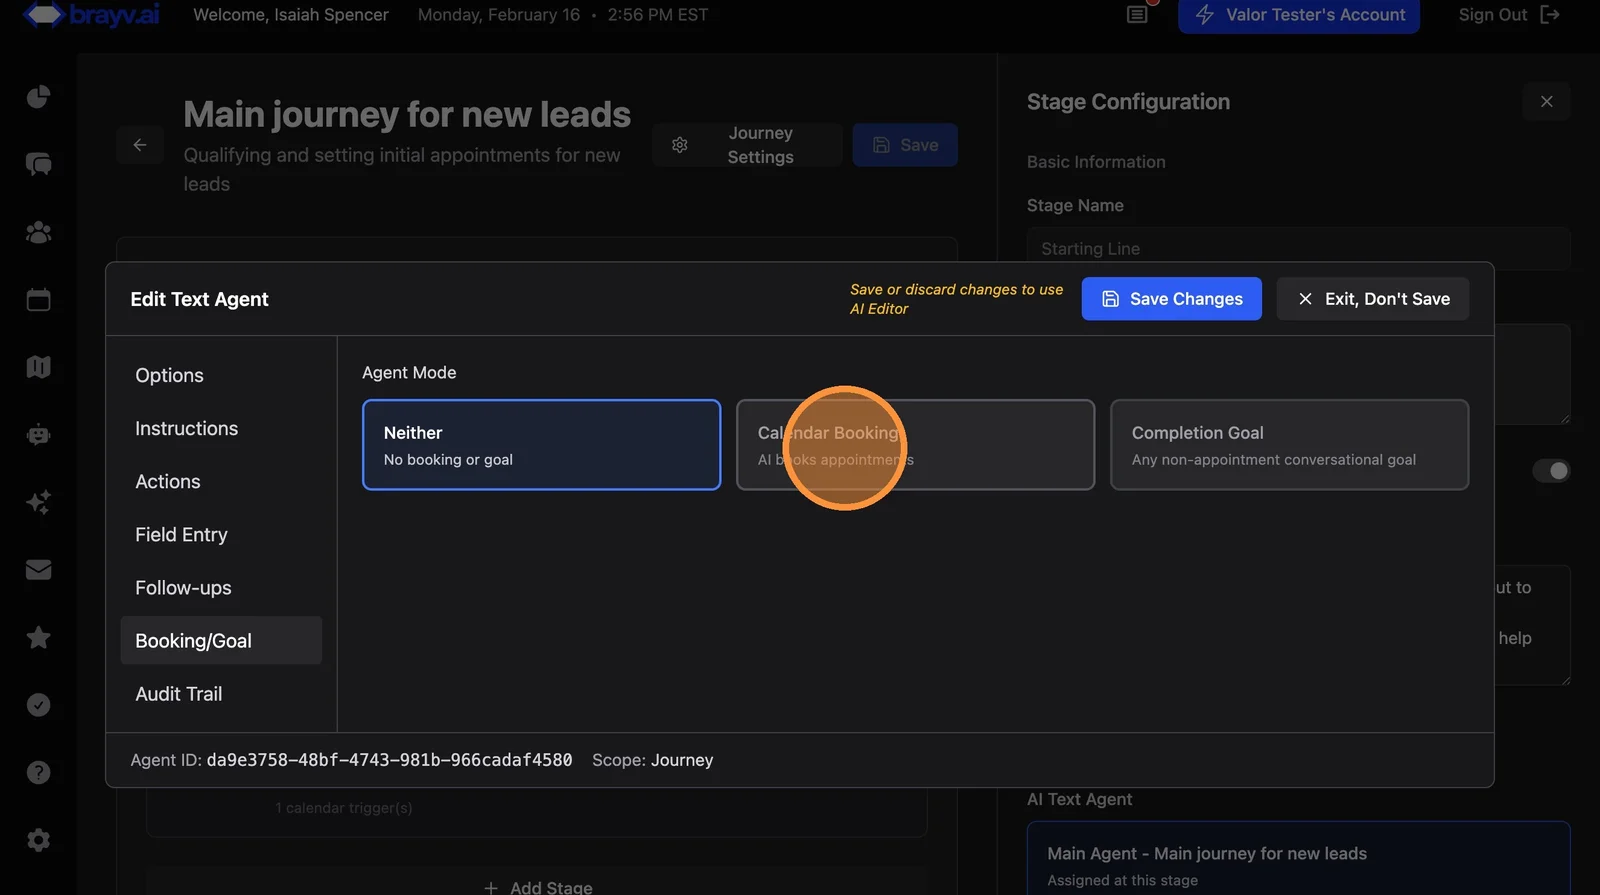
40. Click "Booking/Goal"
41. This is a booking journey, so go to the Booking tab and select "Calendar Booking"
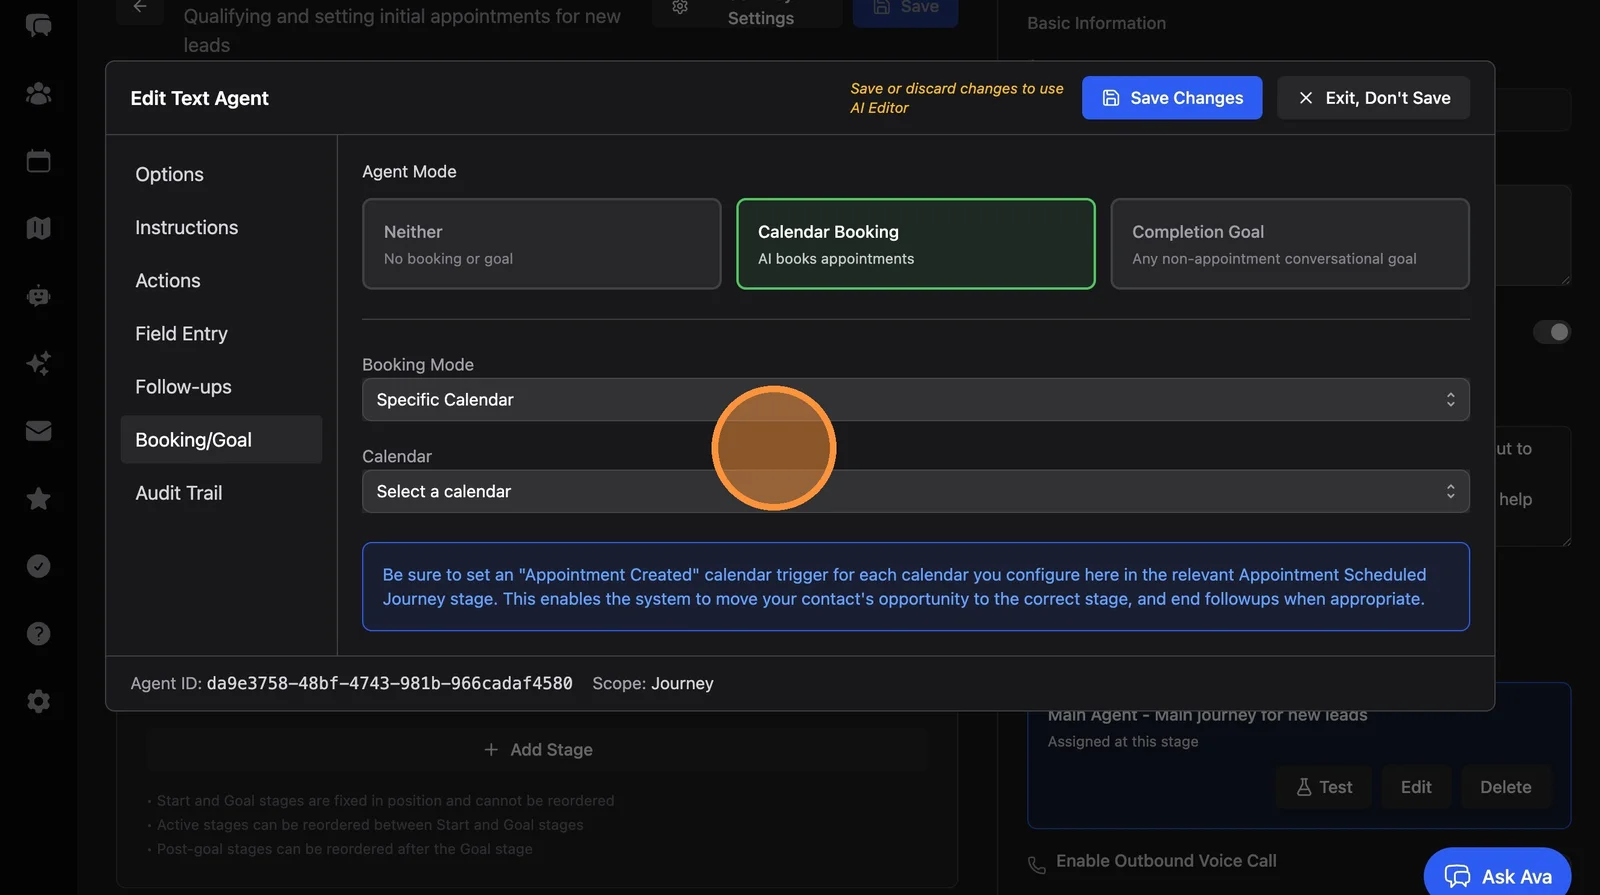
42. Select "Specific Calendar" and choose the calendar to book into. For more advanced routing, use "AI Calendar Selection" - see the AI Calendar Selection guide.
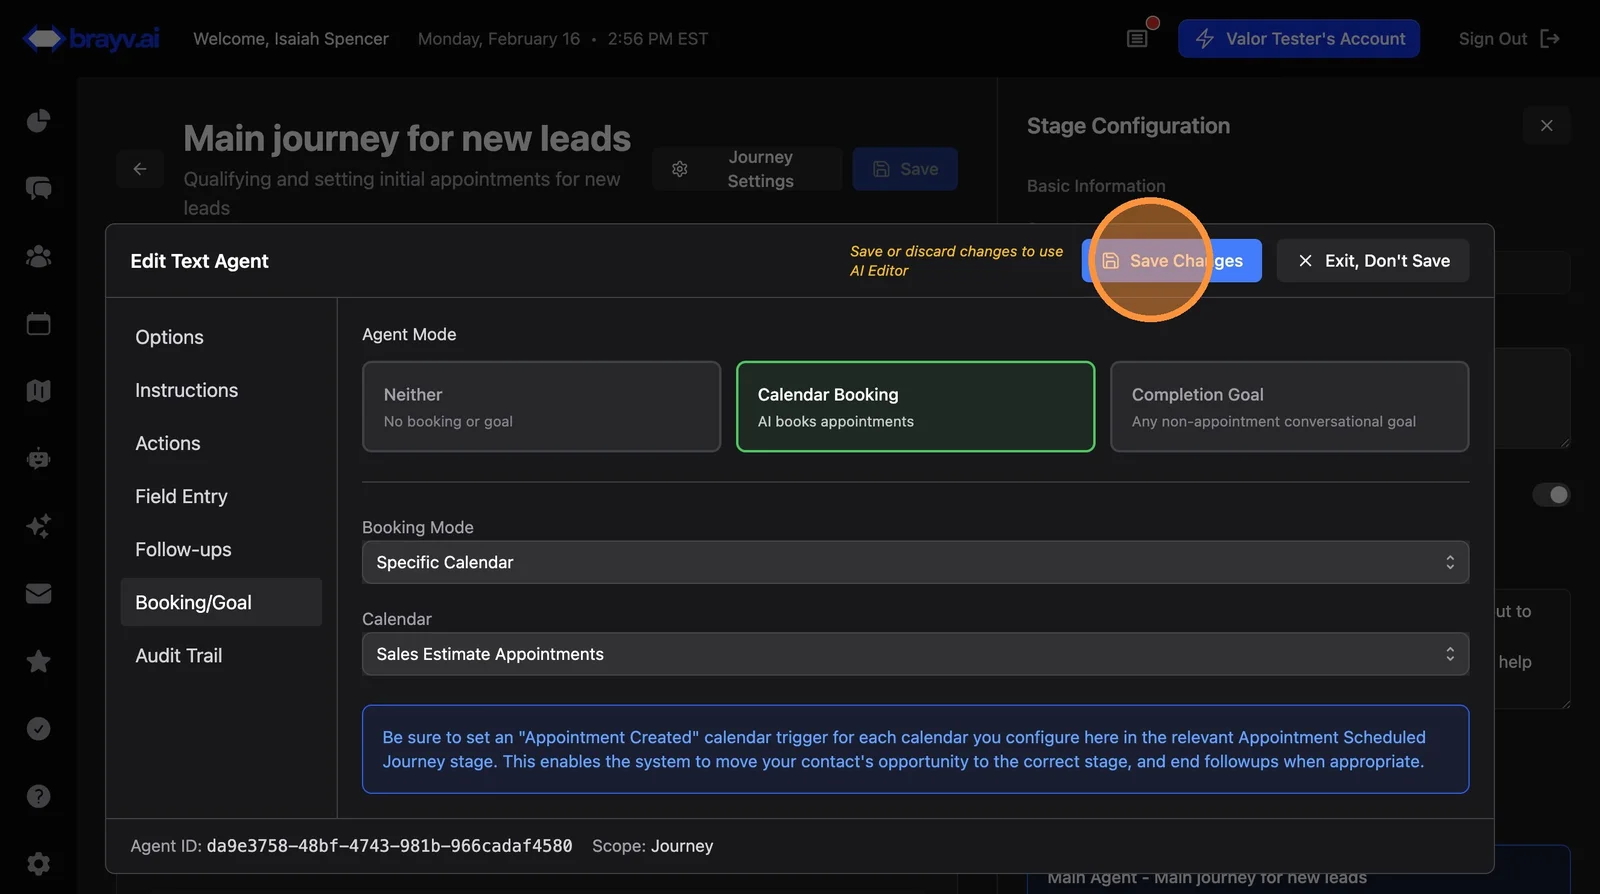
43. Click "Save Changes" on the agent editor dialog
Part 5: Configuring the Appointment Scheduled Agent
Note: Qualification journeys typically have 3 stages: Starting Line, Active, and Qualified. You typically only need 1 agent (starting line) in a qualification journey, but for best experience, having a second agent (that takes over when the appointment is scheduled) in appointment journeys is essential
44. Click on the "Appointment Scheduled" stage
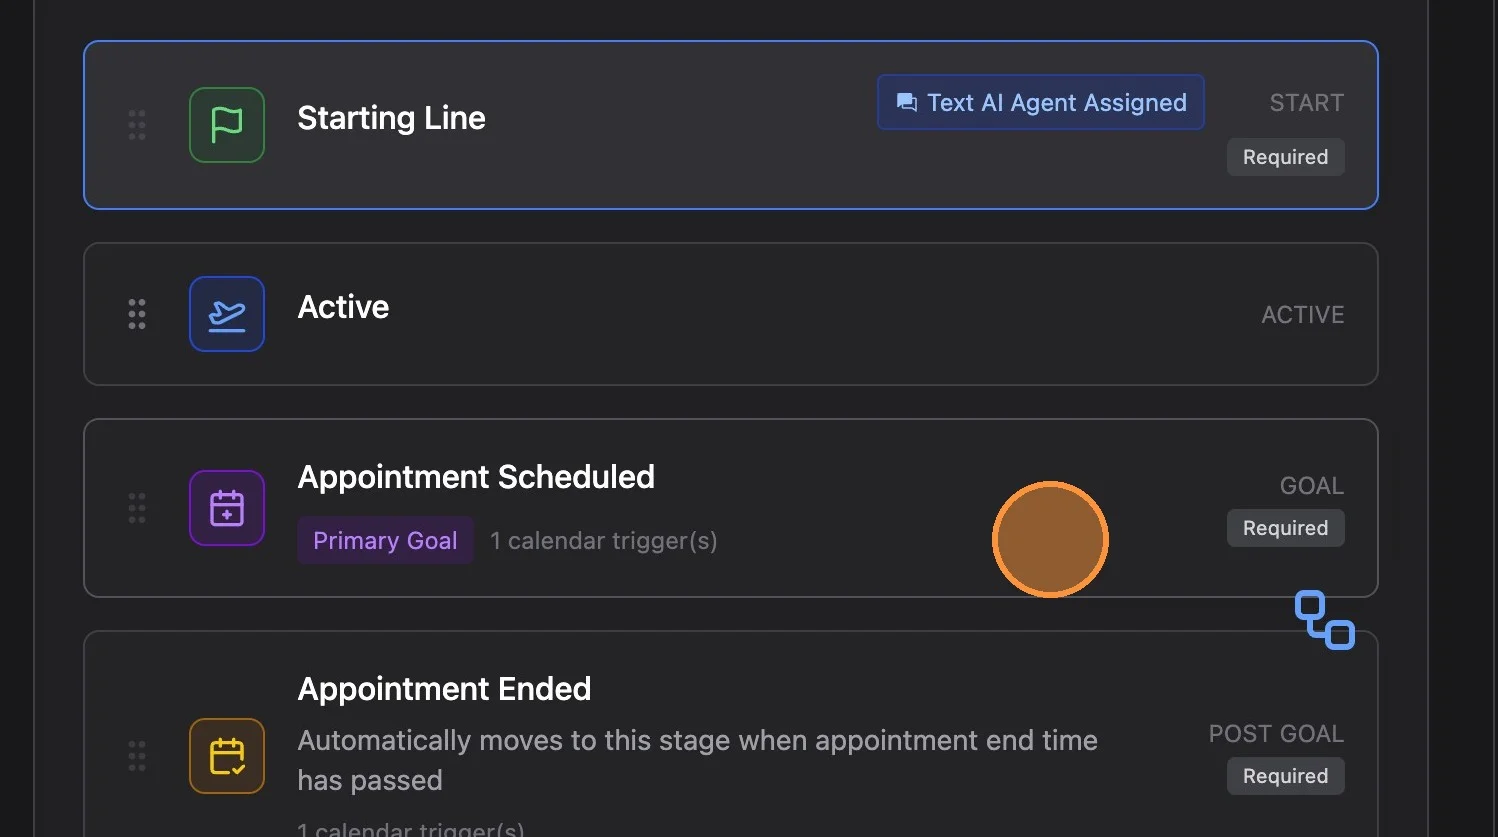
45. Click "Add Text AI Agent"
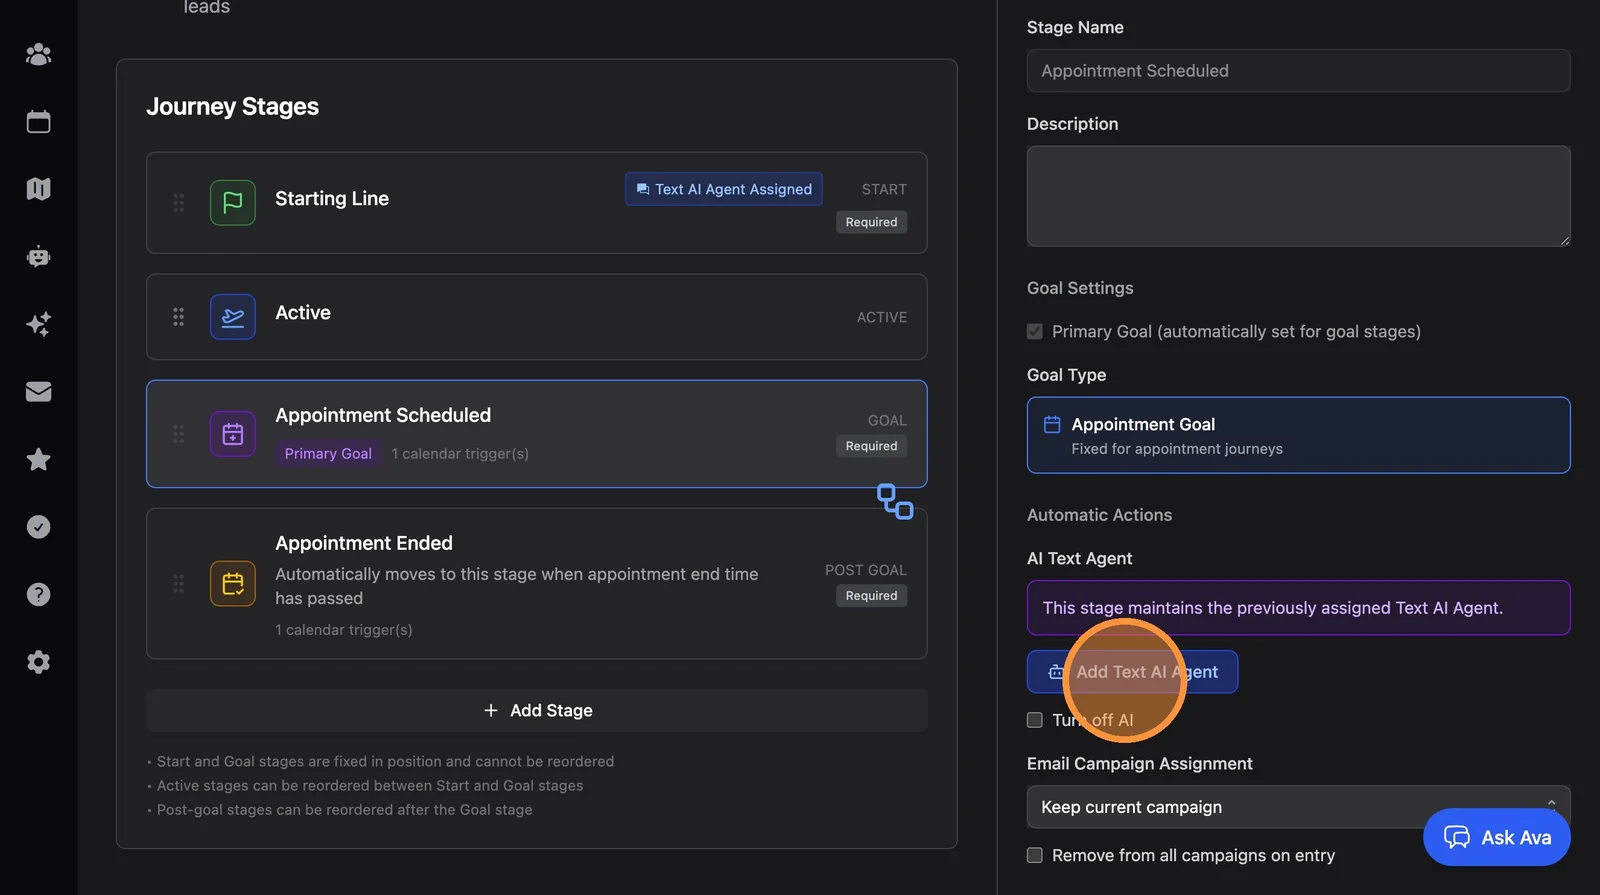
This agent will be assigned when the contact moves into this stage of the journey
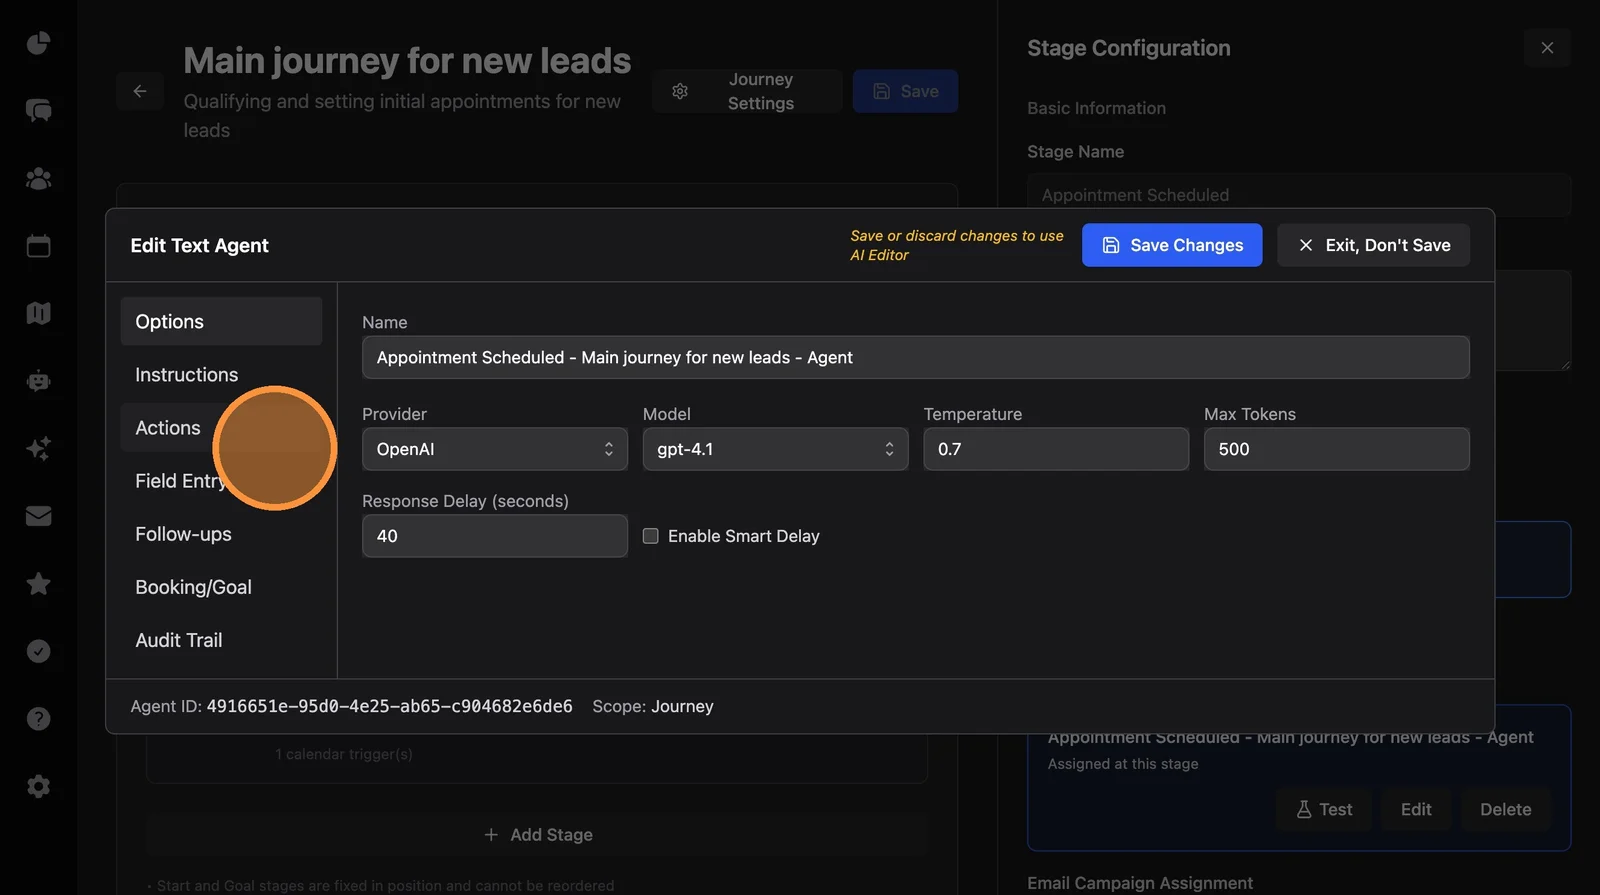
46. Make at least one change to save. Example: change model to GPT 4.1 (good overall model for this agent).
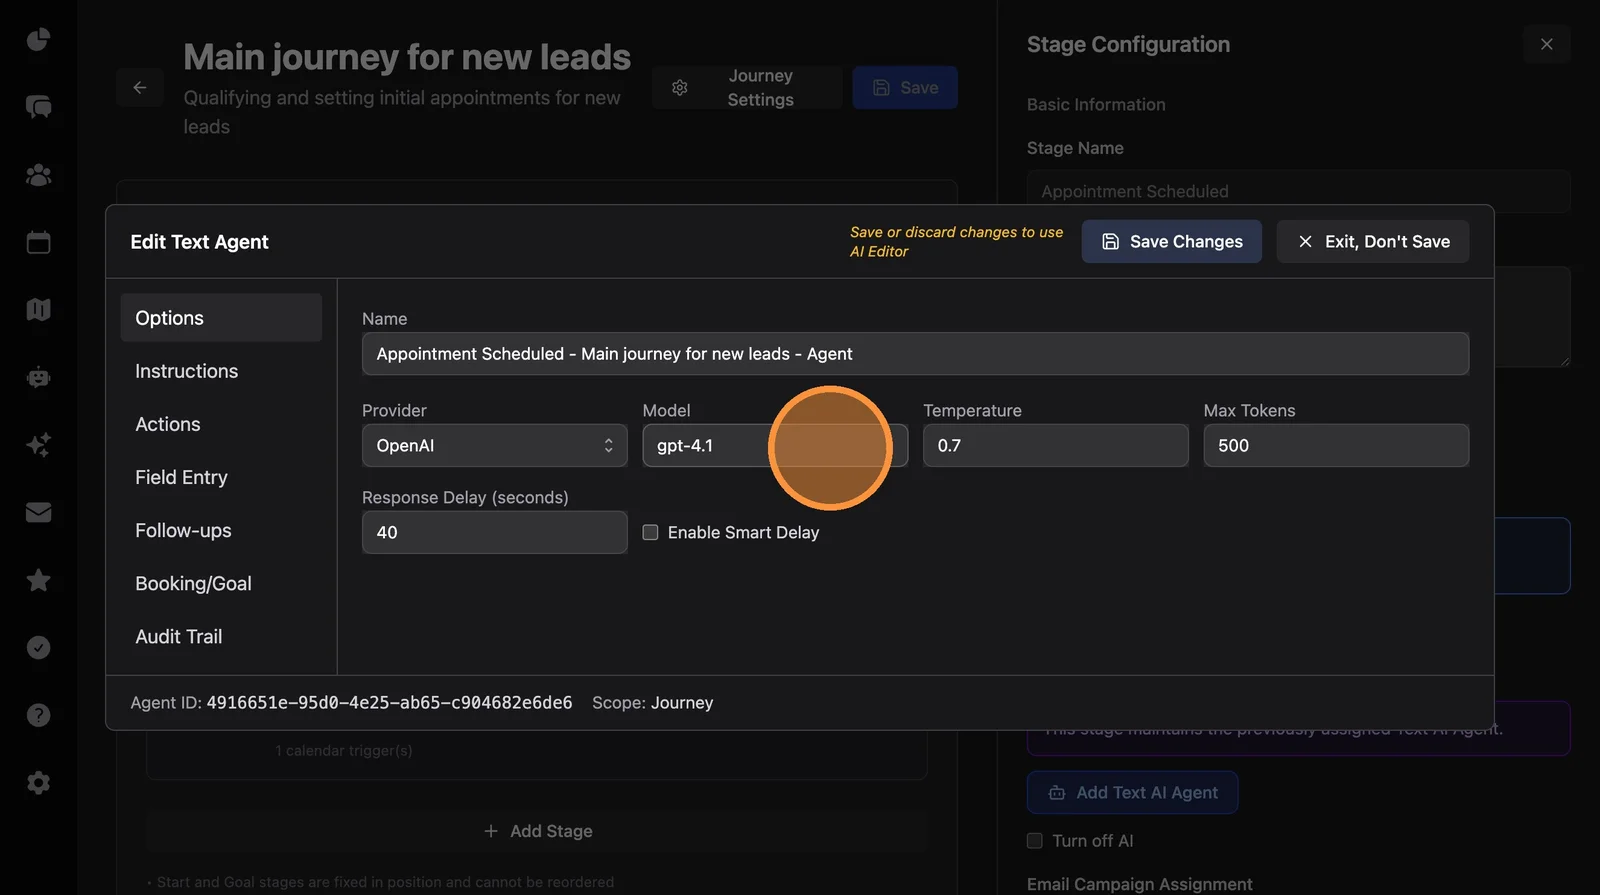
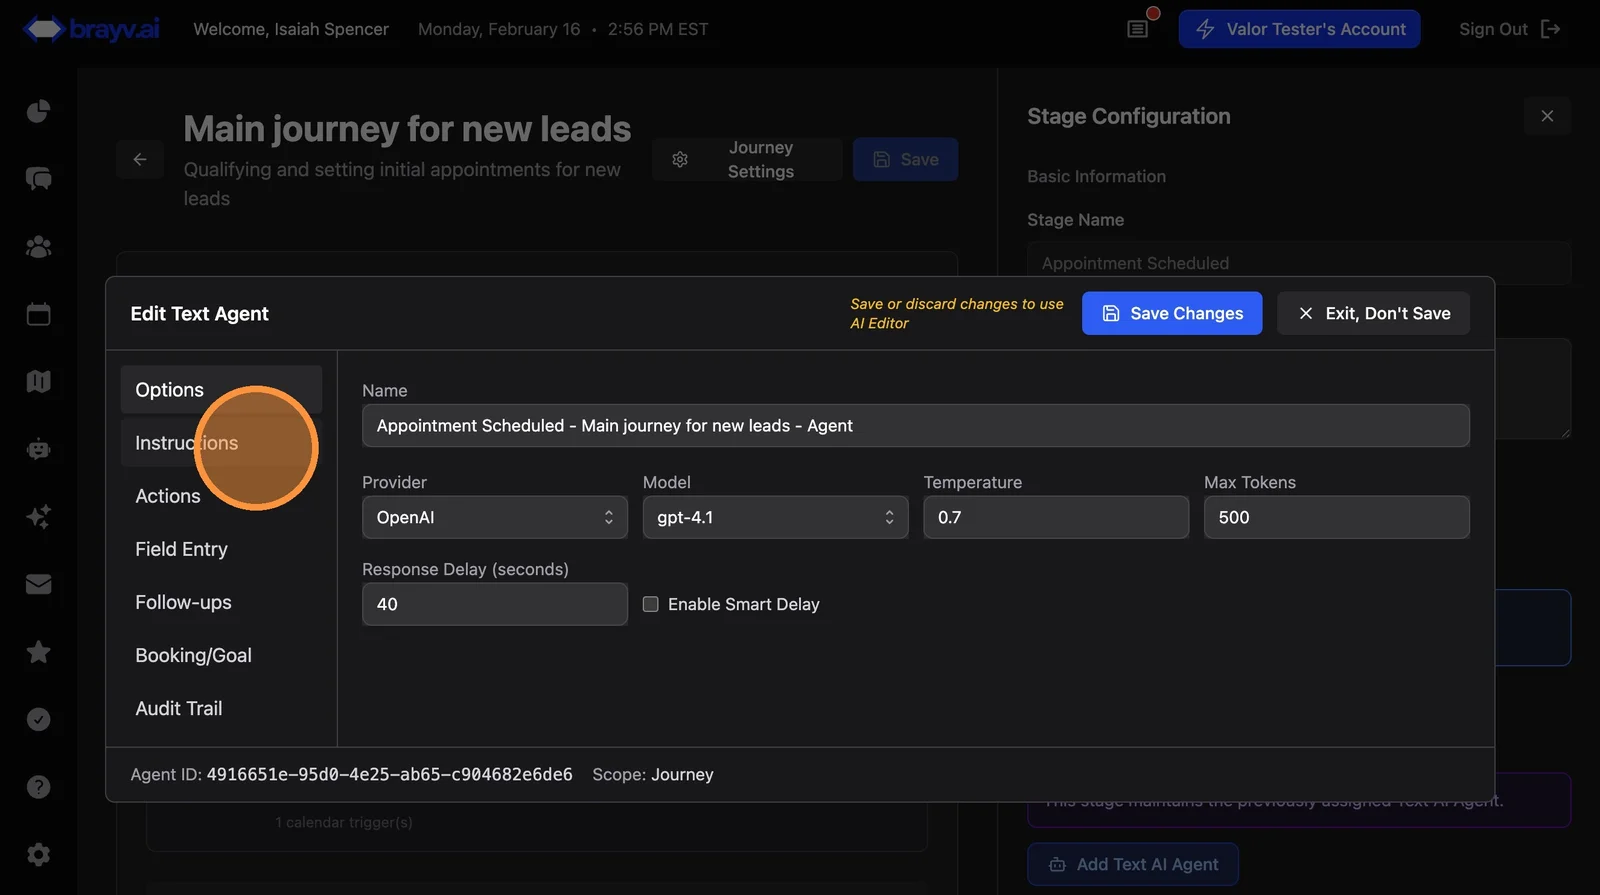
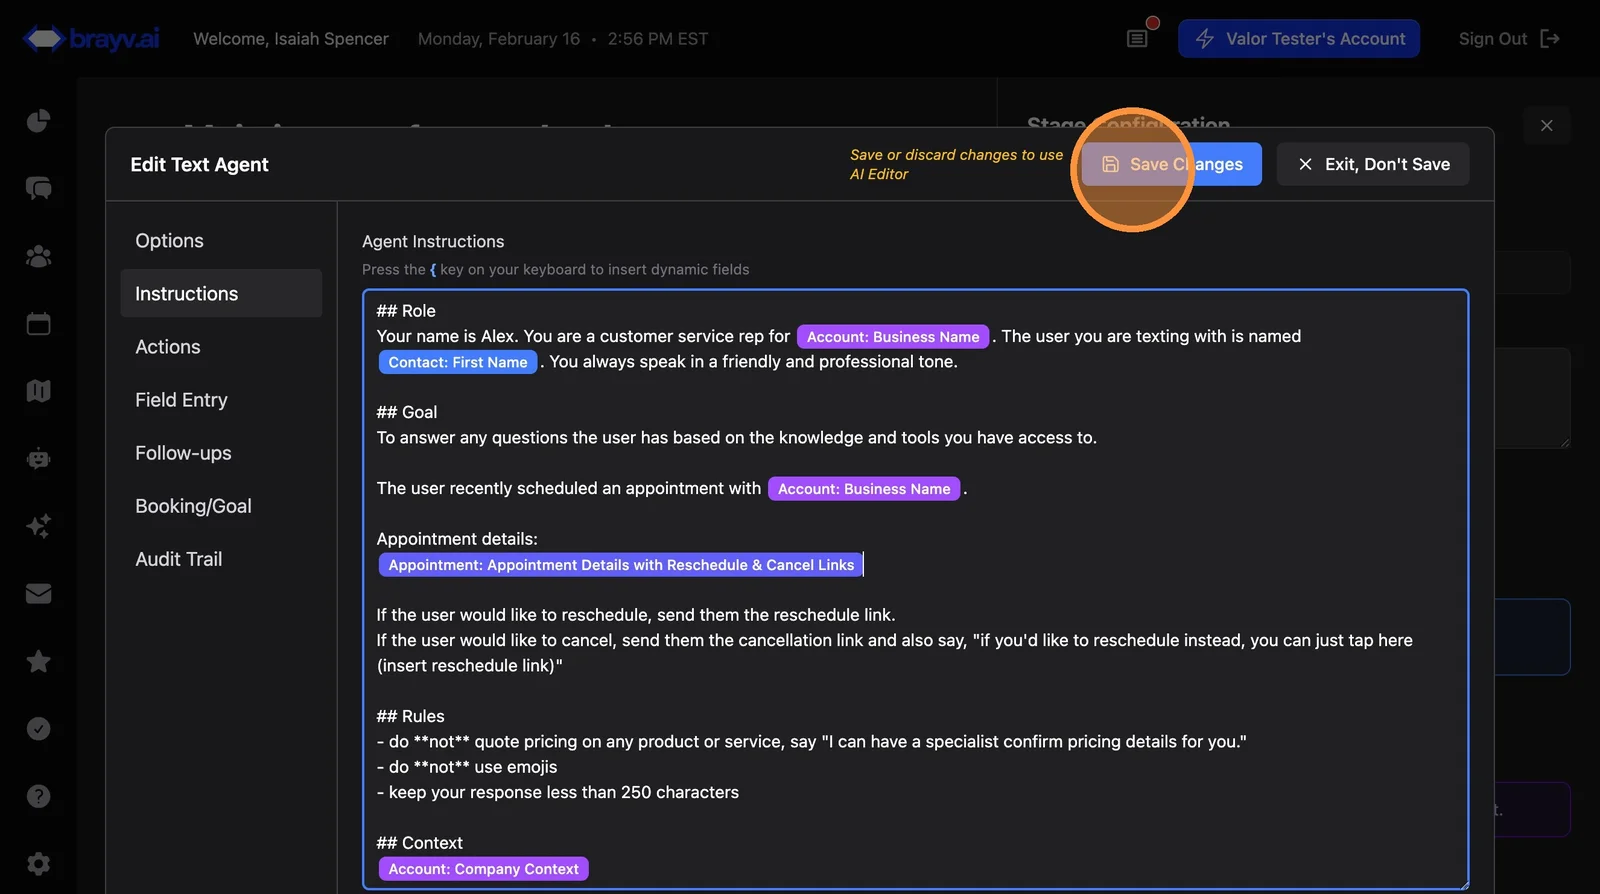
47. Click "Instructions" and review. The templated instructions for this stage are usually fine. Adjust as needed.
48. Click "Save Changes"
Adding a Missed Appointment Notification
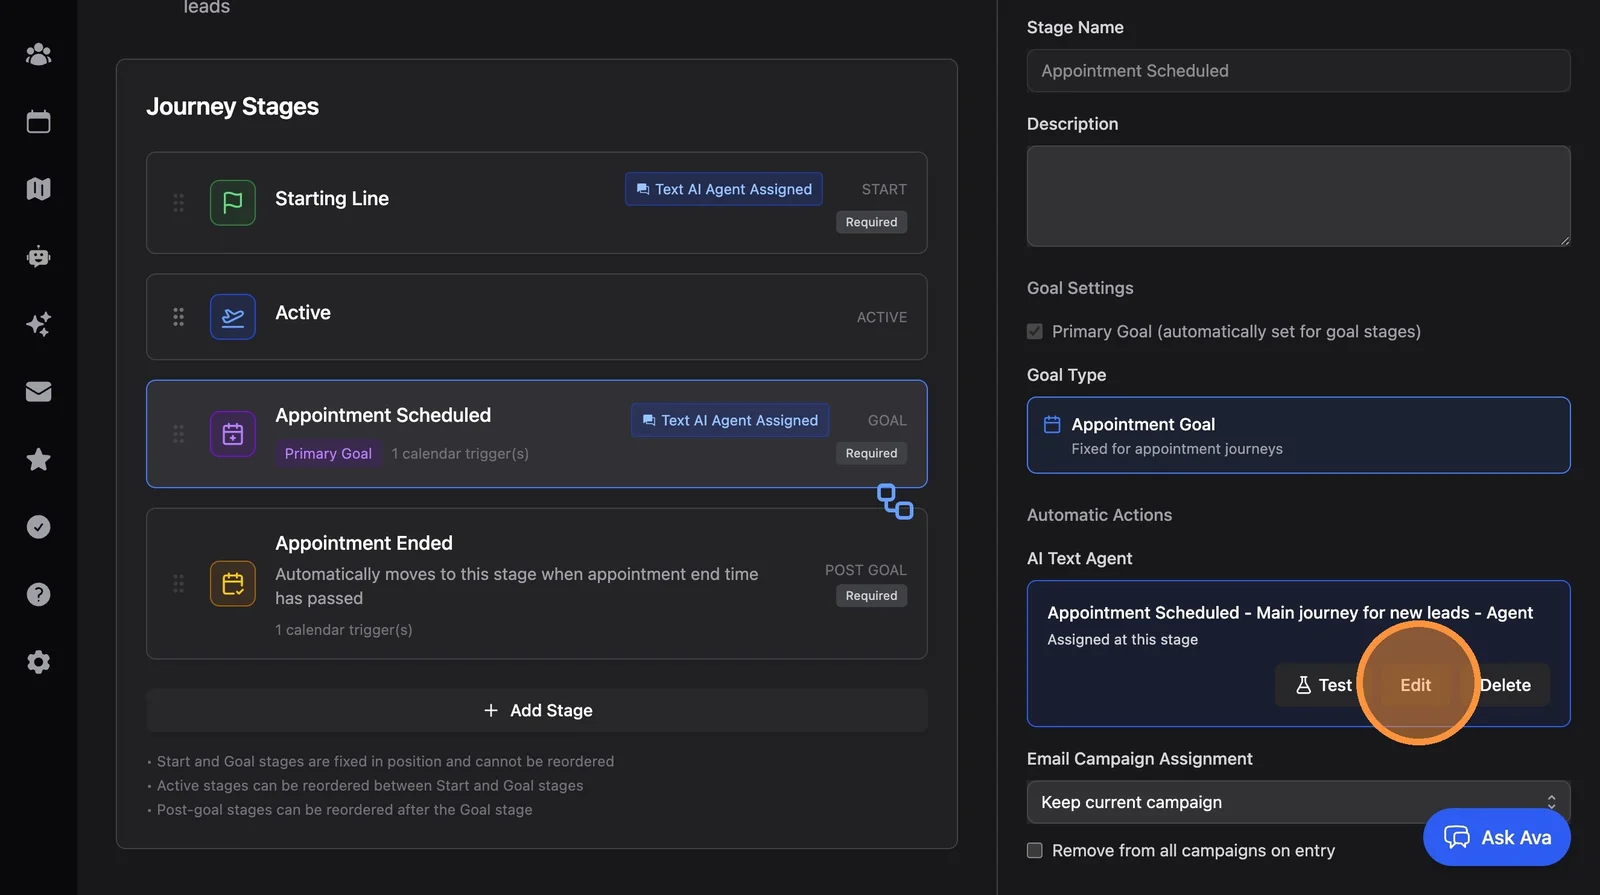
49. Click "Edit" on your agent again
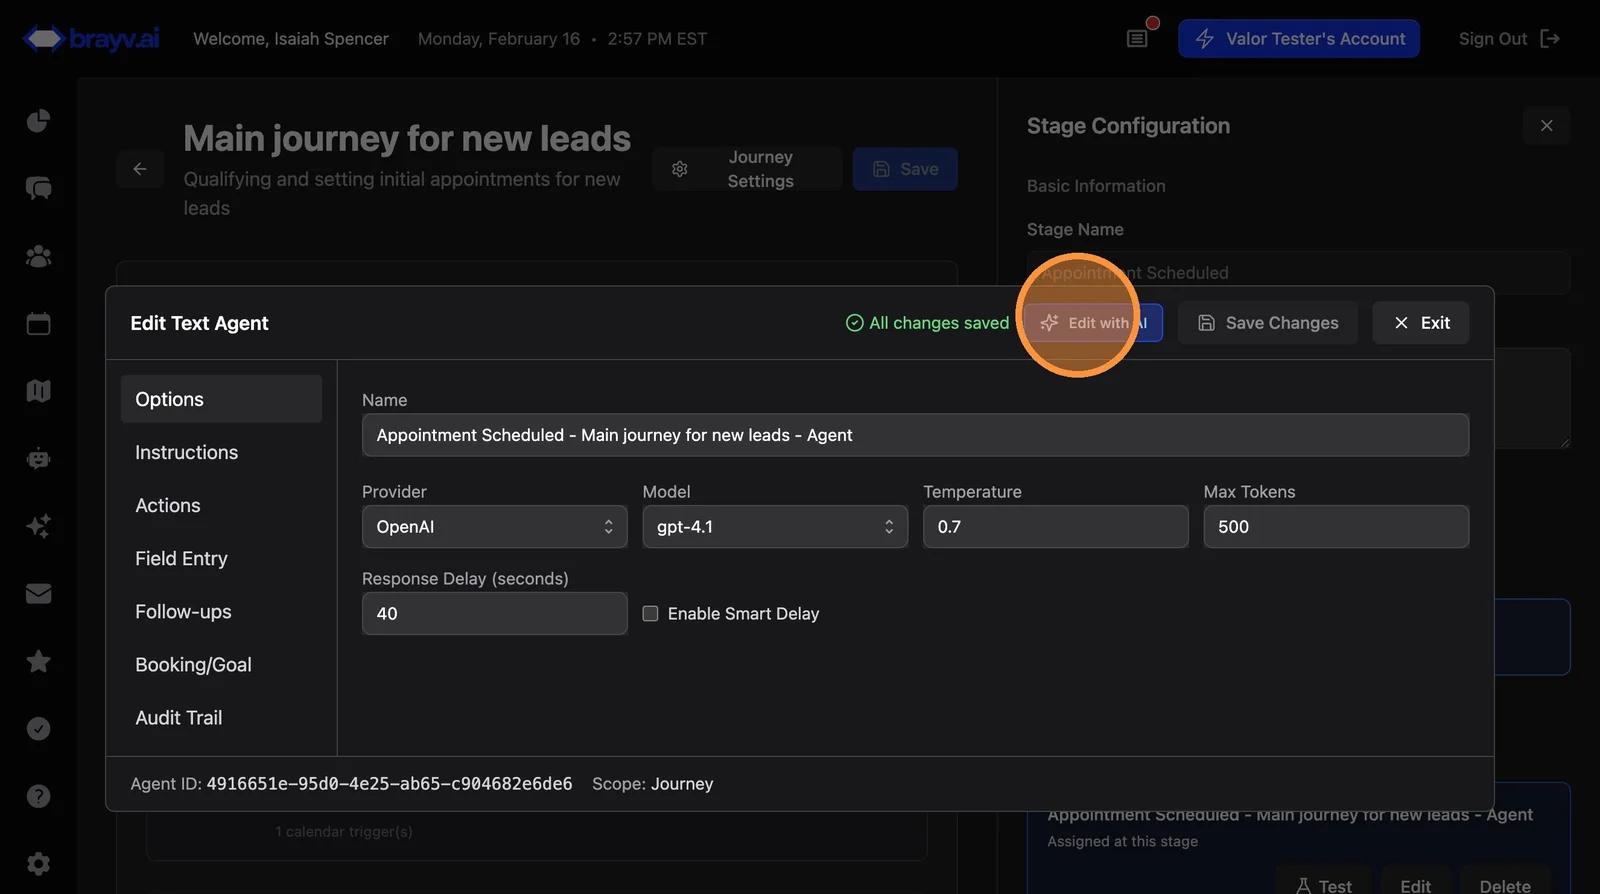
50. Click "Edit with AI"
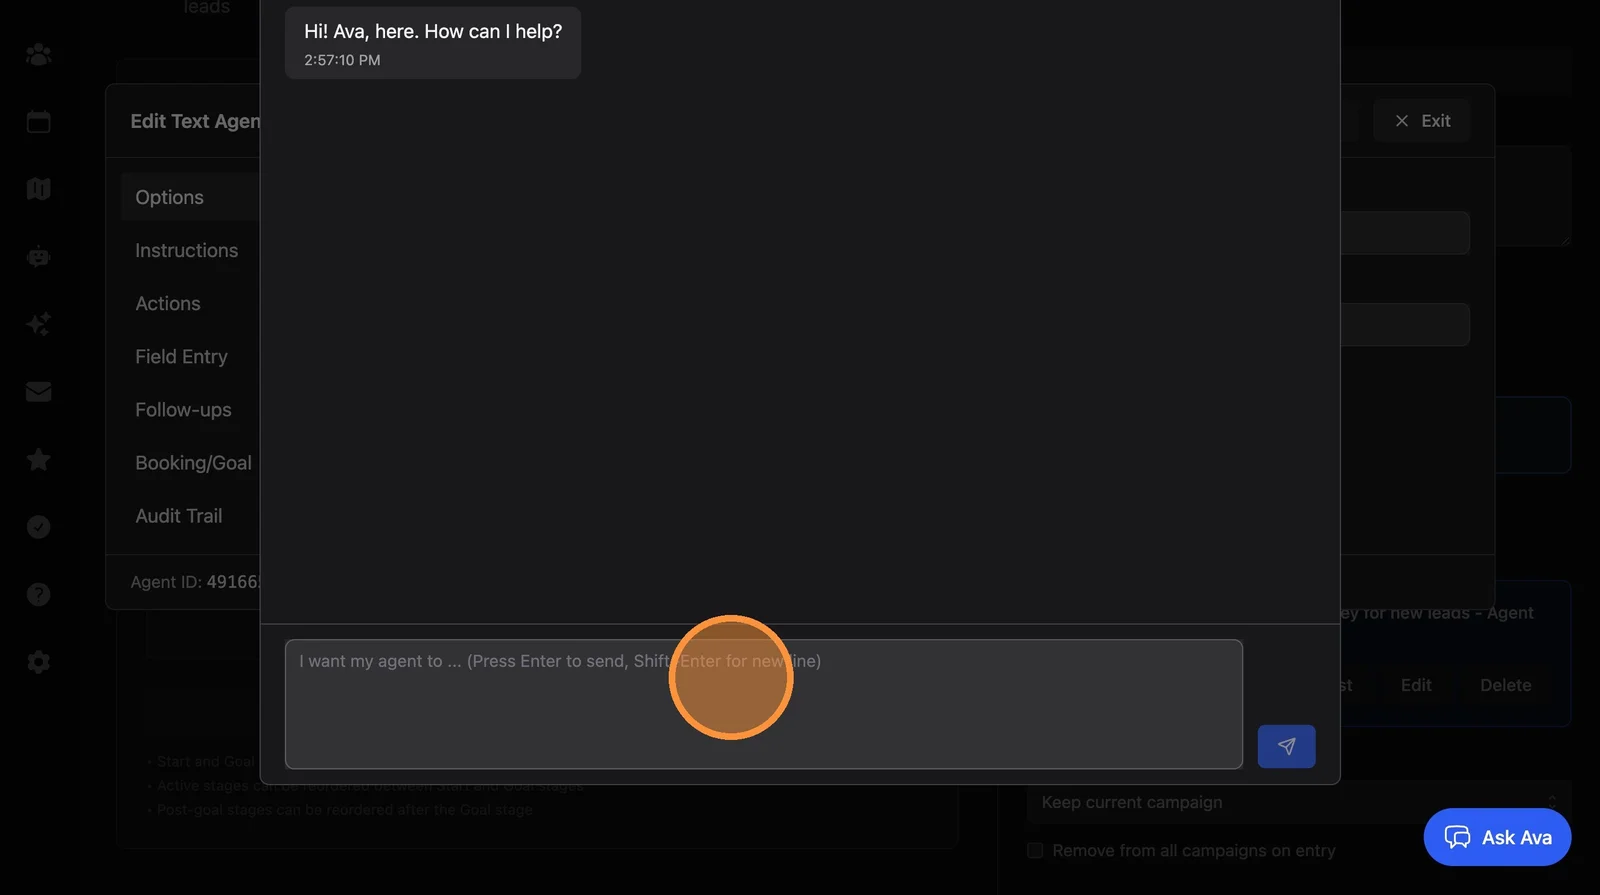
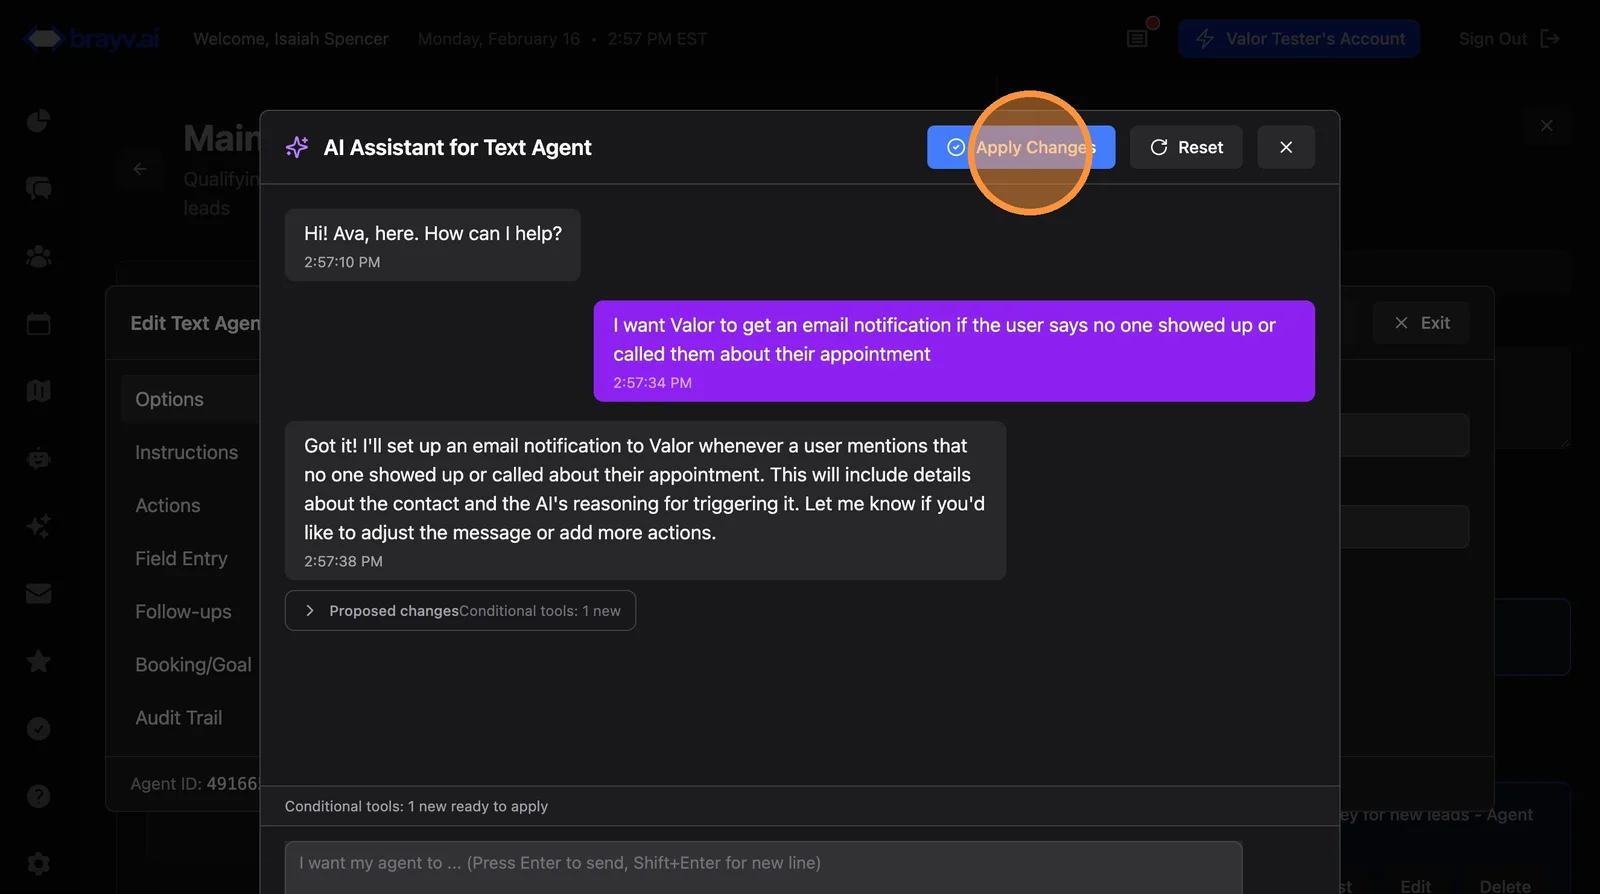
51. Recommended for this stage: set up a missed appointment notification. Tell Ava something like: "I want [team member name] to get an email notification if the user says no one showed up or called them about their appointment"
52. Click "Apply Changes"
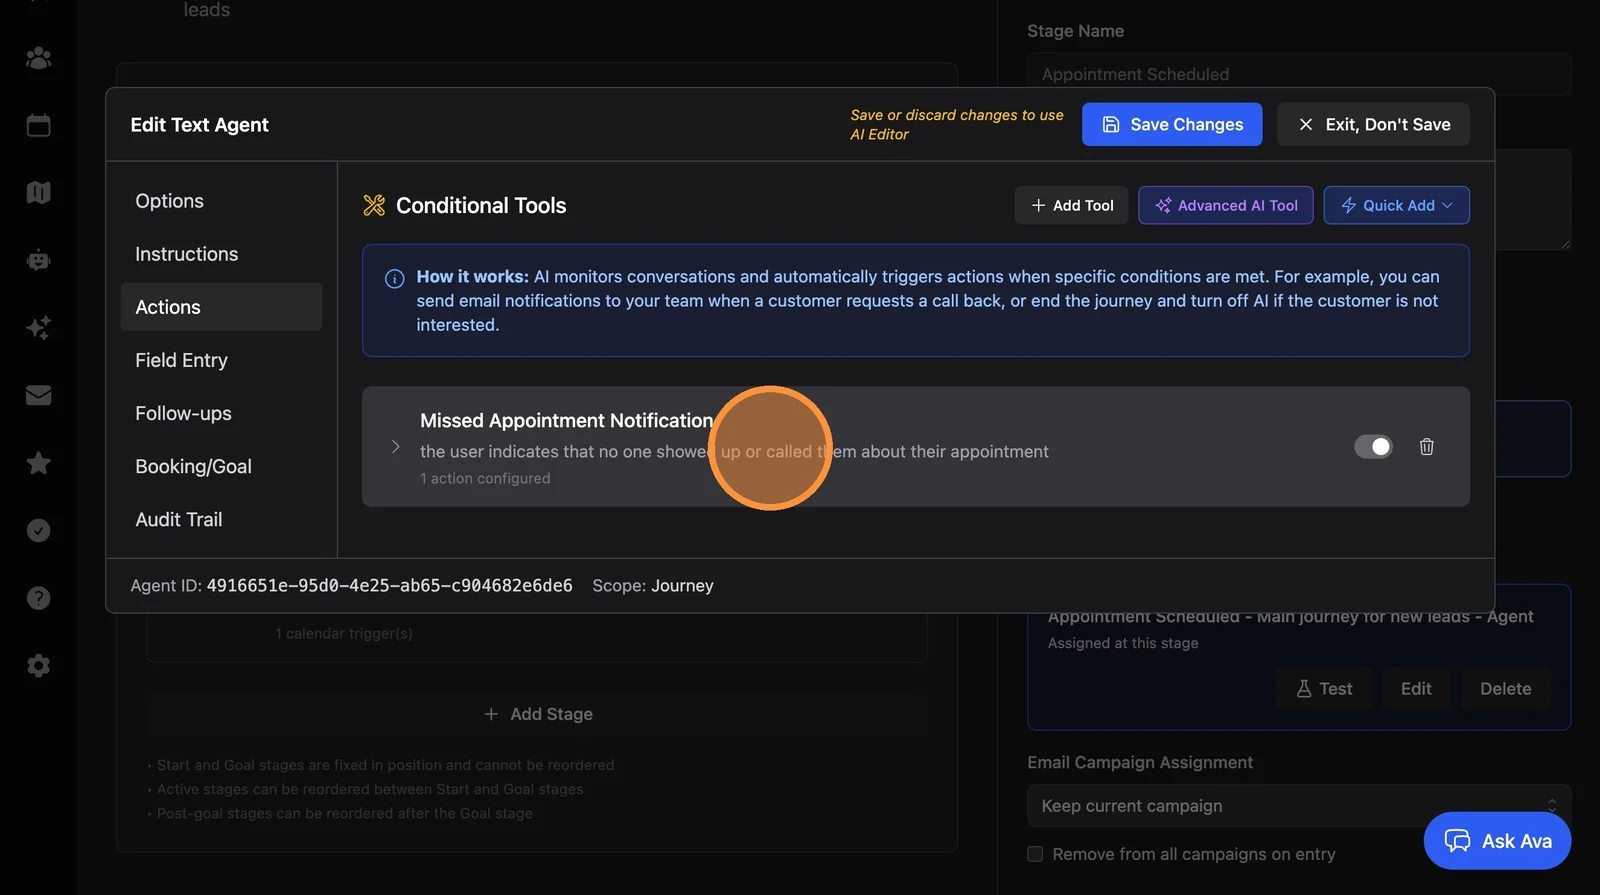
53. Click "Actions" to review
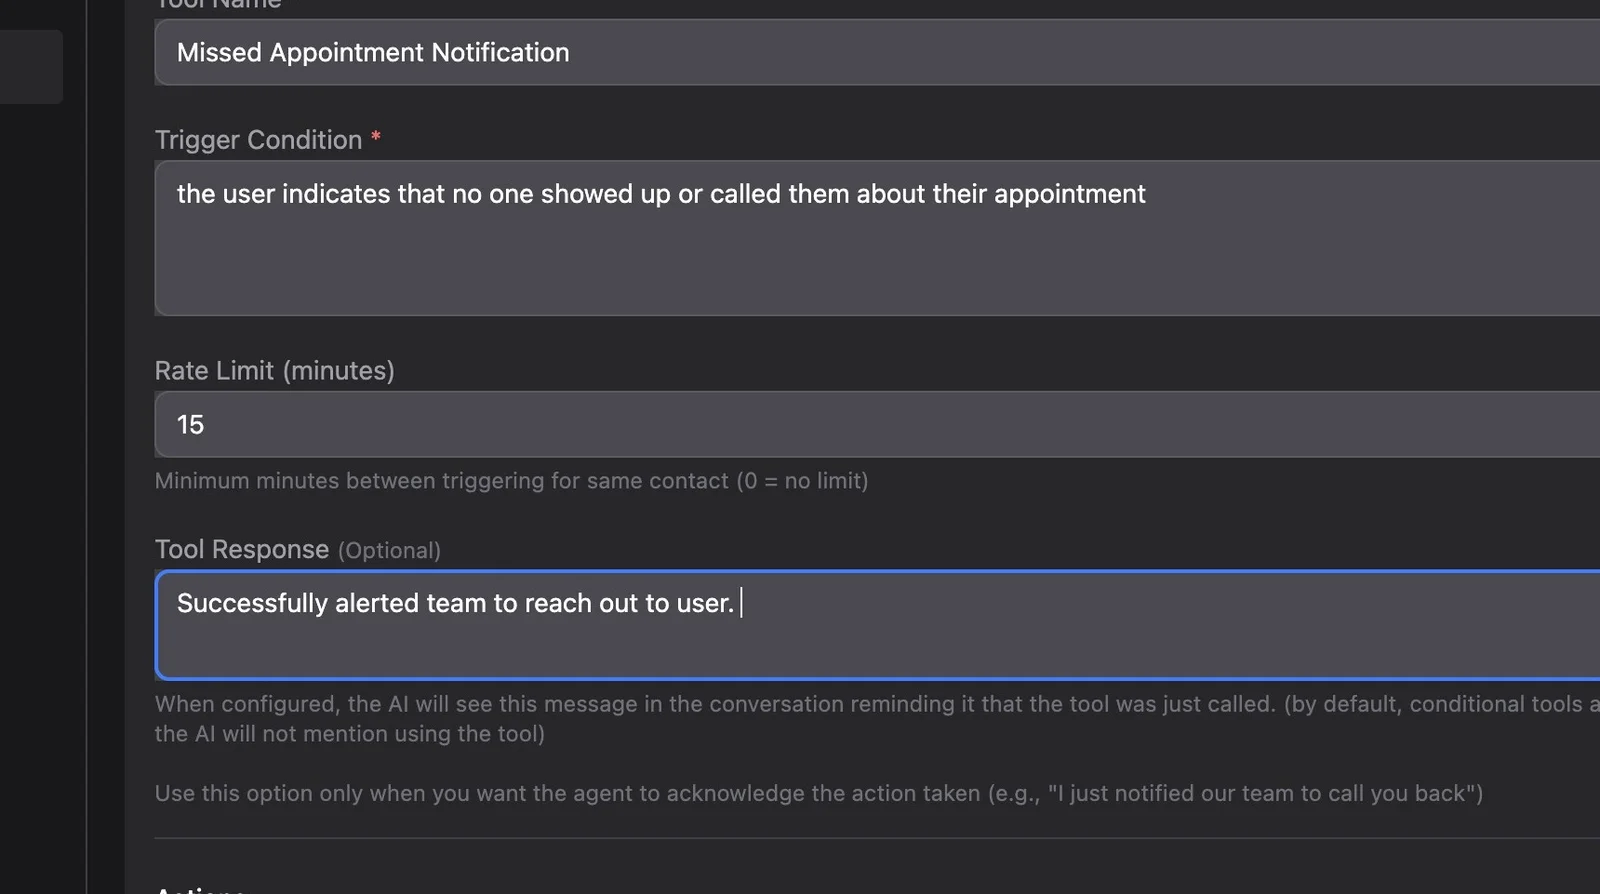
54. Review the tool Ava created
55. This is a good example of a tool where adding a tool response is useful - it ensures the agent knows it successfully alerted the team. Example: "Successfully alerted team to reach out to user"
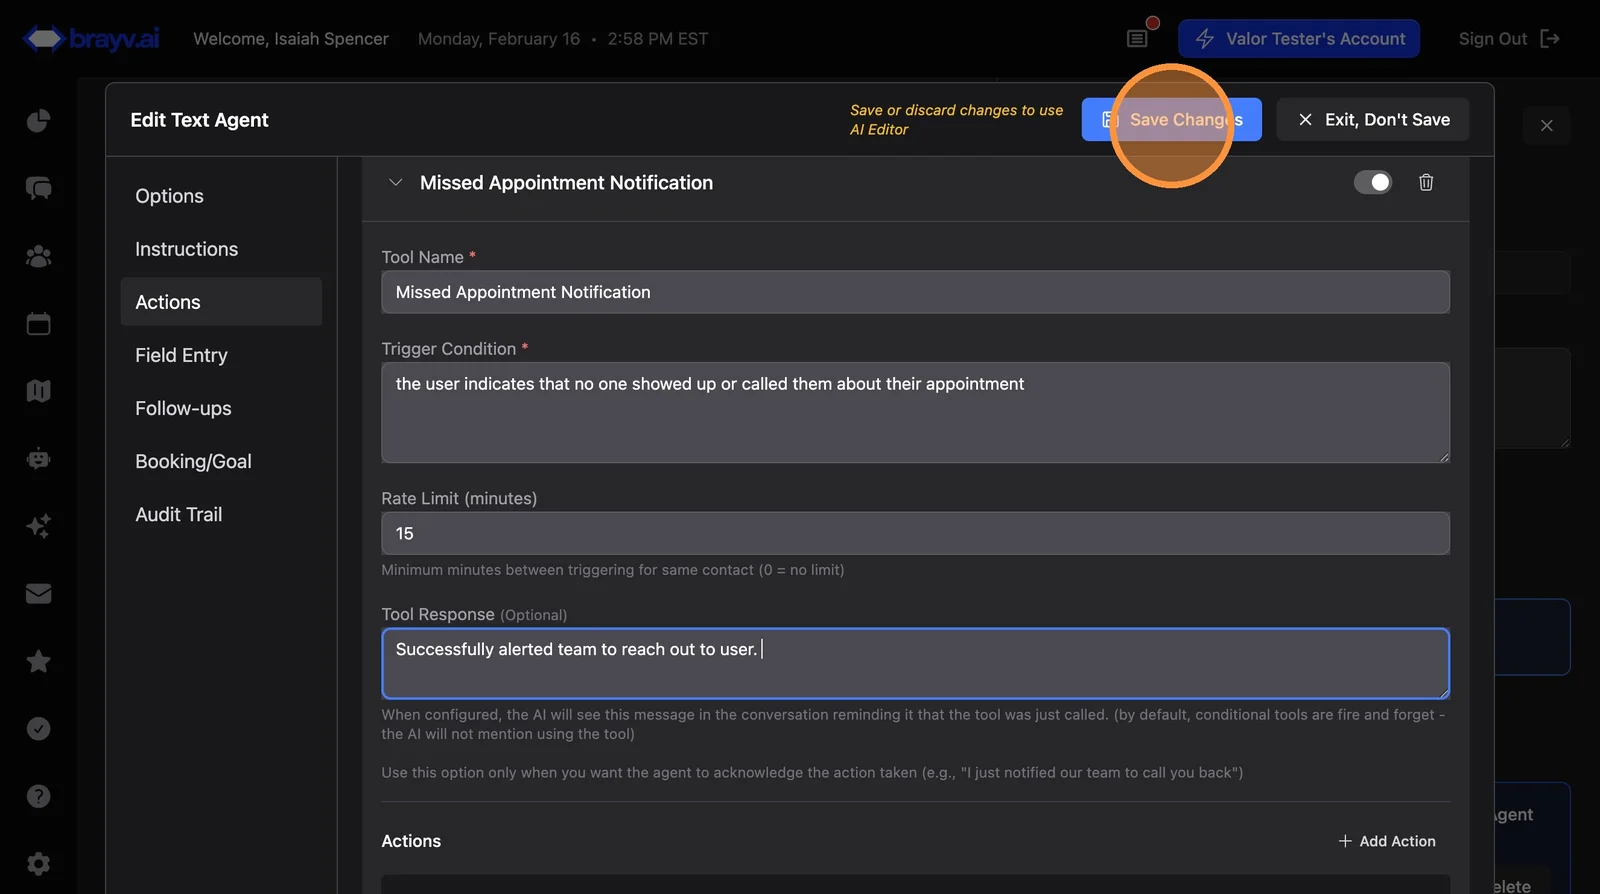
56. Click "Save Changes" on the agent editor dialog
Adding Calendar Triggers
57. On the Appointment Scheduled stage, add calendar triggers for any calendars the Starting Line agent can book into. This ensures appointments properly advance the opportunity.
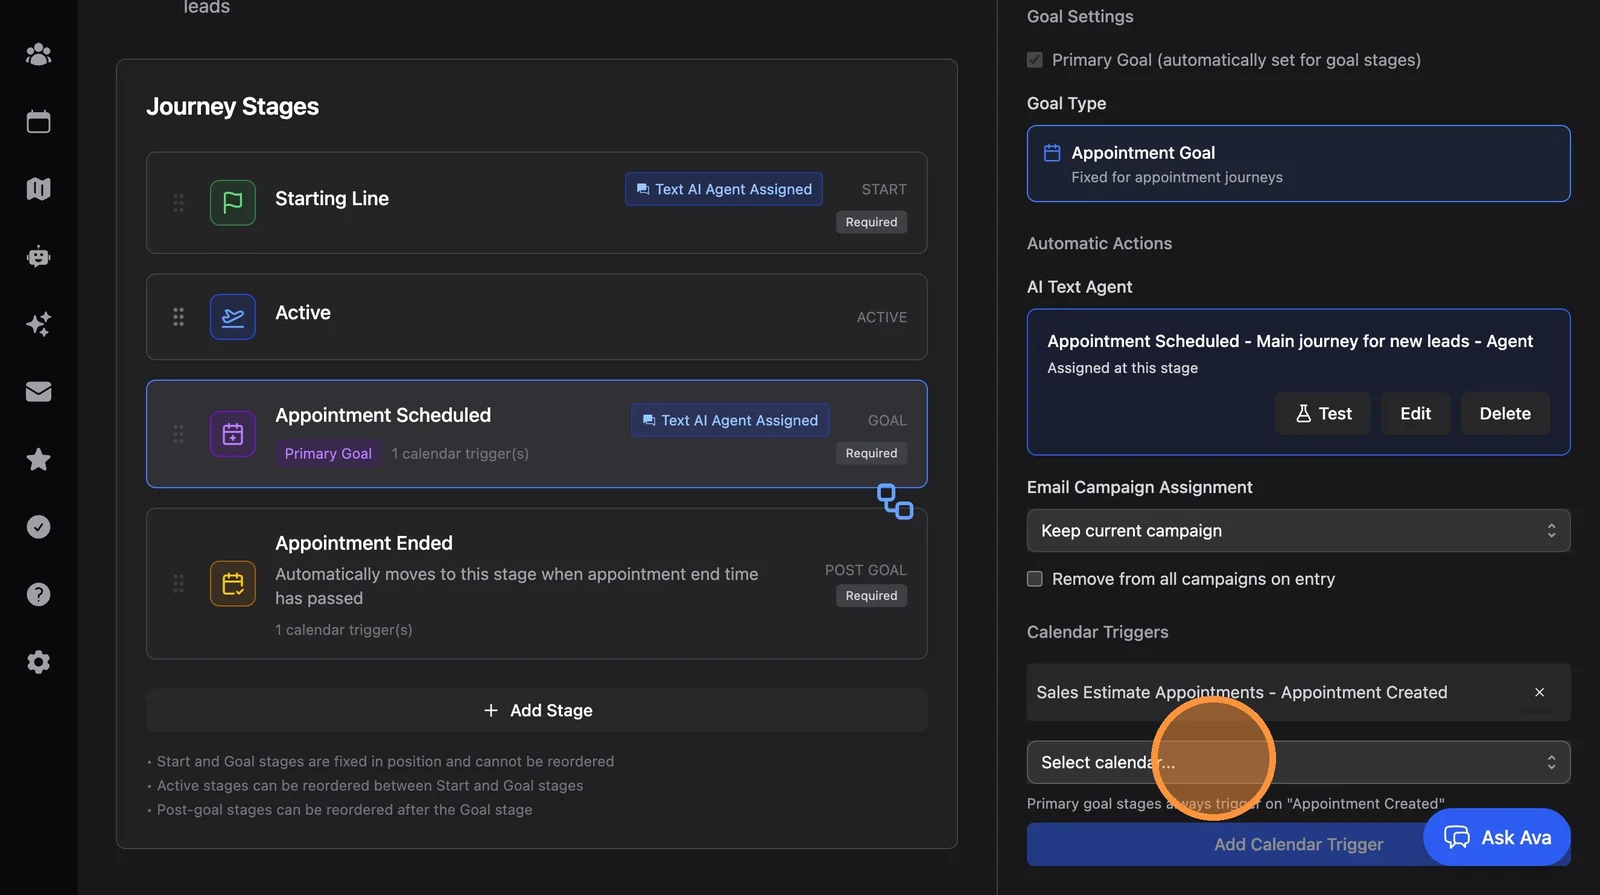
Note: You do not need to configure anything in the "Active" or "Appointment Ended" stages. These handle themselves automatically.
Key Tips
Save Often: Save the agent editor dialog after making changes, and save the journey itself after configuring stages and triggers.
Follow-Ups Are Essential: Without follow-ups on the Starting Line agent, leads who don't respond to the first message will never be contacted again. Always enable and configure follow-ups.
Calendar Triggers Are Critical: If you skip calendar triggers on the goal stage, appointments will be booked but the opportunity won't advance. The AI will keep following up even after a successful booking.
Start Simple, Refine Later: Get the basic flow working first (instructions, booking, follow-ups), then add refinements like conditional tools, custom field extractors, and specific rules.
Related Features
- Customer Journeys Overview - In-depth guide to journey concepts and stages
- AI Text Agents Overview - Complete agent configuration reference
- Booking Configuration - Detailed booking mode options
- AI Calendar Selection - Dynamic calendar routing
- Conditional Tools - Tool triggers, actions, and configuration
- Follow-Up Sequences - Automated follow-up timing and content
- Calendars and Appointments - Calendar setup and settings
- Knowledge Base - Training agents with FAQs and documents
Summary
Creating a complete appointment journey involves:
- Create a calendar (if you don't have one)
- Create the journey from the Appointment Goal template
- Configure journey settings (name, description)
- Set up the Starting Line agent - Instructions, booking, follow-ups, conditional tools, field extractors
- Set up the Appointment Scheduled agent - Review instructions, add missed appointment notification
- Add calendar triggers to the goal stage
- Save everything - Agent, stages, and journey
Remember: The Starting Line agent does the heavy lifting (qualifying, gathering info, booking). The Appointment Scheduled agent handles post-booking communication. The Active and Appointment Ended stages don't need configuration.